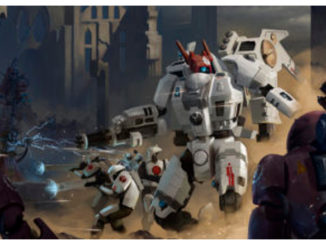
Hey everybody, TFG Radio here to give you an old school battle report with the newest edition of Kill Team. Today’s matchup features Danny’s indomitable bugs versus their greatest foe, the guns of the Tau Empire, piloted by the gentleman and philosopher, Tommy.
The Lists:
Das Bugs:
3x Shrikes (no wings on them yet)
10x Termagaunts with 5 devourers
10x Hormagaunts
Leader– Sword Bug (not using swords, just stock kit)
Indomitable Specialist: Warrior 1 (Feel No Pain)
Weapon Specialist: Warrior 2 (+1 BS)
Guerrilla Specialist: Devourer Gaunt (Scout)
The Tau:
1 Crisis Suit with Twin-Linked Burst Cannon
5x Fire Warriors (Tommy forgot his warriors, so they were played by stealth suits)
5x Breachers
4x Pathfinders with one Sniper
Leader – Crisis Suit
Indomitable Specialist: Fire Warrior (Feel No Pain)
Weapon Specialist: Pathfinder Sniper (+1 BS)
Combat Specialist: Breacher (Counter Attack)
Mission: Forward Push (3 objectives)
Bugs go first.
Turn 1:
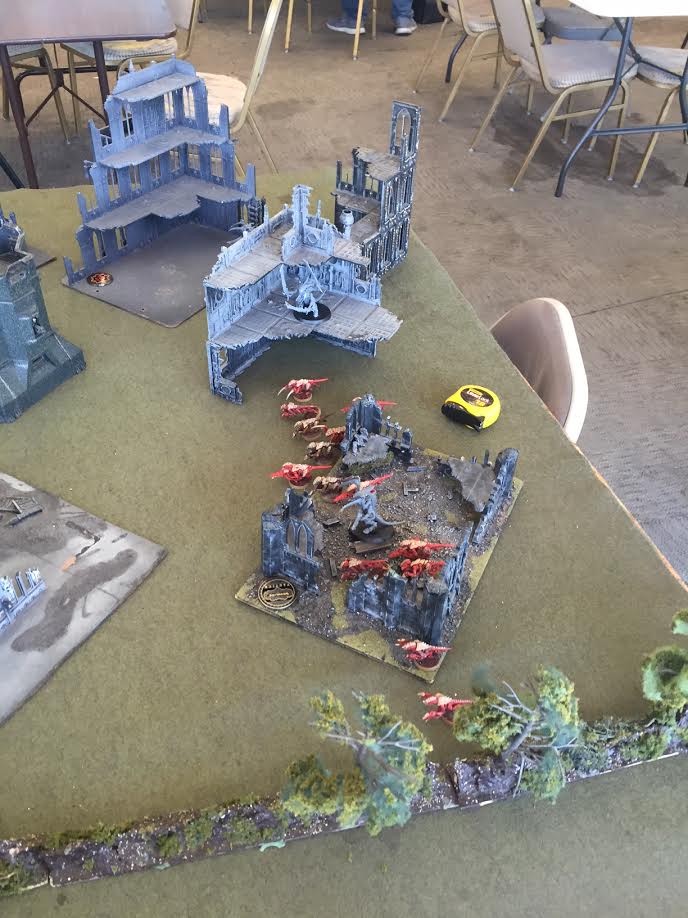
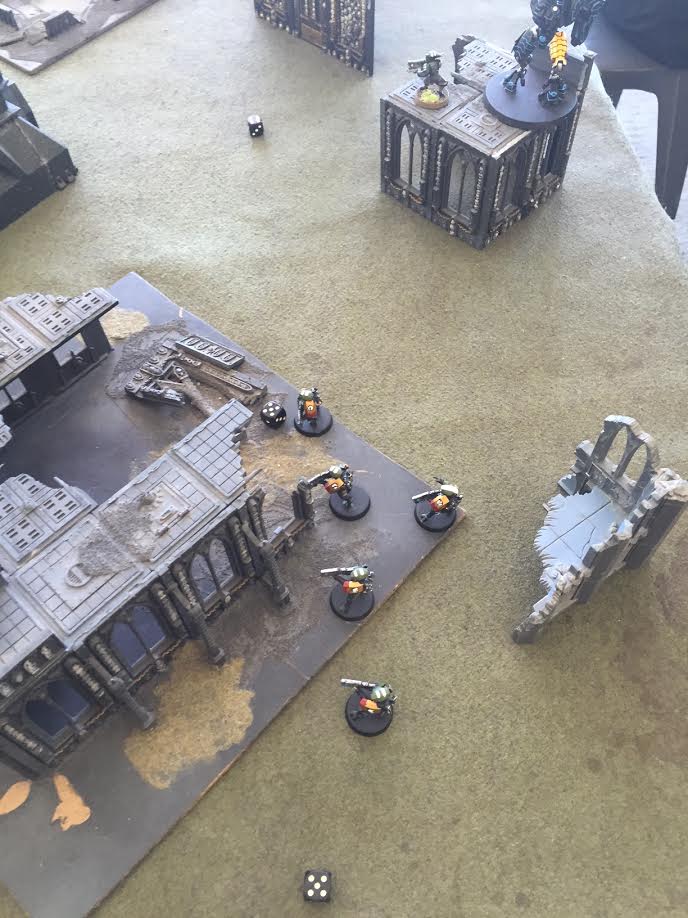
Danny deploys across the table, a shrike (and their sweet synapse) on each flank and with the Warlord in the center. Due to some good objective placement, on the right flank, Danny is able to threaten it immediately with his Weapon Specialist and a few gaunts while his Indomitable Specialist camps the left objective. The warlord pops forward to help provide synapse to the center of the table, and the gaunts make their death ride forward in hopes of getting to the Tau as soon as possible.
Thanks to some lucky shooting on the part of the scouting gaunt, Danny bags First Blood by popping a fire warrior (as played by a stealth suit). He would have had 2 but Tommy’s indomitable Specialist makes some sweet Feel No Pains against the devourers.
Tommy’s first turn is mostly a shooting gallery, and the gaunts start dropping. Tommy’s Tau take out 5 different gaunts and put 2 wounds on the Weapon Specialist Shrike, thinning out the closest wave of gaunts. Tommy takes his Breachers in a hook maneuver around the right flank, keeping out of sight from the gaunts. While there wasn’t a lot of moving, Tommy didn’t need to as he was clearly playing for his left objective (held by the Fire warriors) and eventually pushing the Breachers into the right objective.
Turn 2:
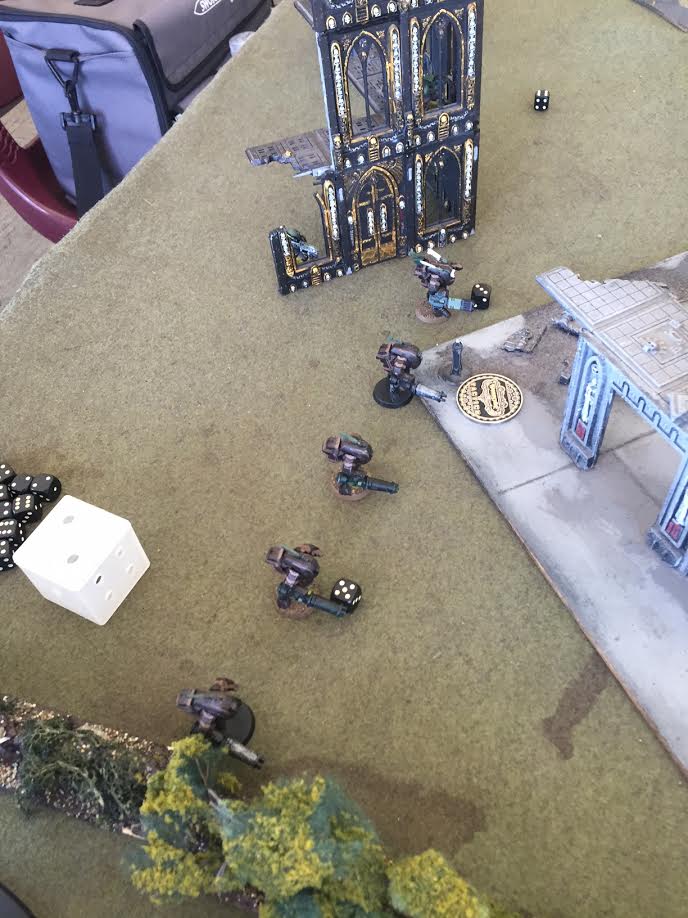
Danny keeps the gaunts rushing forward. The Tyranid shooting proves to be a bit much for the Tau as another fire warrior goes down as does a pathfinder. Tommy’s warlord survives a decent volley as his 3+ armor save proves to be too much. Danny makes a critical error that swings the game as he moves his Weapon Specialist to get some Breacher love, but he dies to overwatch and supporting fire.
Tommy decides to take the initiative and makes a bold, bold move. He moves forward with his Warlord, his Breachers, and his Fire Warriors. More gaunts die to the fire power, and the Danny’s Warlord takes a wound, but the real curve ball here is that Tommy charges into combat! Two of his fire warriors make it into combat with hormagaunts, but Tommy’s Warlord fails his charge at Danny’s. Shockingly, one fire warrior manages to beat a hormagaunt to death with his rifle, but the other manages to live to fight another day. Danny’s force his now broken and must take tests, but since all the gaunts are in synapse, they are fearless and ignore it (so long as they stay in synapse).
Turn 3:
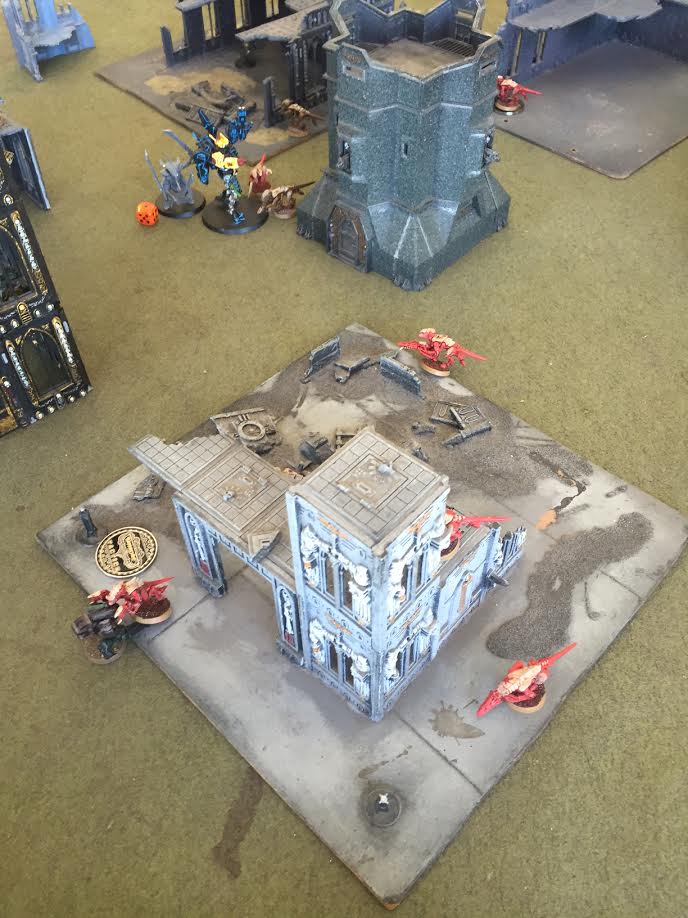
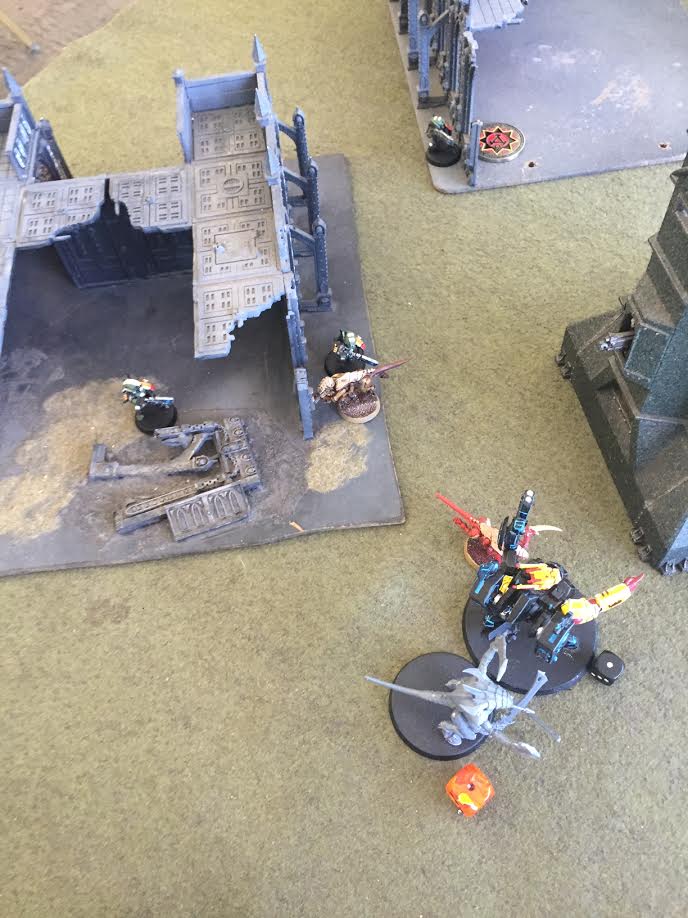
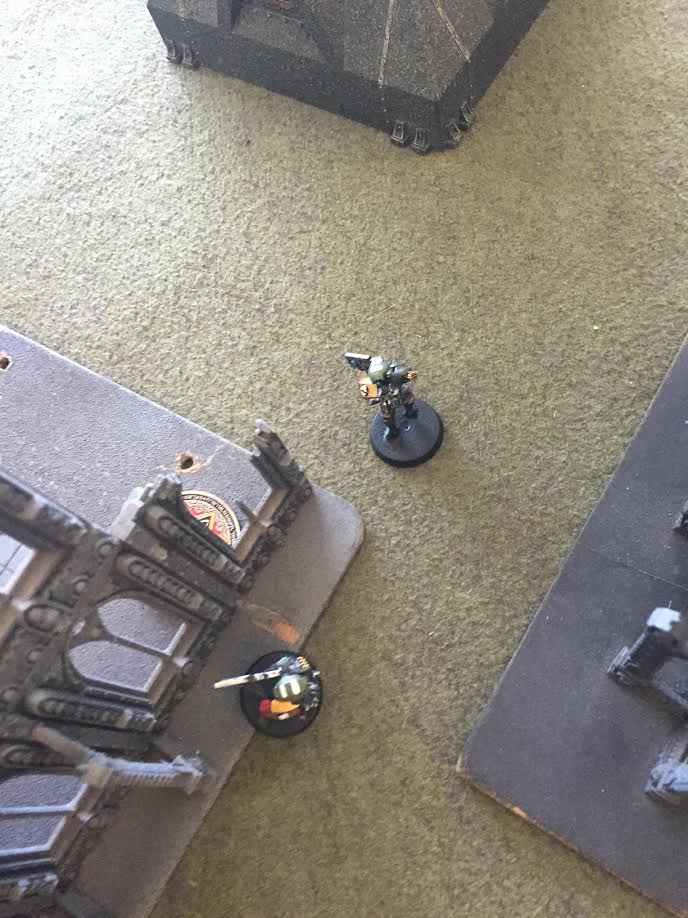
Danny throws wave after wave of his bugs at the Tau, and the cracks are starting to show. Danny continues to push what is left of his right flank forces to wrestle away the objective from Tommy while also pushing the center to take out Tommy’s Crisis Suit. With his shooting, Danny picks off the victorious Fire Warrior and a Breacher. Danny sends his warlord and two gaunts into the Crisis Suit, and no wounds are dealt anywhere! Yay! Danny was sure wishing he had actually cut points to give the Shrike those AP3 boneswords, or at least rending claws. The fire warrior and hormagaunt fight continues with no wounds on either side again.
Tommy is feeling the pressure as his right flank is collapsing, but as long as his warlord holds his ground, there is still a solid chance of victory. The pathfinders keep popping gaunts, and the breachers continue their movement to take the right objective as well as pick off all but one of Danny’s free gaunts on the right flank. The combats go poorly for Tommy as he loses his last Fire Warrior (and his force is now broken) and loses a wound on his warlord, who punches a gaunt to death.
Tommy’s turn 3 is the start of disaster as the leadership 7 Tau are forced to take Broken Tests, and a pathfinder and a Breacher run away! His surviving pathfinders take pot shots, and kill a gaunt, but now Danny is securely claiming two objectives. His breachers cannot take down one gaunt in cover, but a brave Breacher rushes forward into combat and does nothing again! In the combat with the Warlord, well, nothing happens again!
Turn 4:
Danny has one gaunt out of synapse who manages to pass his Broken Test but fails synapse and retreats back into synapse. Danny has to abandon his back left objective to make sure his Indomitable Specialist can keep synapse up on the left flank. The bugs’ shooting does nothing to the path finders in cover, and Danny’s right flank is now all about surviving in the cover. The combat finally goes Danny’s way as his warlord is able to scythe down the Crisis Suit and claim Slay the Warlord! Unfortunately, this leaves him and his gaunt sidekick open for shooting on Tommy’s turn, but thanks to some great consolidate rolls, Danny is able to get both into cover. Danny’s gaunt is still locked in a life or death battle with a Breacher but they both manage to ignore the other.
Tommy’s Breachers on the right flank are still holding strong. Unfortunately, Danny’s cover saves are too hot and they do no damage. Desperate times call for desperate measures, so one of Tommy’s Breachers charges into the last termagaunt. No wounds on either side.
Turn 5:
Danny starts to pivot to try and take the right objective, keeping his warlord in cover but also moving his last hormagaunt towards the Breachers. Danny guns down a breacher, but his hormagaunt gets greedy and dies to overwatch again. Danny just starts to shuffle about on the left flank, taking shots at the sniper pathfinder but unable to get through his armor.
The game could end here, but it depends on some rolls, and well, not much happens. Danny’s gaunt his still locked in a furious combat with a Breacher, and the two discuss their ideologies over tea. Danny really needs the game to end now, but it does not!
Turn 6:

Danny shuffles around on the left flank, trying to make sure that he can control both objectives and keep his two gaunts in synapse. On the right, Danny tries to shoot down a breacher but fails again. He just needs his warlord to survive and hold the right objective. Unfortunately, the gaunt is not up to the task, and he is finally felled by the Breacher. The Tau have killed 3 models in melee so far! A new record!
On Tommy’s turn, he starts pushing toward that right objective again, but unfortunately though, Tommy’s last pathfinder finally backs up his rifle and goes home. The two breachers move onto the objective and start to fire at the Warlord, but his cover save comes through again! Danny still contests the objective, but he is not fully controlling his back left objective to maintain synapse! If the game ends, it is looking like a tie! The roll off happens and…turn 7!
Turn 7:
Danny valiantly tries to kill a Breacher, but he just can’t do it. He does manage to move just enough to have one gaunt holding the top left objective and his Shrike holding the bottom left objective while maintaining synapse.
Tommy goes for the glory, and he blasts Danny’s Warlord with str 5, AP 3 to take over the right objective. The game finally ends with 2 gaunts and a Shrike for Danny and two breachers for Tommy.
Final score:
Bugs: 5 (2 objectives, Slay the Warlord, First Blood, and Break the Enemy)
Tau: 3 (1 objective, Slay the Warlord, and Break the Enemy)
Thanks for reading, and let us know how your experiences with Kill Team have gone! Of course, if you want to see some video battle reports, head over to our Patreon and help us make that dream a reality!