Welcome to an Old School Battle Report brought to you by TFG Radio and Capture and Control.

Today, we have a battle of the skew lists. In one corner, we have John, the man of many monikers: Salty John AKA Overwatch AKA He-Who-Stirs-Up-Trouble-For-Frontline-Gaming. In the next corner, we have Danny, the man of significantly less monikers but who culls the herd of words with his righteous red pen.
First, what is skew list? Simple, A skew list is a style of list building dedicated to overloading a specific aspect of the game (skewing towards armor, fliers, drop pods, etc) meant to be a meta breaker (designed to defeat the most common competitive builds). Currently in the “meta”, Tau and Eldar are hyper dominant, at least for us in ITC because that’s what SoCal plays, and we are all prepping for the Bay Area Open (don’t forget to pick up a ticket). To fight against the tidal wave of Tau and Eldar players, who seemingly sprouted up from nowhere the last 5 months, you generally have two options. Join them, and hope to get skilled enough to beat the mirror match, or make a list that acts as a “rock” to their “scissors” that also has no common “paper” match-ups.
The latter is what Danny and I both attempted to do with the new Curse of the Wulfen release. The path we took couldn’t have been any more different if we’d consciously tried. John plays Drop Pod centered armies, this should surprise no one. Danny went with a Deathstar build, but not meta busting you say? Well, take a look at his list:

Danny’s Wolftide:
Grey Knights CAD
Librarian in Terminator Armor, Level 3, Daemon Hammer
Librarian in Terminator Armor, Level 2, Liber Daemonica
2x 5-man Strike Squad with 1 psycannon
5-man Purifier Squad with 2 psycannons
Draigo
Dark Angels CAD
Librarian on bike, Level 2, Force Axe
Chaplain
2x 5-man scout squads
Azrael (Warlord)
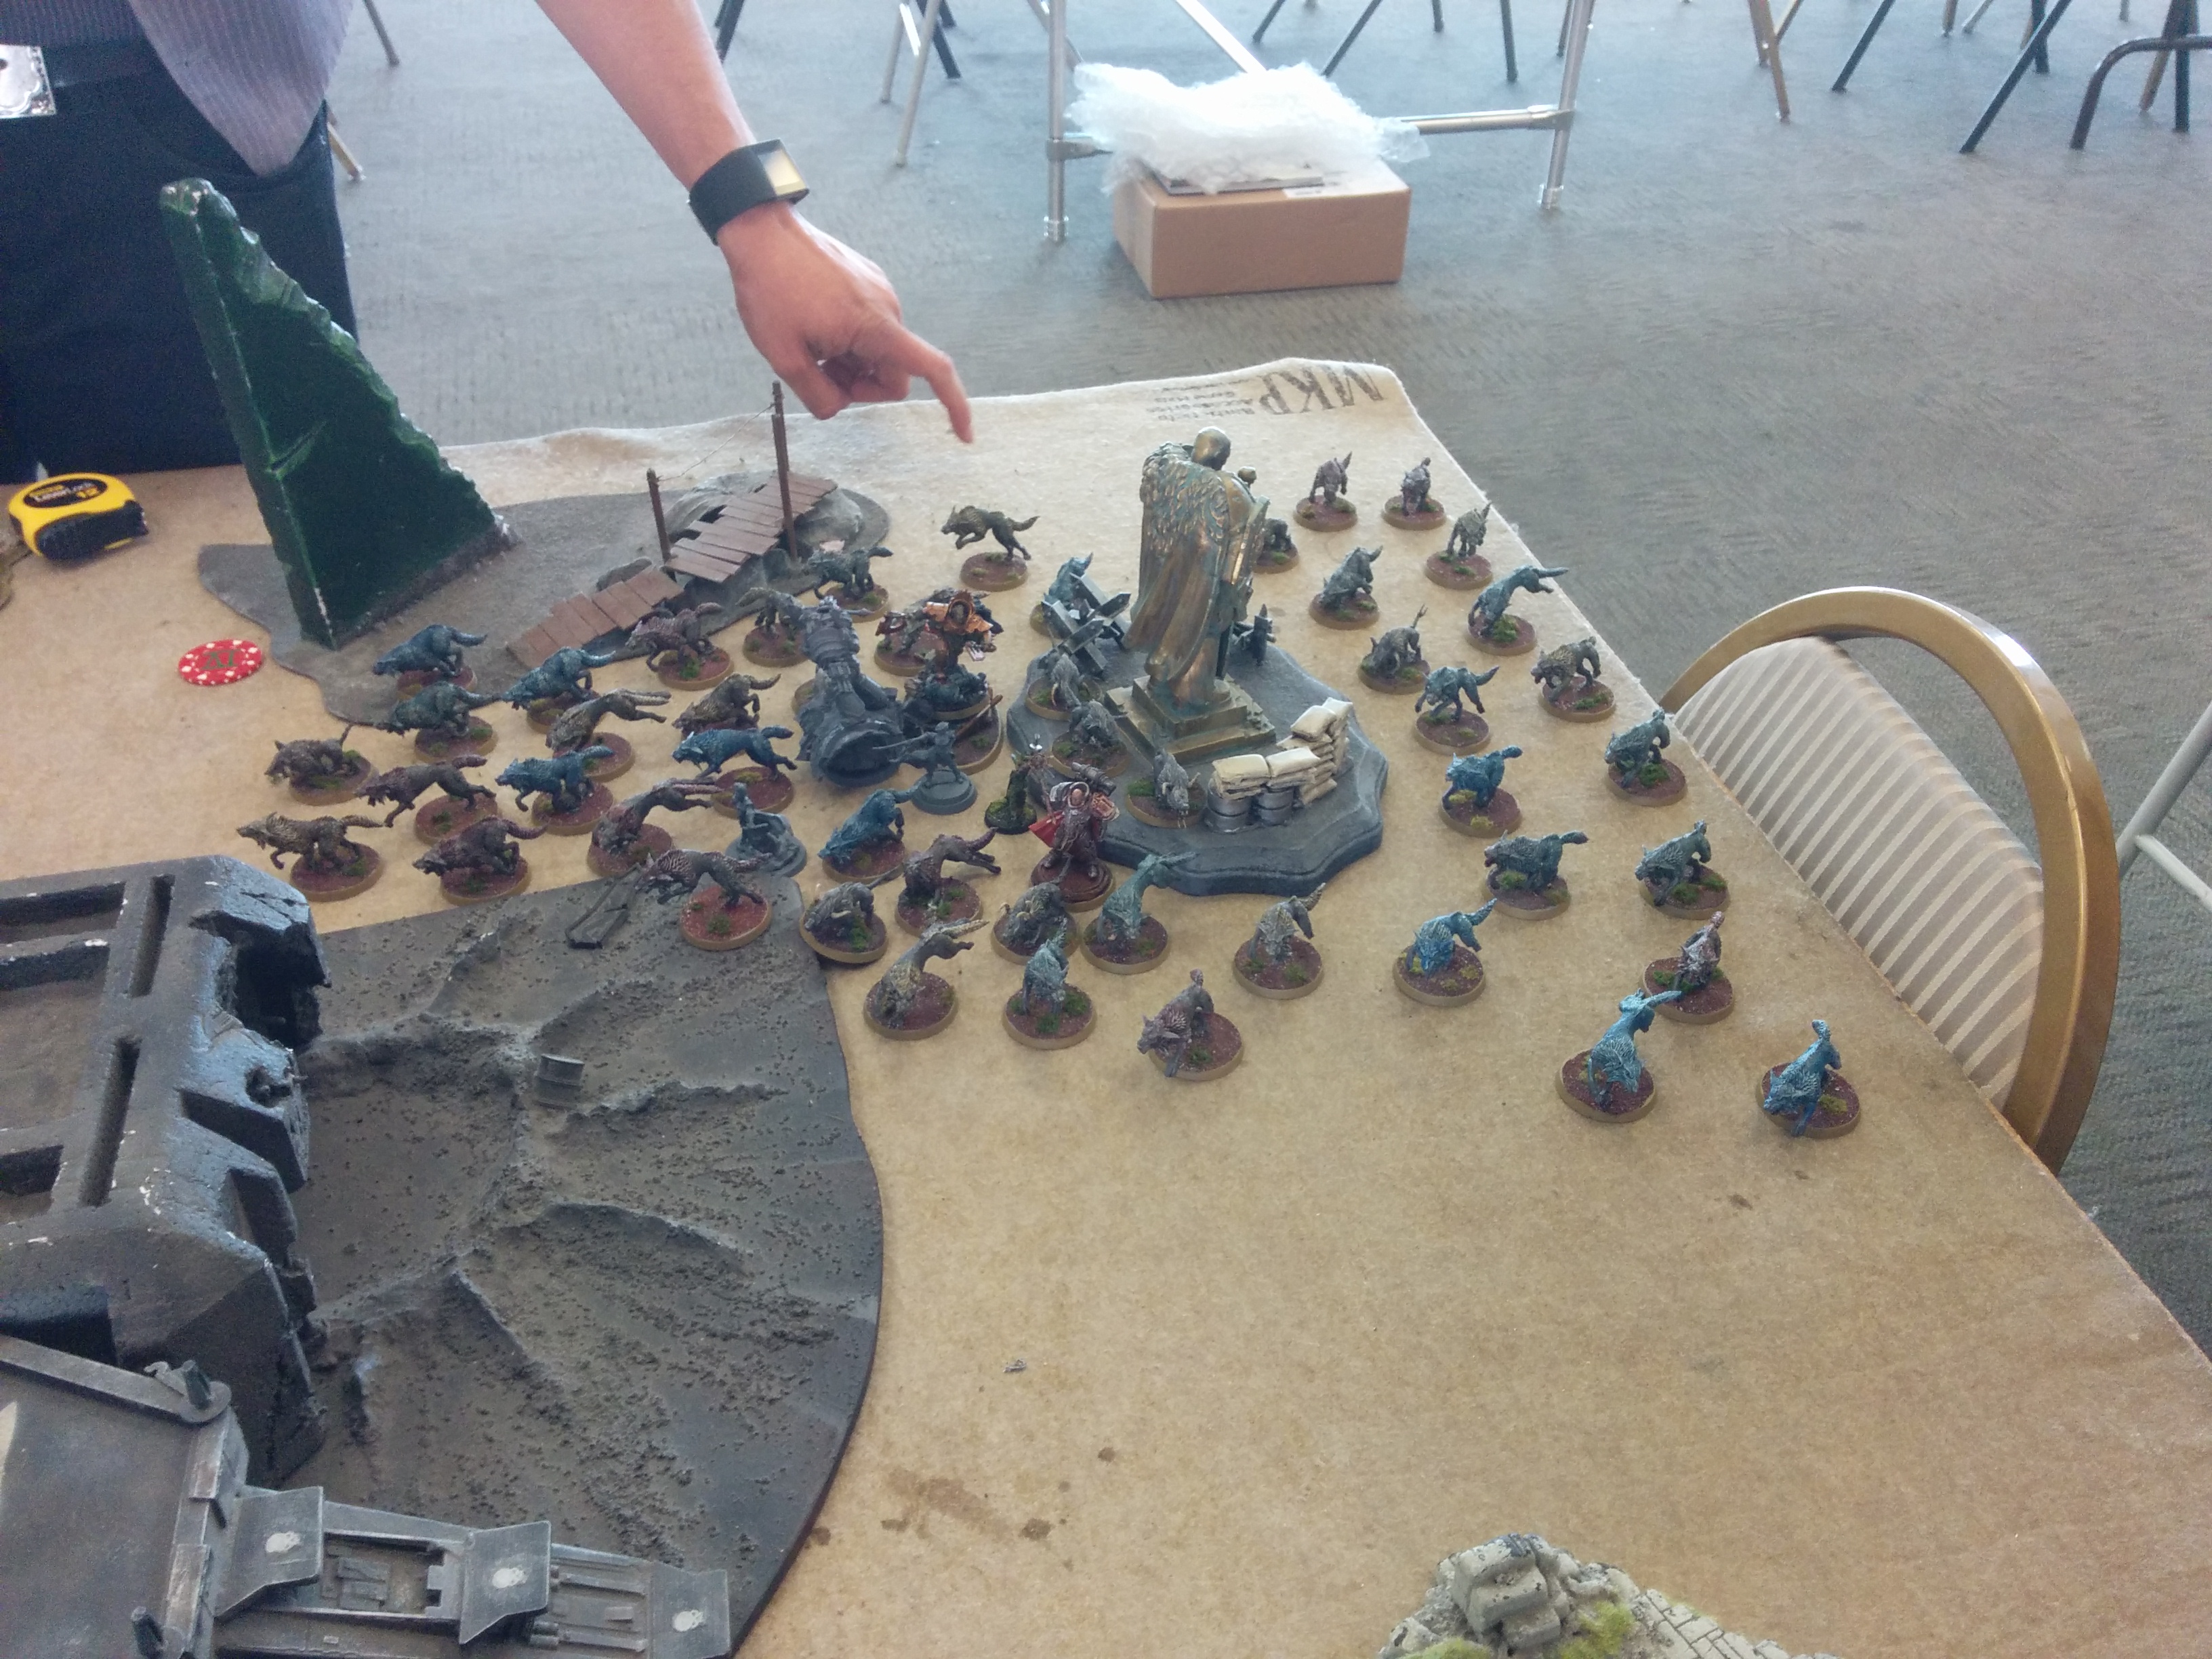
Wolfkin Formation:
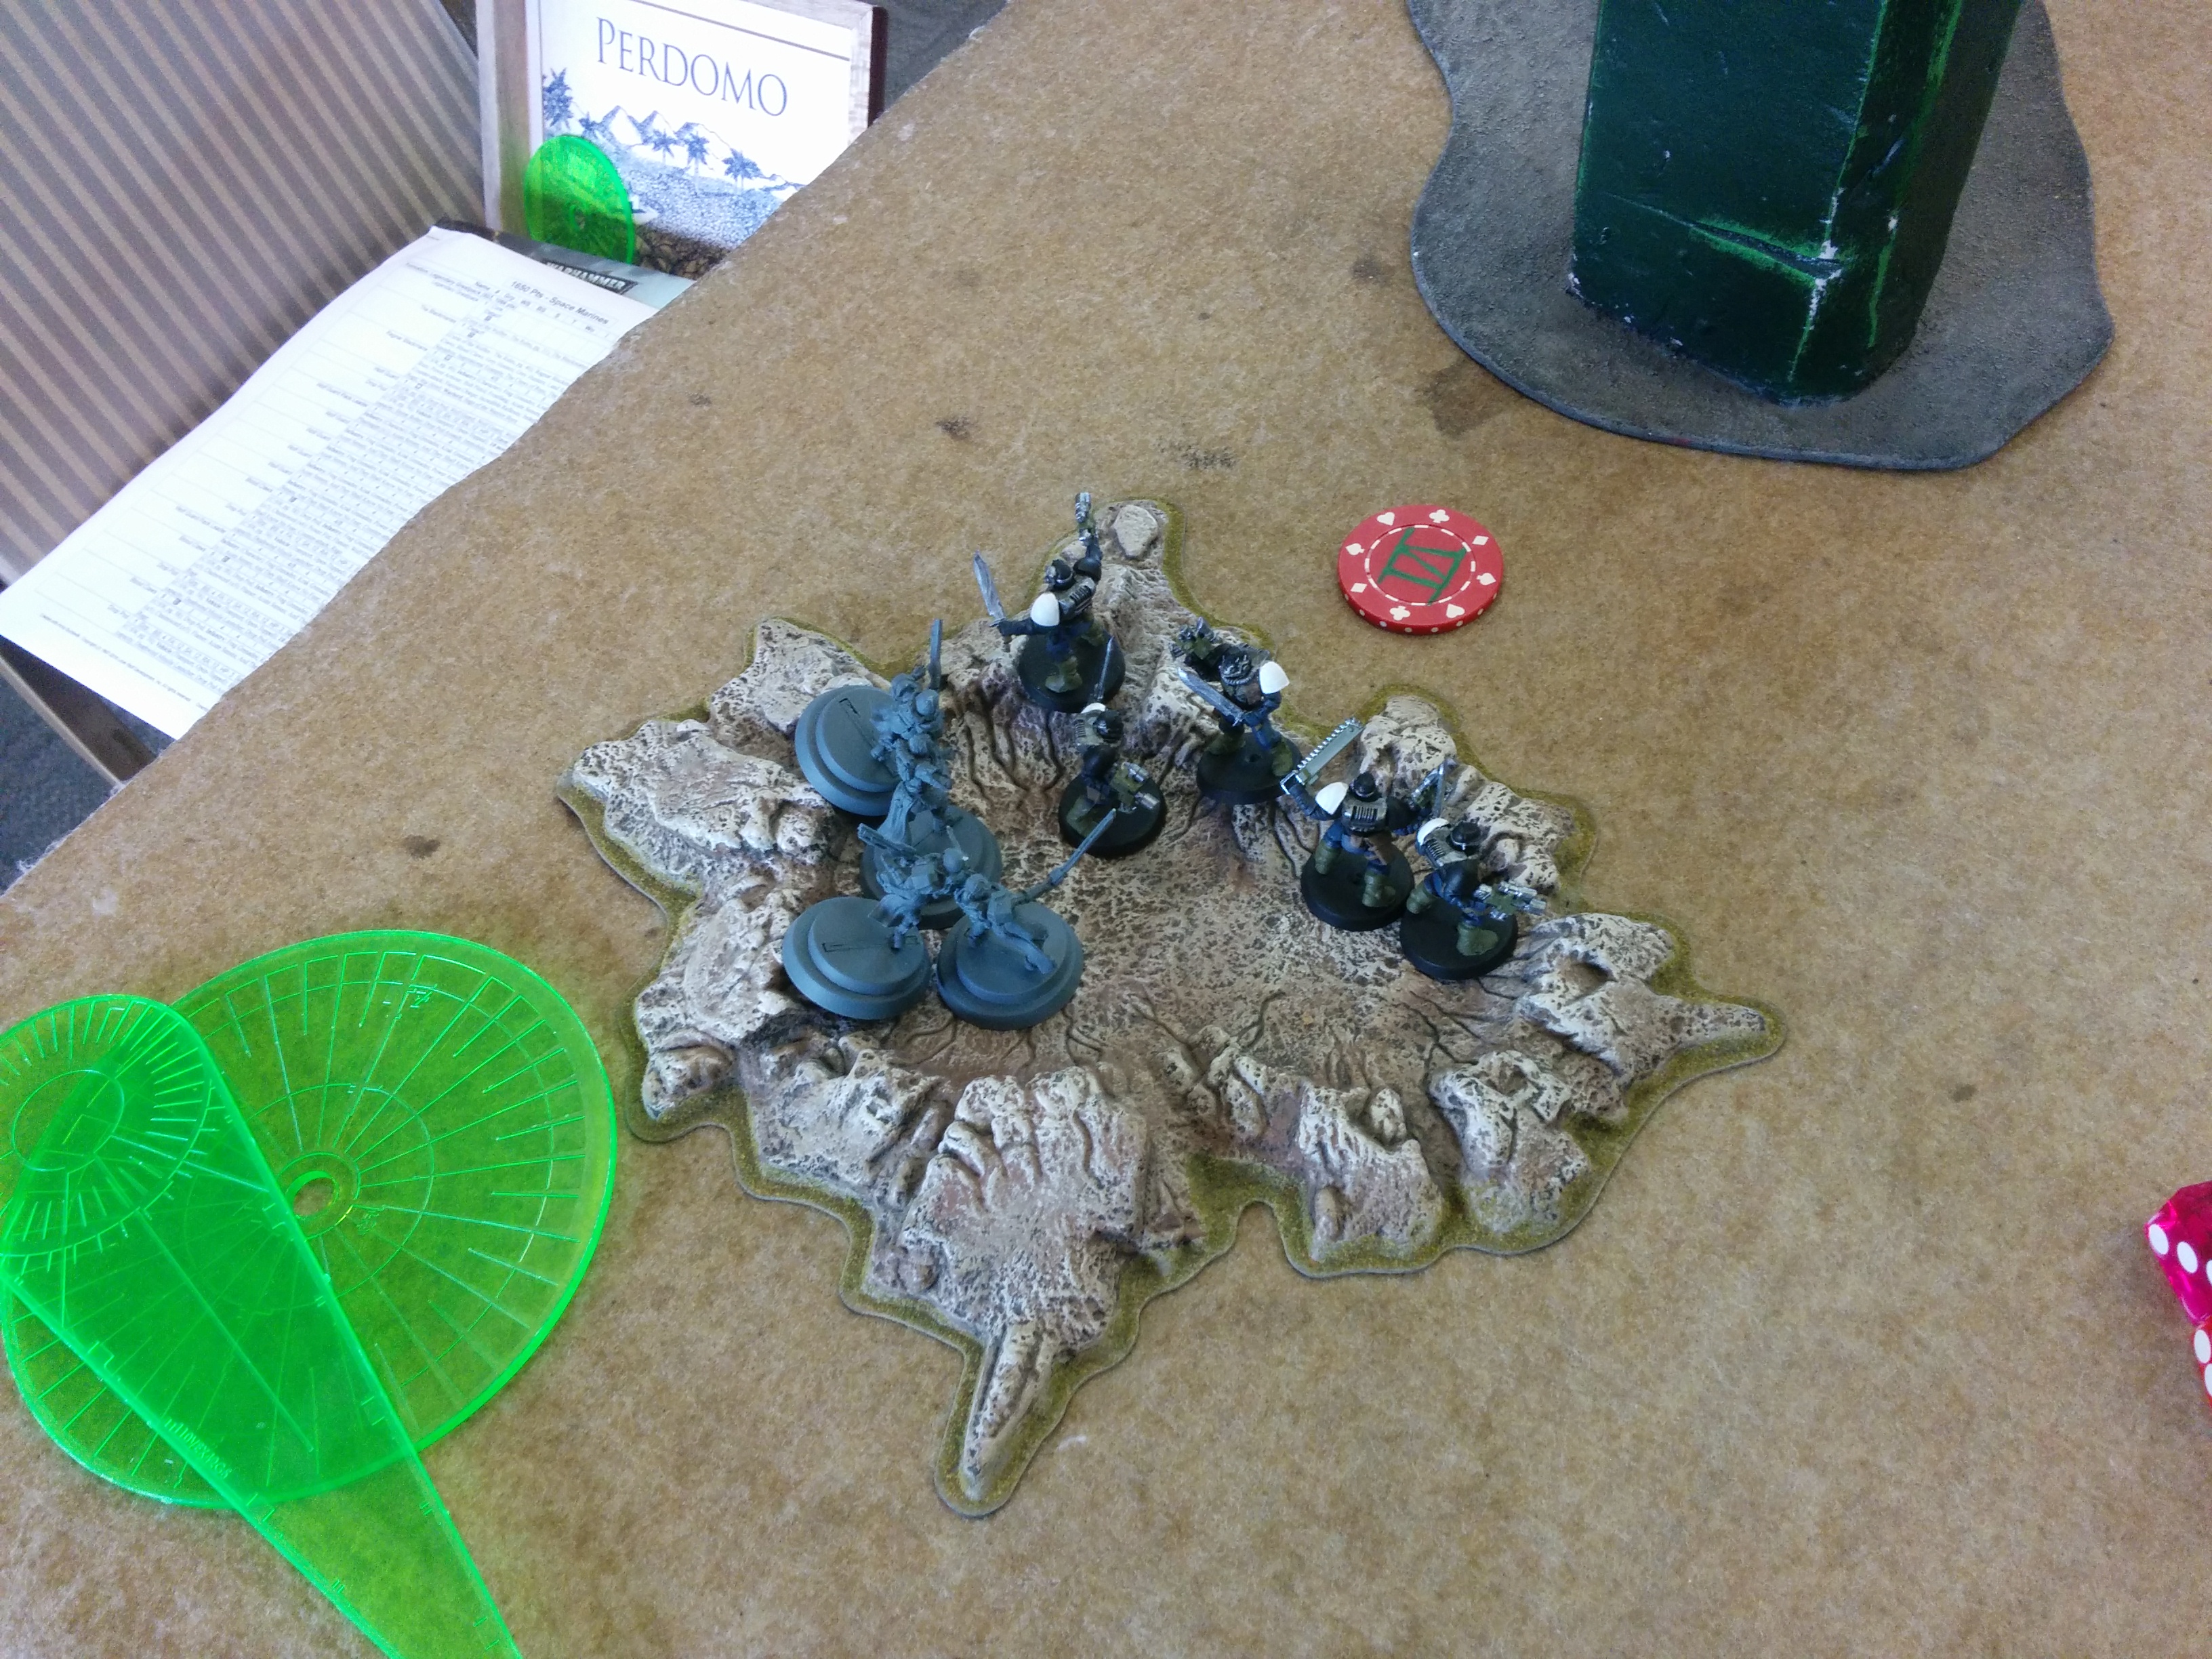
5x 10-Fenrisian Wolves
1850/1850
Army Overview:
Danny has an article about his wolf-tide list on TFG for you to check out that goes through the numbers. The long and short of it is that the list is a typical Superfriends build but with a big difference in the actual bread of that sandwich. By having 50 wolves with a 4++ and possibly Feel No Pain (not to mention all the psychic buffs the list can put out), there are a lot of ablative wounds to chew through here, and with Hammerhand up, the wolves can each dish out 4 strength 6 attacks on the charge at WS 4 and rerolling to hit in the first turn of combat. Danny’s designed the list to be fast enough to catch Eldar jetbikes and Warpspiders but strong enough to one-round a Wraithknight as well as be able to soak up the firepower of Riptide Wing and Double-Surge. It even has an in built advantage against Grav-weapons as the common armor save is 6+, meaning Centurions (like John’s) have little impact on the game. This is has all been theory-hammer though, and this is the first true road-test. John’s list is brutal, and John has about a million times more list fluency with this kind of build than Danny, so Danny is a bit nervous that his generalship will not allow the Wolf-tide to fire all cylinders.
John’s Blackmane’s Drop:
Wolfclaw Strike Force
Blackmanes Legendary Great Company
Ragnar (Warlord)
Wolf Guard (5) 4 Combi-Plasma, Drop Pod.
Blood Claws (6) Fist, Flamer, Wolf Guard with Fist, Drop Pod with Deathwind.
Blood Claws (6) Fist, Flamer, Drop Pod with Deathwind.
Blood Claws (5) Flamer, Drop Pod with Deathwind
Grey Hunters (4) Meltagun, Wolf Standard, Wolf Guard with Combimelta, Drop Pod with
Deathwind.
Grey Hunters (4) Meltagun, Wolf Guard with Combimelta, Drop Pod with Deathwind.
Land Speeder, Multimelta
Land Speeder, Mulitmelta
Long Fangs (2) Drop Pod
The Curseborn
Muderfang with Drop Pod
White Scars Allied Detachment
Librarian Mastery Level 2, Axe, Hunters Eye (Ignores Cover for unit’s shooting attacks)
Scouts (5) Camo Cloaks, Sniper Rifles
Centurions (3) GravCannons, Hurricane Bolters
Drop Pod
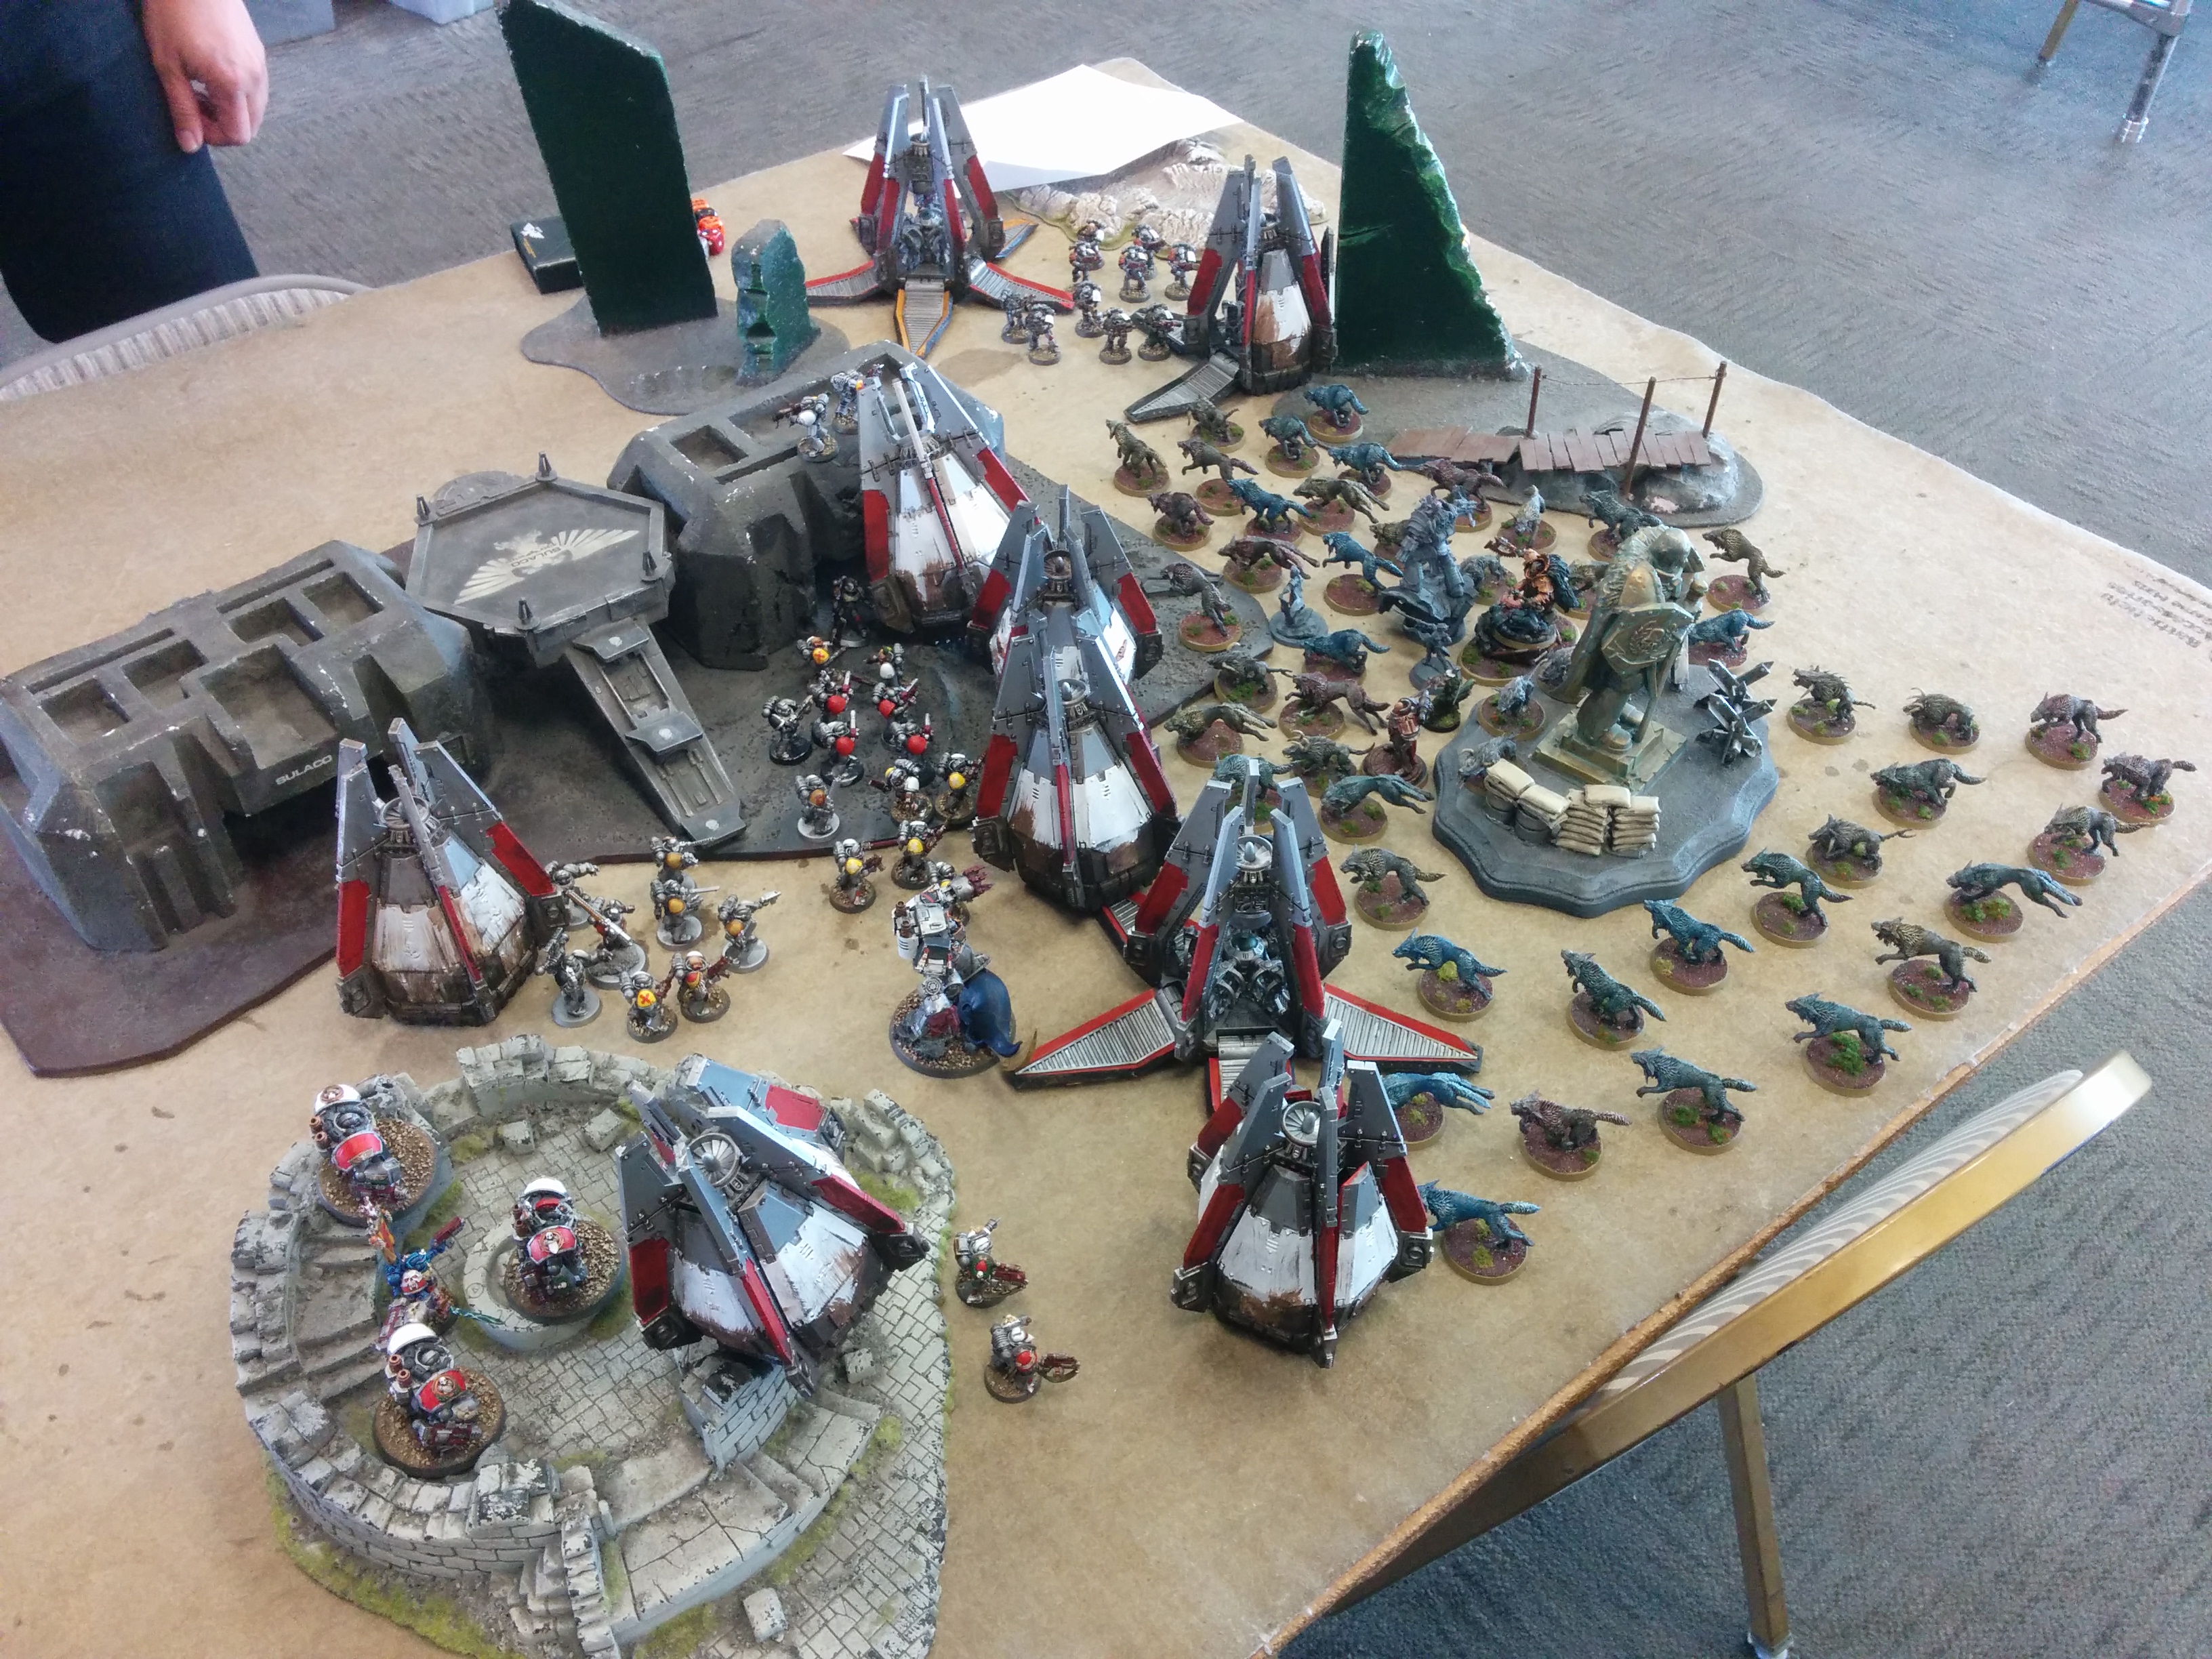
Army Overview: First off, yes, John knows that he is a bit short on points. He has since rectified that mistake. The Blackmanes means all the pods come in turn 1. This army is an Alpha Striking pain in the ass. It all drops in, hits hard thanks to the Grav, and can follow it up with a good assault phase. The Bloodclaw units all have upwards of 40 attacks on the charge, more if the Wolf Standard is close enough, they reroll to hit as long as Ragnar is alive, and Ragnar’s unit has Furious Charge as well. Murderfang is a great unit to throw at Riptides or a wounded Stormsurge/Wraithknight. You see where he is going, right? He built the list because he used to play a 9 Drop Pod Battle Company, but he found with the new Eldar and Tau builds that 5 pods on turn 1 wasn’t enough. Even if he ran 11 pods, and had 6 show up turn one, the rest just came on too late. Tau in particular just shreds your Alpha Strike if it depends on Deep Striking units. John actually began building the components to a newer shooting and tank based Battle Company when the Curse of the Wulfen debuted and changed it all. By getting 9 pods to drop turn 1, his hope has been to simply overwhelm his opponent by bringing too much of his army to bear too quickly. Hit them with a quick jab of shooting and then throw the right hook in an unexpectedly powerful assault phase. So far it’s worked. Even against Deathstars, the list should be ok, but the Wolftide is an entirely different beast.
ITC Mission 4: Primary: Scouring. Secondary: Modified Maelstroms (Hold 1-3, Kill a unit 4-6)
Tertiary: Slay the Warlord, Big Game Hunter, King of the Hill.
Hammer and Anvil Deployment.
Turn 1

Danny: John won the roll to go first and gave it to me. This was a double-edged sword for John as it allowed me to get my psychic phase going and add a layer of protection, but if he had gone first, he is giving me bottom of the turn to position, and since my list has 4 obsec units that deepstrike or outflank, I have the opportunity to steal away objectives.
My first turn was all about getting two powers off: Endurance (yay, he rolled it!) and Sanctuary. I managed to get Sanctuary off, which gives the unit a 3++, but I did not get Endurance to activate (oh the joys of a psychic-reliant army). As Azrael allows me to choose my Warlord trait, I opted for the Feel No Pain when within 3 inches of an objective as I was being cautious. I could have gone for more speed or more power, but I wanted to ensure that I had a redundant source of FnP to be able to tank the alpha strike. I positioned to create a few traps of possible mishap for John, and waited to see if my deathstar had an exhaust port ready to be bombed like a womp-rat.
John: My turn one was focused on one thing initially: Penning in Danny’s Wolftide with a wall of Drop Pods. My unusually good luck with scatters wasn’t with me today, and I left an opening on his right (my left) flank for the dogs to get a charge off on units other than Drop Pods. I played the Centurions conservatively, not wanting them to get charged to death immediately and hoping they’d be able to help out with the Strike squads that would be deepstriking in my backfield. I was able to do a lot of damage despite the dogs having a 3+ Invul and FNP (13 dogs dead in the first turn). Luckily, Danny was unable to cast Endurance. The Deathwind launchers were reaping one bloody toll on those dogs.
Turn 2
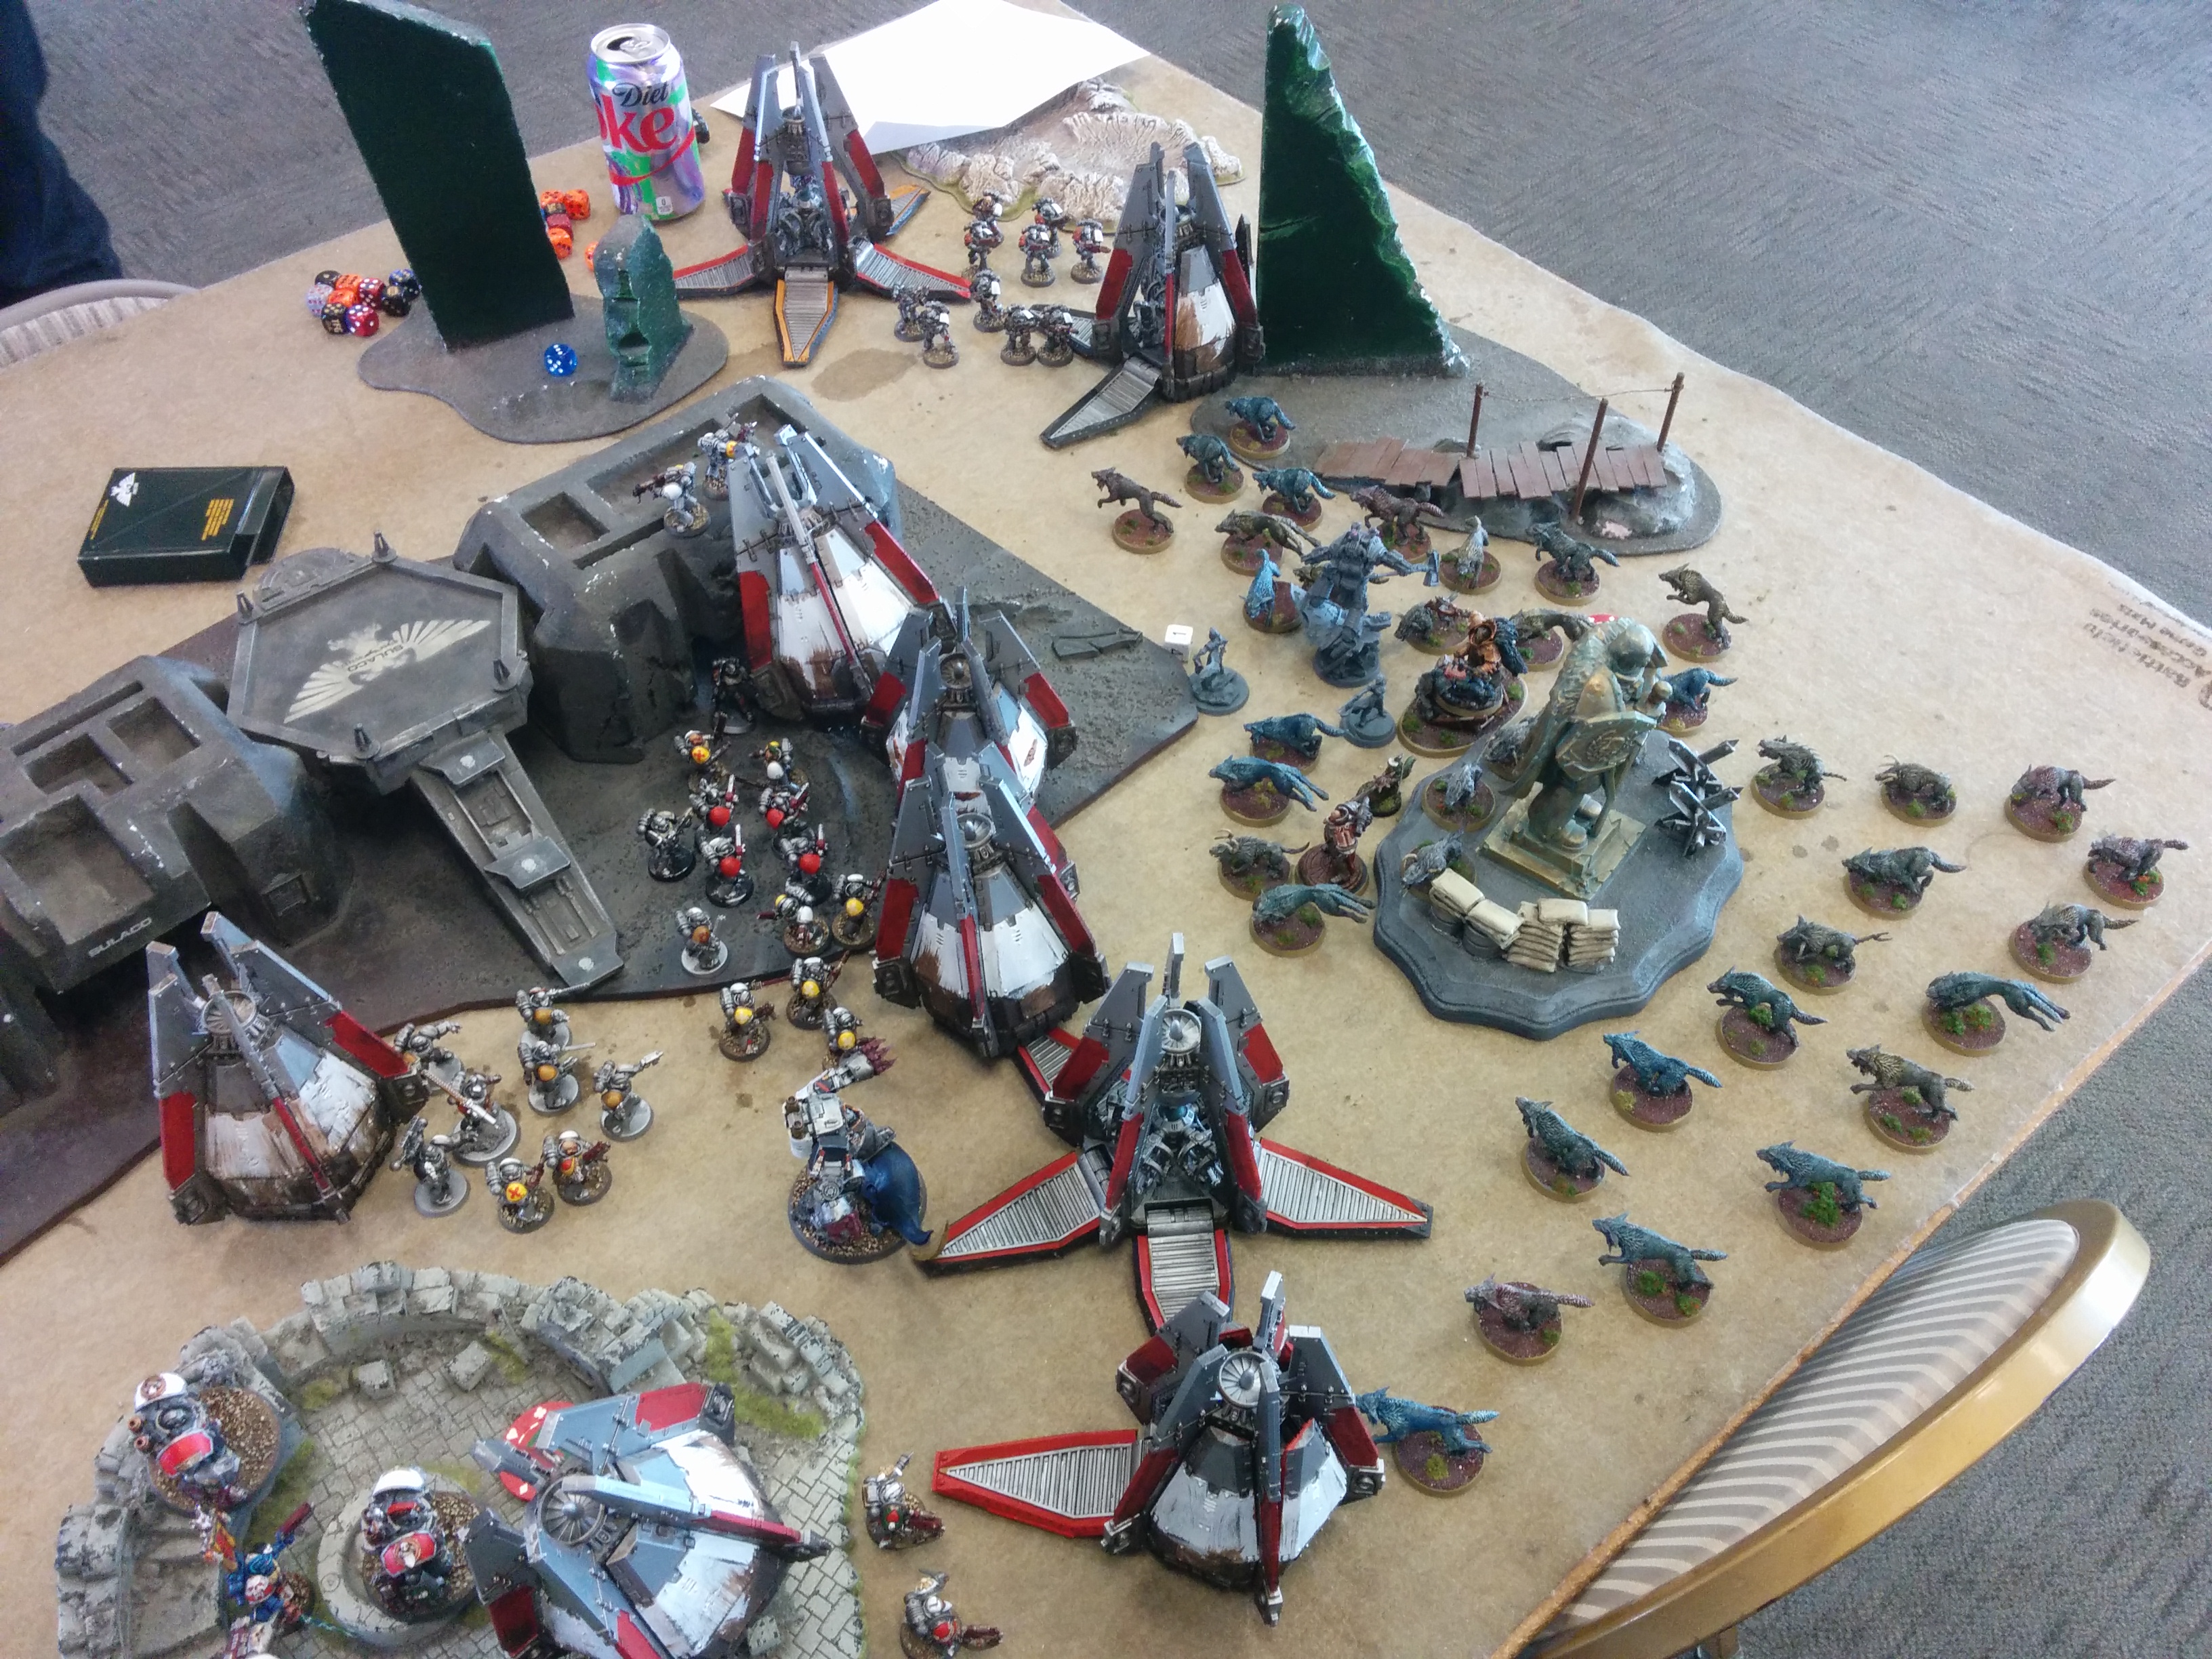
Danny: I survived the alpha strike, and I felt good. Losing 13 dogs was scary as the unit loses a bit of punch once it goes below 20, so I only had another 17 dogs before hitting that threshold. Draigo even took a wound despite the 2++, but now I was able to go on the offensive. I positioned the massive blob of wolves to be able to multi-charge 5 different pods as well as two units. Positioning is key as I have to ensure that my primary charge target is close enough to where I don’t fail, but also not in the position where most of my dogs or characters have to charge towards it. During my psychic phase, thanks to my Strike Squads and Purifier’s coming on, I had more dice to throw. Endurance, Sanctuary, Hammerhand, and Warpspeed all activated, giving my unit +2 strength, +1 to invul saves, 4+ FnP, and my Bike-Libby +3 attacks. I “shot the moon” for Maelstrom and went for kill 2 or more units, earn 3 points, and thanks to the Drop Pods, I reached that handily. I killed each pod I hit, all but one Bloodclaw, and several Grey Hunters. In John’s backfield, my Strike Squads did little to hurt his camping Scouts, but I was putting pressure there.
John: After Danny so deftly dealt with my wall of Drop Pods, I figured my best chance would be to counter charge his Wolftide Star with everything I had. I needed to see if I could do enough damage to the dogs to get after some of the characters, or at least whittle it down enough that I could stop worrying about it and focus on the objectives. None of that panned out unfortunately, and while my scouts had unusual success against one squad of his Strike Squads, Danny was going to shoot the moon two turns in a row on Maelstroms and make the secondary mission effectively dead in the water for me. The game was easily decided on this turn. My surviving Bloodclaws and Ragnar’s unit made a valiant attempt, but with the 3++, a 4+ FnP, and Draigo/Azrael/Grey Knight Librarian swinging before everyone but Ragnar, too much damage was done to my counter-attack before it could inflict any real losses on the Wolf-tide. Ragnar survived a challenge with Draigo, but the Force-Axe Librarian finished him off after the wolves wiped out his unit.
Turn 3
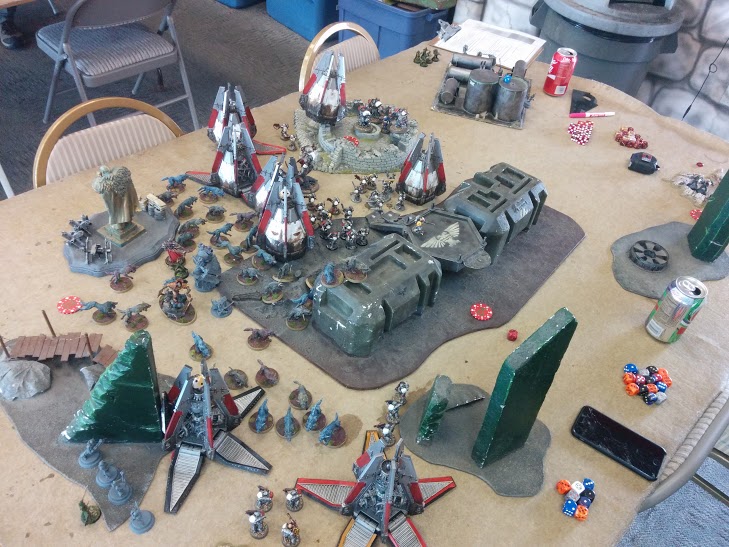
Danny: John’s turn 2 did not go well for him, and thus, the game was about me sweeping in and ensuring that I had the maelstrom won and then focus on primary. With Ragnar’s unit dead, all of the blood claws, and only one unit of Grey Hunters and two naked Longfangs to hold his center along with Murderfang’s pod, I knew I could push into the center and set up a sweep of his backfield in turn 4. I managed to repeat my awesome psychic phase and get the unit at full capacity again, and I multi-charged into the middle of the table, shooting the moon again on maelstrom (I was at 7 points now), and cleaning out the Drop Pod, Grey Hunters, and Longfangs. Positioning was key, and I could have tried for the Centurions, but it would have made maintaining unit coherency difficult, so I had to go with what was reasonable. On turn 4, I could easily take out the Centurions. In John’s backfield, my last unit of Scouts arrived to take away one of his objectives (and thus preventing him from shooting the moon), and my Strike Squad charged in and forced his last surviving Scout to flee from the other objective in the backfield.

John: This turn was a formality; I just wanted to shoot at the star one last time to see how many of the wolves I could effectively peel off in three rounds for future reference. This was a test-game as is, so while I knew it was over, I needed to gather some real-world intel before conceding. Turn 3 ended with 18 minutes left on the clock and the game at a “natural” conclusion (I was obviously going to be damn-near tabled by turn 5). We were both playing a bit slow in the beginning, but the game would have only lasted another 15 minutes anyway.
Post Game Thoughts:
Danny: Wolf-tide works! I was quite impressed with how resilient and hard-hitting the unit really is. I am sure that there will be games where I do not get Sanctuary or Endurance, and those games will hurt, but I am much more sure of the list after facing such a hard-hitting army. Moving and positioning for charges takes time, and this game took a solid 2 hours for only 3 full turns, but I am sure with more practice, I will be able to set up my charges in a much faster fashion. John’s army is scary, and I think he has some strong moves against this list when we do a rematch. His idea to pen me in was definitely the correct one, but I think the layered defense would have been better. Had he fallen back, sacrificed the bloodclaws to slow me down, and then had another turn to shoot at me before the final charge, I would wager he would have done enough damage to make it a much fairer fight. In either case, I’m quite proud of my Wolf-tide in its debut, and now I just need to try it against Travis’ Tau and Adam’s Renegades (pie-plates suck!).

John: Wolftide is a mean beast. Against the smaller Deathstars like Draigowing, Thundercav, Screamerstar, Superfriends, etc, the Blackmanes alpha strike, penning maneuver and subsequent charges make a big dent. The problem is that Wolftide is a wholly different animal. It’s too many models to eat through effectively that are too resilient for how many there are. It was a good game, but if high model-count Deathstars become more of a thing, I will have to rethink the list quite a bit. I am still going to play the Blackmanes at the April tournament in Pasadena, but I’m continuing to build my more shooting based Space Marine army and my ThunderWulfenScarStar list as well. At least I wasn’t over on points 😉
That’s it for this battle report, but stay tuned for the April tournament report!