Hey all, Danny (Lemurking) here, and we just finished our monthly ITC RTT. This month was a bit different as this was our first outing with 1650, and well, soon my time will evaporate, so I relished the opportunity to play a full day of 40k and test out of my Wolf-Tide.
Without further ado, here is my list and here are my abbreviated reports:
Wolf-Tide @ 1650
Grey Knights Nemesis Strike Force (ITC Primary)
Librarian, Level 3, Daemonhammer, Liber Daemonica (Santic)
Librarian, Level 3, Daemonhammer (Santic)
5-man Strike Squad with 1 psycannon
Draigo
Dark Angels CAD
Librarian, Level 2, Force Axe, Bike (x2) (Telepathy)
5-man Scout Squad (x2)
Azrael (Warlord)
Wolfkin Formation
13 Fenrisian Wolves
10 Fenrisian Wolves (x4)
Round 1: Tau
Mission: Big Guns Never Tire Deployment: Vanguard
Brenden’s Riptide Wing/Drone-Net/Tau CAD
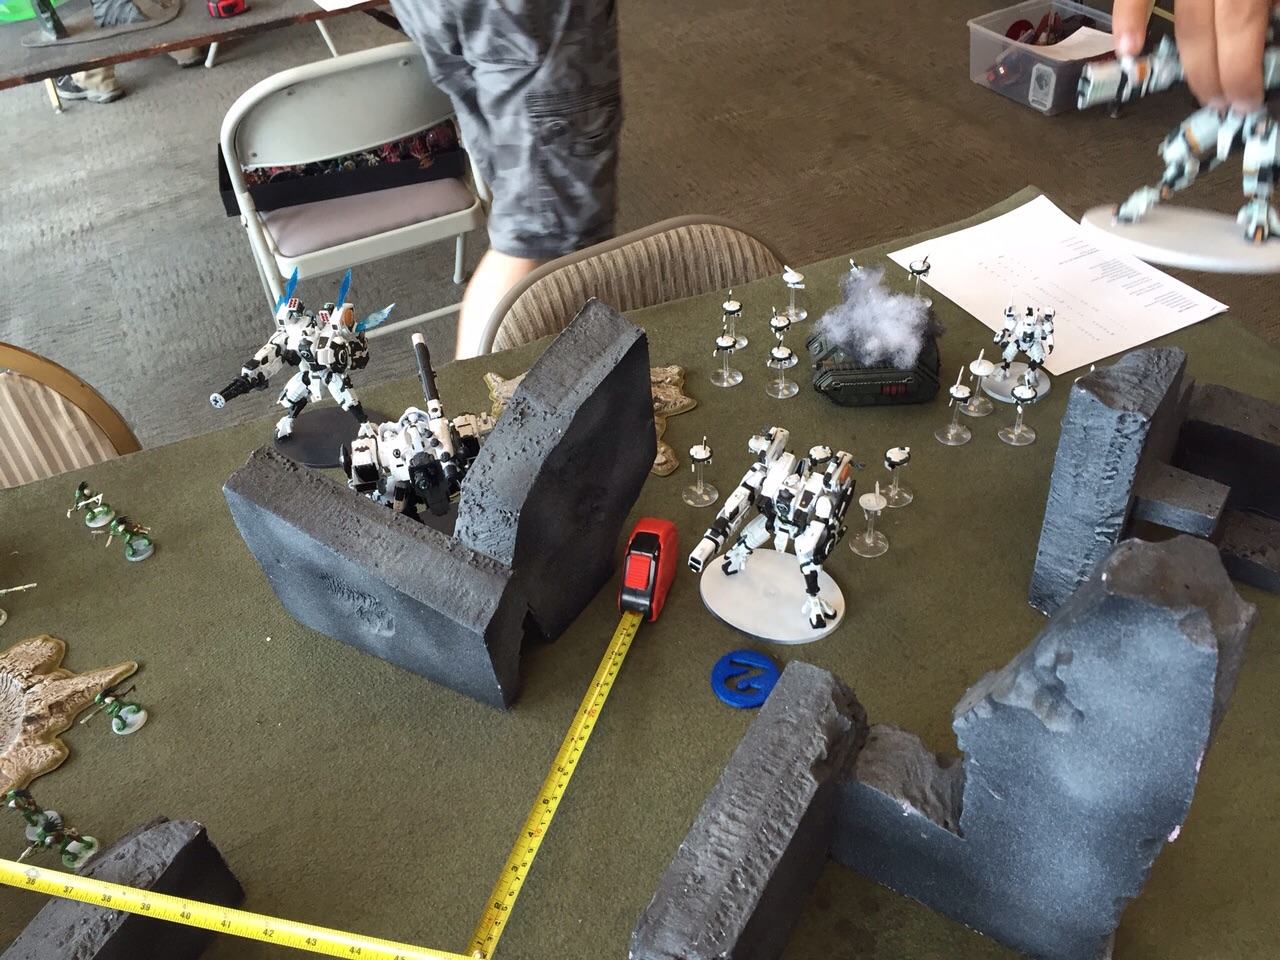
Wow, so my first match-up for the day is a true road-test of Wolf-Tide: Tau with Riptide Wing. While the list is not the standard Frankie special of Riptide Wing plus double-stormsurge, it definitely had a lot of punch with the Wing, a single Surge, and the Drone-net formation. He had all the markerlights he needed to make sure he was hitting on 2s, and thank the fuzzy lord that I did not rely on cover saves.
He deploys first with his Surge in the back corner and a Riptide on each flank and one in the center. His Dronemander and a squad of drones also take center next to the Riptide. His Kroot form a buffer line in front of his army, and all in all, it was smart deployment. I set up on my front line, Draigo out front and the support characters in the middle of the blob. I deploy my Strike Squad on the table, camping an objective out of LoS from his army. They will do nothing all game but hold that objective.
As he has a Superheavy and I have Azrael, I seize on a 4+, and I definitely take the shot and get it.
Turn 1:
I rush his center line, trying to fan out the dogs as much as possible to get multi-charges off on turn 2 against as many targets as I can. I know I’ll have to eat the Kroot first, and I needed to be the position to at least eat both units and maybe even a drone unit (or if he positions poorly, a Riptide). I did roll Invis on both my Librarians, but I failed to cast it. I did get Sanctuary and Hammerhand up, and being within 3” of an objective, I have Feel No Pain.
His first turn is nothing but markerlights and gunfire. He manages to get 9 markerlights on the wolves, and when all is said and done, I lose 13 wolves in the first volley. He jetpacks back with all of his biggies, and the Kroot spread out to keep me from shooting the gaps into his backline.
Turn 2:
I continue to push forward. One Scout squad comes in and hides in the top half of the field to set up for table-quarters. I again fail to get Invis off, but Sanctuary and Hammerhand do come up, and I even Psychic Shriek down a few Kroot to open up a charge lane to some drones. I charge into both units of Kroot and make a charge into a squad of drones. Thankfully, I rolled just enough to make to the drones. I mulch all the Kroot and one drone survives and flees. He will not rally next turn and jumps off the board; his self-preservation programming going strong.
Brenden’s second wave of fire is far less impressive this time due to some poor rolling and some hot dice on my part, and only 7 dogs go down to his volley. At this point, barring any major catastrophes, I should be able to pull it out as he is backed into his own deployment corner, and I am scoring maelstroms at will.
Turn 3:
I move forward, ensuring a charge into his Commander’s unit and two Riptides. I get all my psychic powers up, including Invis, which is a bit needless at this point, and strip two wounds from one Riptide with a Shriek. I charge in, and the wolves put out the pain. Due to positions and multi-charging penalty, the wolves do not down any of the Riptides, but with my Force weapons, I pick up his commander and both Riptides.
Brenden is resigned to defeat, but he goes for the glory and unloads everything on me as well as charges in afterwards. When all is said and done, with some strong stomps and shooting, he downs another 8 wolves. I pick up the Riptide but am unable to finish the Surge as only Draigo is in range, and he missed too many attacks to chew through 8 wounds solo, but we call it at this point.
Final score, 11-0 for me.
Round 2: Tyranids
Mission: Purge Deployment: Vanguard
Stefan’s Skytyrant Swarm, CAD (stone crushers/malathropes)
This was not a pretty game for Stefan, and it only went to turn 3 although it was realistically over on the top of 2. He was the first round Bye, so he was definitely already in a bad place having to go against all the other 11-0s in the room. His list was not well-tuned, and while I more than appreciate trying to bring Tyranids back to their roots of being a melee oriented army, that codex simply cannot do it well. I think pentaflyrant would have made this a much tighter game, but I’d still wager that I would have won via scenario by simply being on the ground and eating whatever flyrant had to land to score. Either way, he had one hell of a uphill climb that was just too insurmountable.
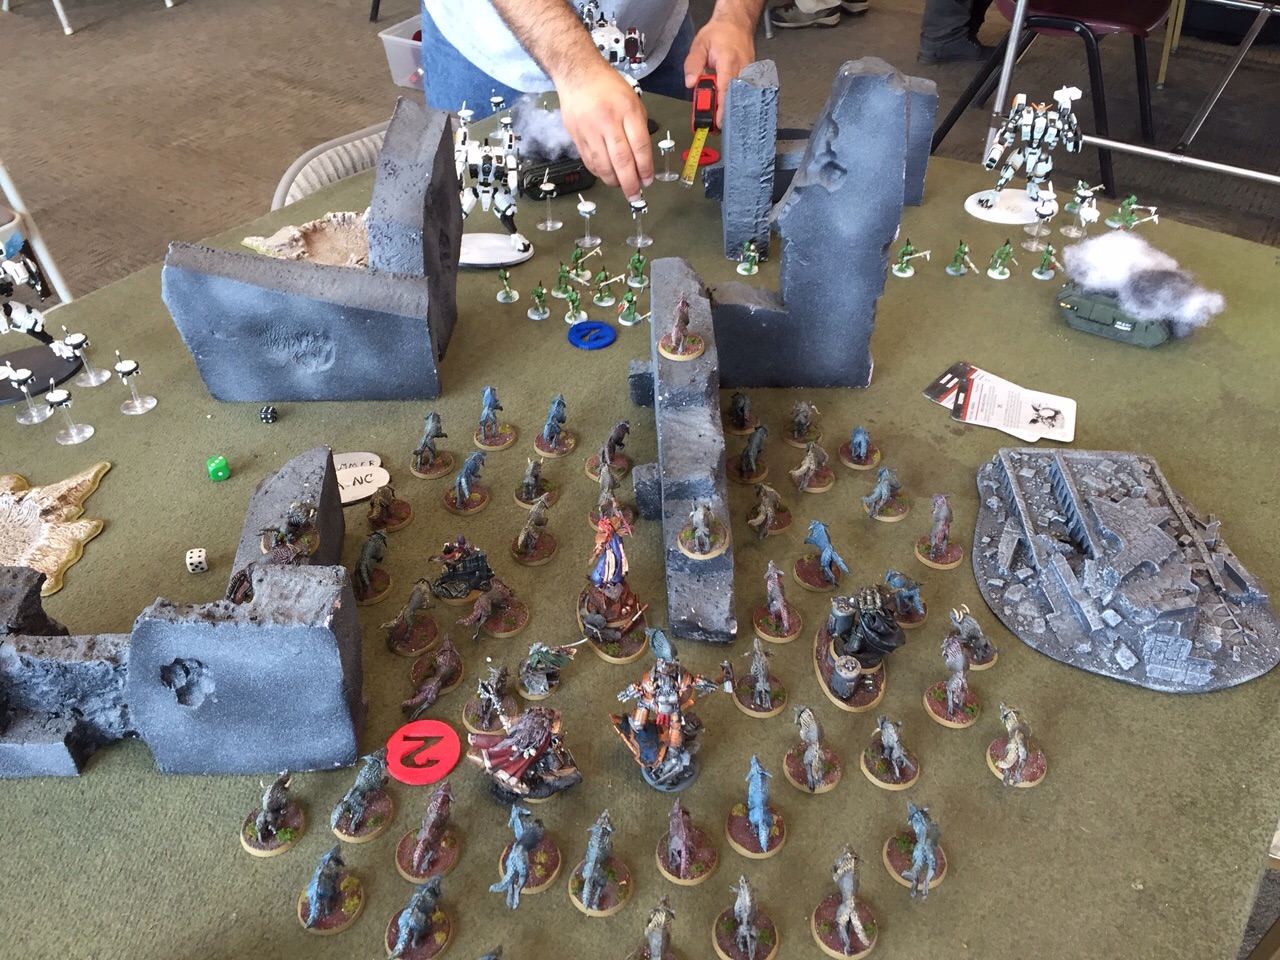
I win the roll-off and give him the first turn. I keep everything but the wolf-tide in reserve, and I deploy the Tide along the center line. He deploys his Skytyrant and Stone Crushers on the center and infiltrates a Lictor to take the center objective. He has a wave of a hormagaunts behind the malathropes with another unit of hormagaunts holding a side objective as well as a unit of genestealers in the backfield.
Turn 1:
His army advances except for the backfield troops. The lictor camps the center objective. He tries to paroxysm the wolf-tide, but with a psyker, and level 3 to his level 2, I dispel on 4+, rerolling 1s thanks to the Aegis. I turn off Catalyst as well, keeping his Tyrants from having Feel No Pain.
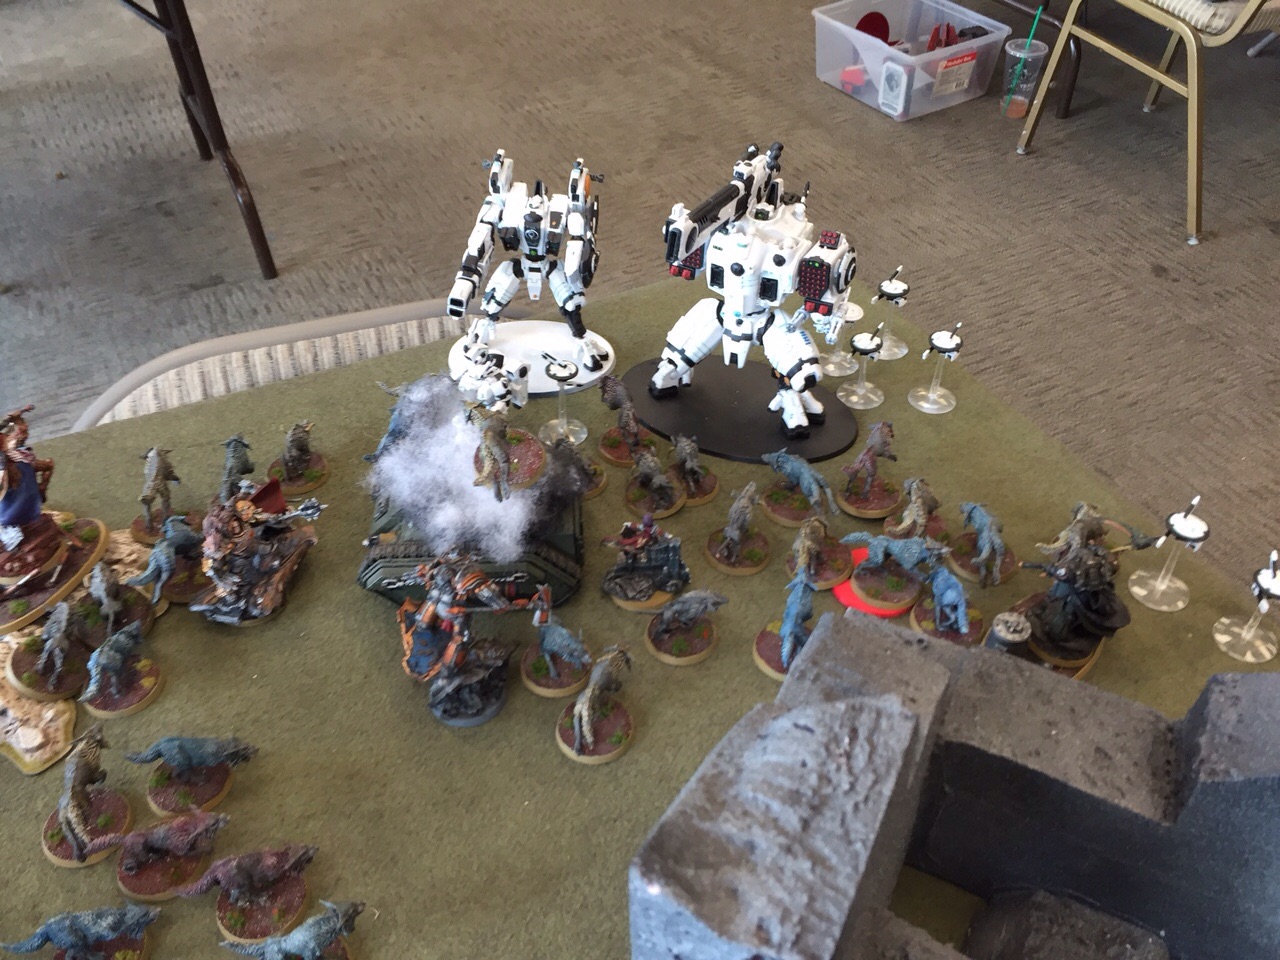
I rush forward to meet his army, and I get Sanctuary, Hammerhand, Force, and Invisibility active, and my Wolf-tide easily sweeps up the Lictor, most of the Skytyrant, and his Carnifexes. After the end of combat, only two gargoyles and his hive tyrant are left, and he pulls me slightly to the left of the field.
Turn 2:
He tries to rally his forces and throws both units of hormagaunts into my Wolf-tide. His other flyrant falls back to stay away from the death-machine as do his malathropes (as played by Trygons). I pick up all the gaunts and his flyrant, earning me slay the Warlord and a total of 7 Kill Points. I also scored my maelstroms by controlling the center objective as well as my backfield as my Strike Squad came in.
I push forward towards his lines, but he’s too far for me to make it into combat with anything. I get all my psychic powers up again, and I camp the center.
Turn 3:
He tries to position around me and contemplates throwing his genestealers into me along with his malathropes, but he then concedes the game as we discuss that I do not need to engage him anymore. By simply camping the center, I’ll still win 11-0.
Score: 11-0 for me
Round 3: Space Wolves and Dark Angels
Mission: Emperor’s Will Deployment: Dawn of War
Chris’ Deathpack/DA CAD/Wolfkin
The Mirror match! I knew this was going to be a tough fight as I knew Wolf-tide is strong, but we had very different takes on it, and I know Chris from past tournaments, and he is a savvy player. Instead of a psychic deathstar, Chris went with a leaner wolf-tide of 50 with just Azrael and a Chaplain for massed attacks, and he then used the points to field a Deathpack of 4 thunderwolves with a Wolf Lord and Grey Hunters. He essentially had two smaller death-stars, leveraging their speed and target saturation against my psychic star. I figured that my Star would be stronger, but then there was also the concern that my Wolf-Tide cannot be everywhere at once.
I win the roll to go first and take it. I deploy the Wolf-Tide and infiltrate one unit of Scouts to cover a maelstrom objective. I was trying to be cagey and play the scenario early, but I deployed poorly and Chris exploited this. He places his Wolf-tide on the left flank and his Deathpack on the right. I do not roll Invis.
Turn 1:
I move forward, trying to stay out of range of both stars but still forcing him to be smart where he moves. I do not readjust my scouts and leave them where they are. I get Sanctuary, Hammerhand, and Force up, anticipating a charge. My maelstroms are terrible, and I may not score at all this turn.
Chris splits the flanks, forcing me to make a decision. Because my Scouts are close enough, his Wolf-tide are able to charge, earning him a maelstrom and getting farther to my side than I want. He drops an empty pod into my backfield, giving him a chance to earn a full 2 maelstroms. This is going poorly.
Turn 2:
I make my biggest mistake of the game and decide to see how my Wolf-tide handles his. I shift to the left flank to hit him there and try to kill the drop pod so that I deny him a maelstrom and I earn myself one. All my buffs go up, and I multicharged the wolves and the pod. What I did is dumb for two reasons:
- I should have broken off one of my characters to handle the drop pod. I focused too much on getting the point and too little on the big picture as having one of my characters and some of my wolves pinned to the drop pod would weaken my position against his star. Also, multi-charging means I lose a lot of attacks.
- I should have sold out and gone for the Deathpack. With a 3++ save and 13 wounds, I was much more likely to cripple or outright destroy that unit. I should have dominated the right flank where the Emperor’s Will objectives were instead of fighting on the left flank.
Anyway, I hit his unit, and it takes us about 30 minutes to roll all the dice. When all is said and done, I’ve eaten about 18 of his dogs, and he ate about 12 of mine. I also did not kill the damn pod, so he will earn 2 points for maelstrom.
His turn 2 is focused on grinding me and eating my Strike Squad with his Deathpack. They are so damn fast, it was impossible to hide from them. Next mistake: I put my strike squad on his side of the board in the center rather than taking my own Emperor’s Will objective and making the Deathpack choose a side rather than riding the middle ground. We again fought our battle in the right, and my wolf-tide starts to eat him away, killing another 13 and only losing 6 in return.
Turn 3:
My last scout unit does not come in. I get my buffs up, and we continue to scrum, me killing more dogs but locked there. I am now handily killing dogs and losing very few in return, but I am not getting myself freed fast enough time-wise as each round of combat still takes 15 minutes.
His turn 3 saw his scouts come in and take the objectives, thus ensuring unless I freed myself immediately, I would have little chance of taking primary, and I was already losing maelstrom badly. Seeing the opportunity to pin me, he sends in the Deathpack who manage to kill a Librarian and several dogs while I get his Wolf-tide down to Azrael, Chaplain, and three dogs. I also down one of his Thunderwolves.
Turn 4:
We were running low on time, which was bad for me as I needed another two turns to have a chance to win. I finally eat through Azrael, the Wolf-tide, and Chaplain as well as one Thunderwolf, but I lose another Librarian and a few more dogs. Draigo is too far away in the scrum to be able to make it into the combat to start wreaking bloody havoc with his Force sword. I win combat, force the Cav to run, but I cannot sweep them as I have terminator armor in the unit.
His turn 4 is pro-forma. Round time is called.
I lose, 3-9.
I lost that game fair and square: Chris capitalized on my mistakes, and I did not take a second to breathe and reassess. I should have targeted the Deathpack first and made him come to me. One of my list’s biggest weaknesses is that it does not have a lot of units to camp objectives, and if I do get locked in combat, I cannot pressure the rest of my opponent’s army. I really like that Chris’ list has two major threats, one that can pump out attacks and the other than hits like a freight train, and both are intensely fast. If I had played smarter, I think I could have taken that game, but at the top table of even a local RTT, the lists become less a force and player skill factors in far more, and so all credit to Chris for being the better player.
Closing thoughts:
Wolf-tide is a legitimate list, and I definitely don’t feel bad losing to Chris or his own version of Wolf-tide. While I feel that the list is top tier (a term I do not use lightly), my lack of list fluency hurt me here as I made bad plays in my final game, and I think with more practiced hands (like Chris’), the Wolf-Tide can do some real work.
It is a young man’s list though as my back was KILLING me after the tourney. Ork (or Wolf) Back is real. Maybe I should try the Wulfen star instead…
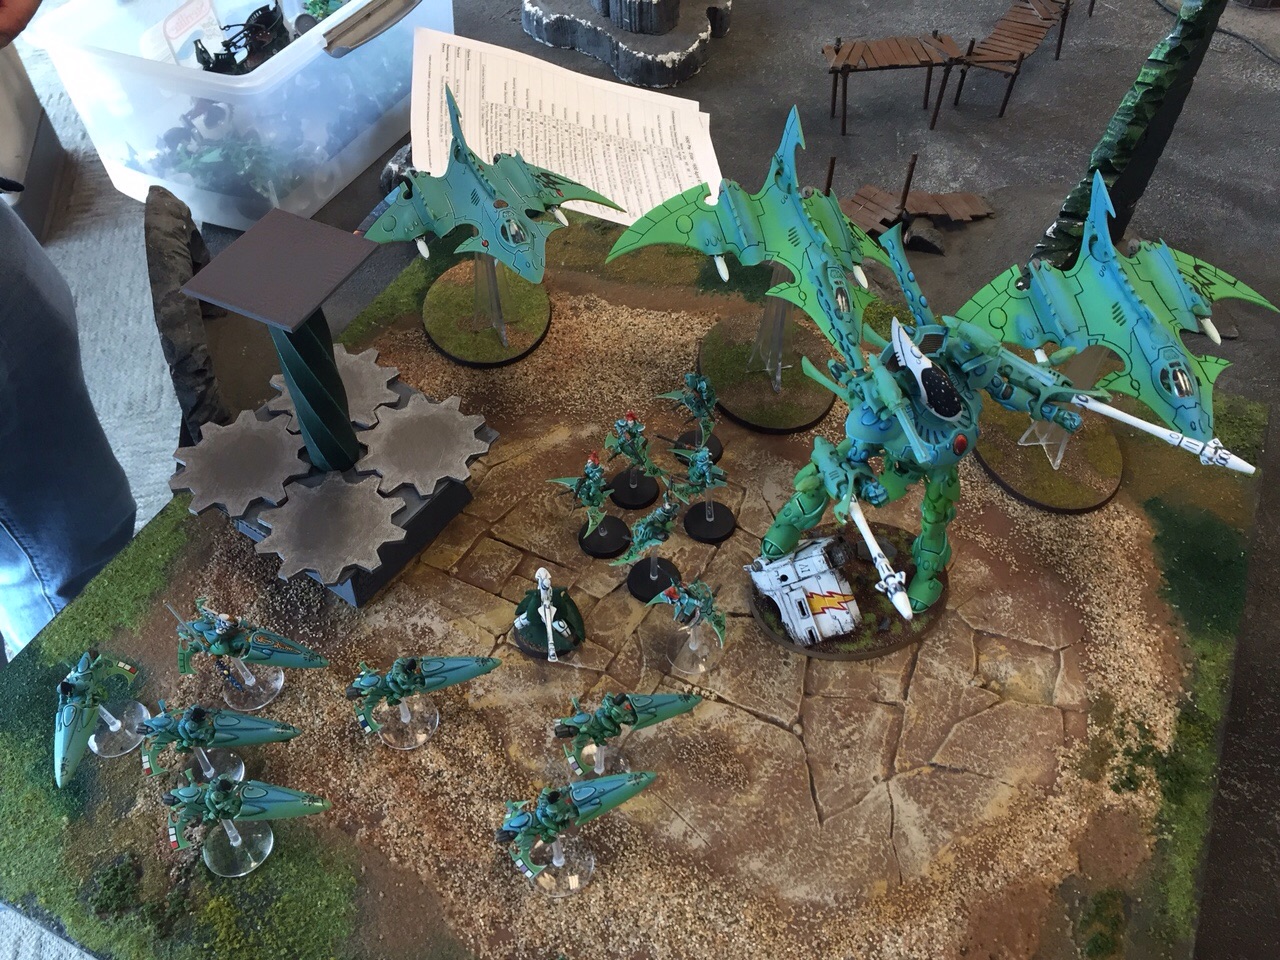
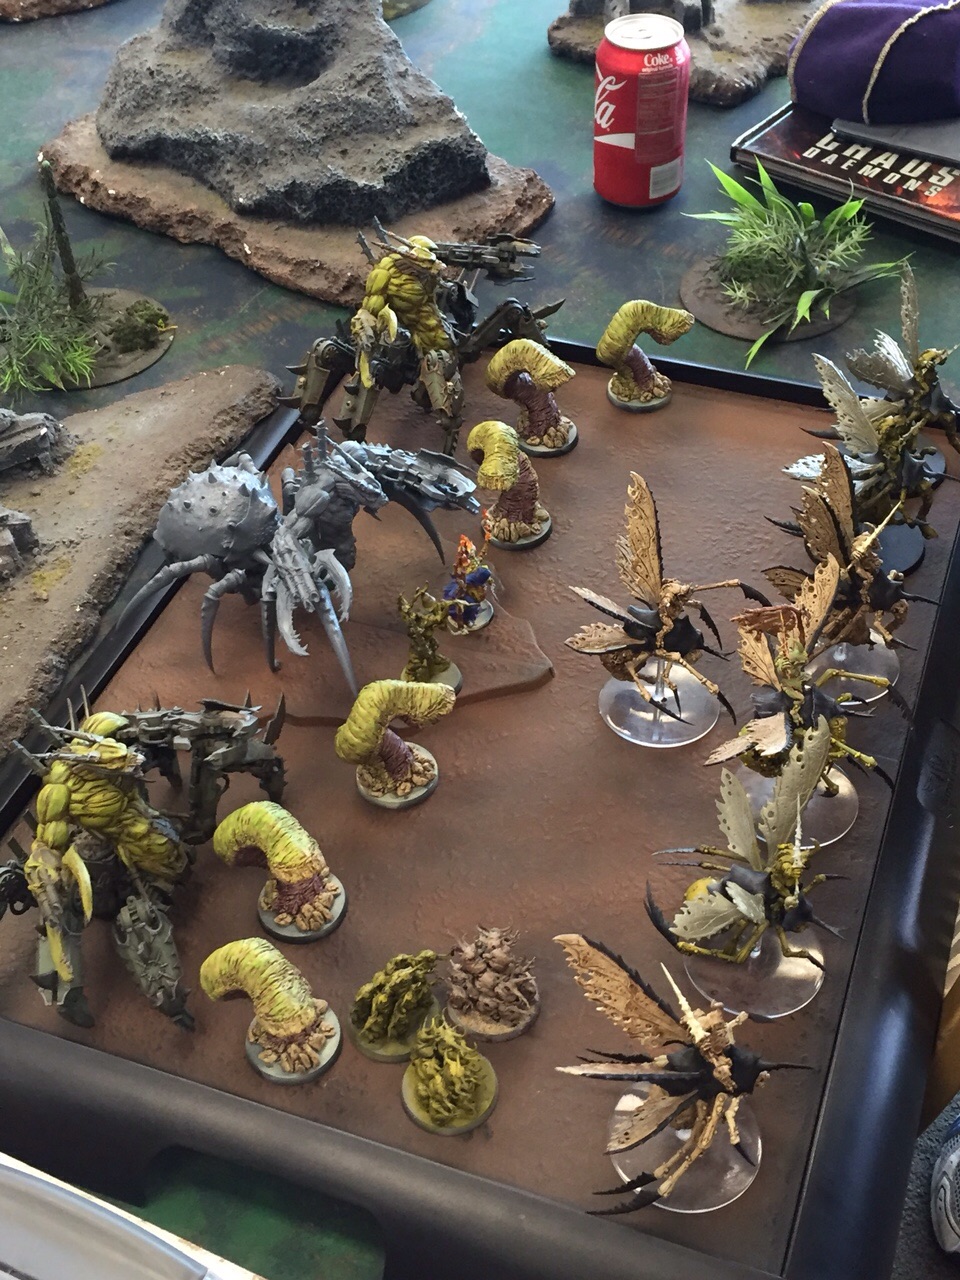
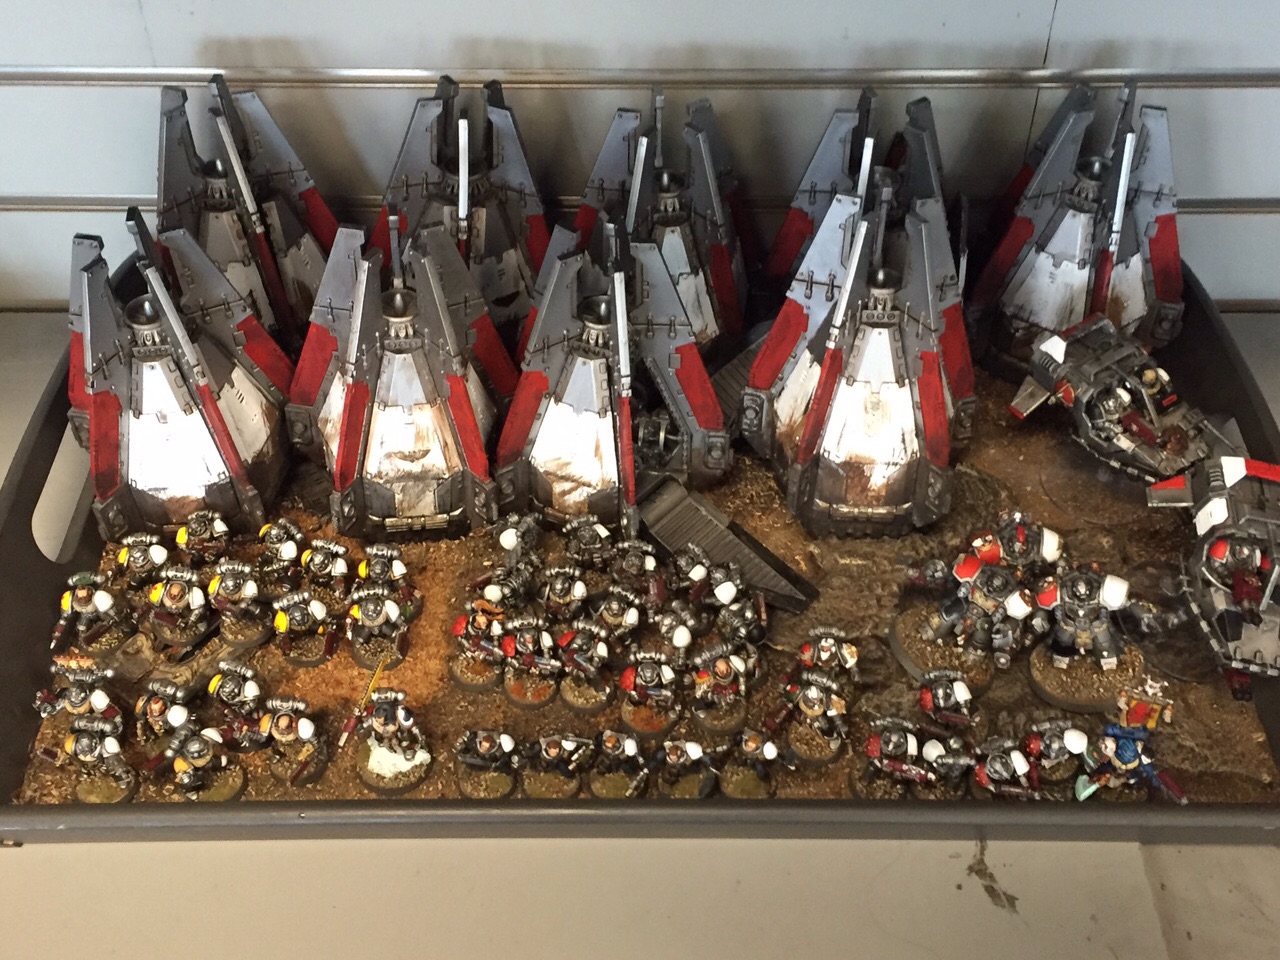
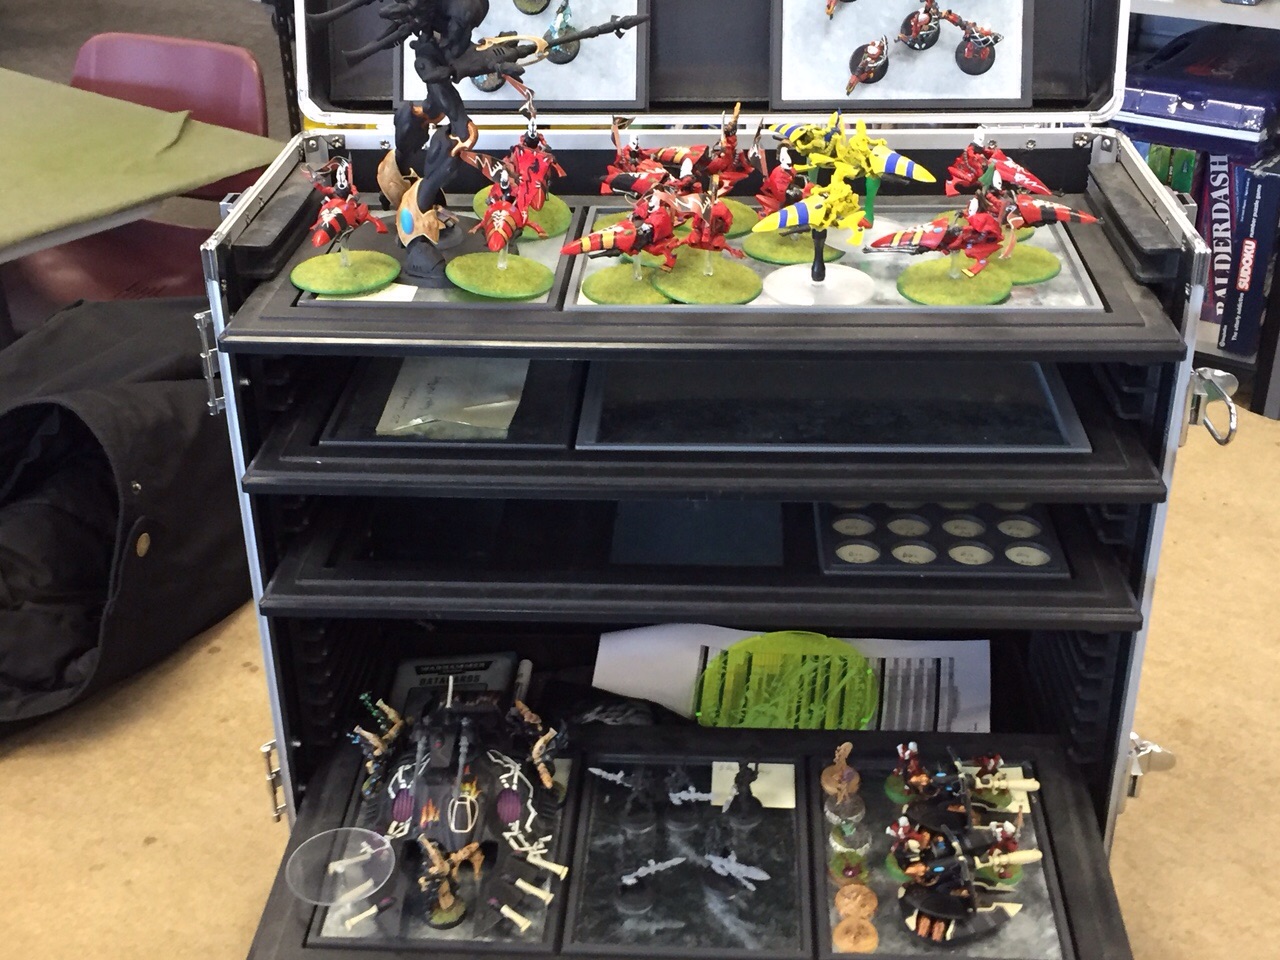
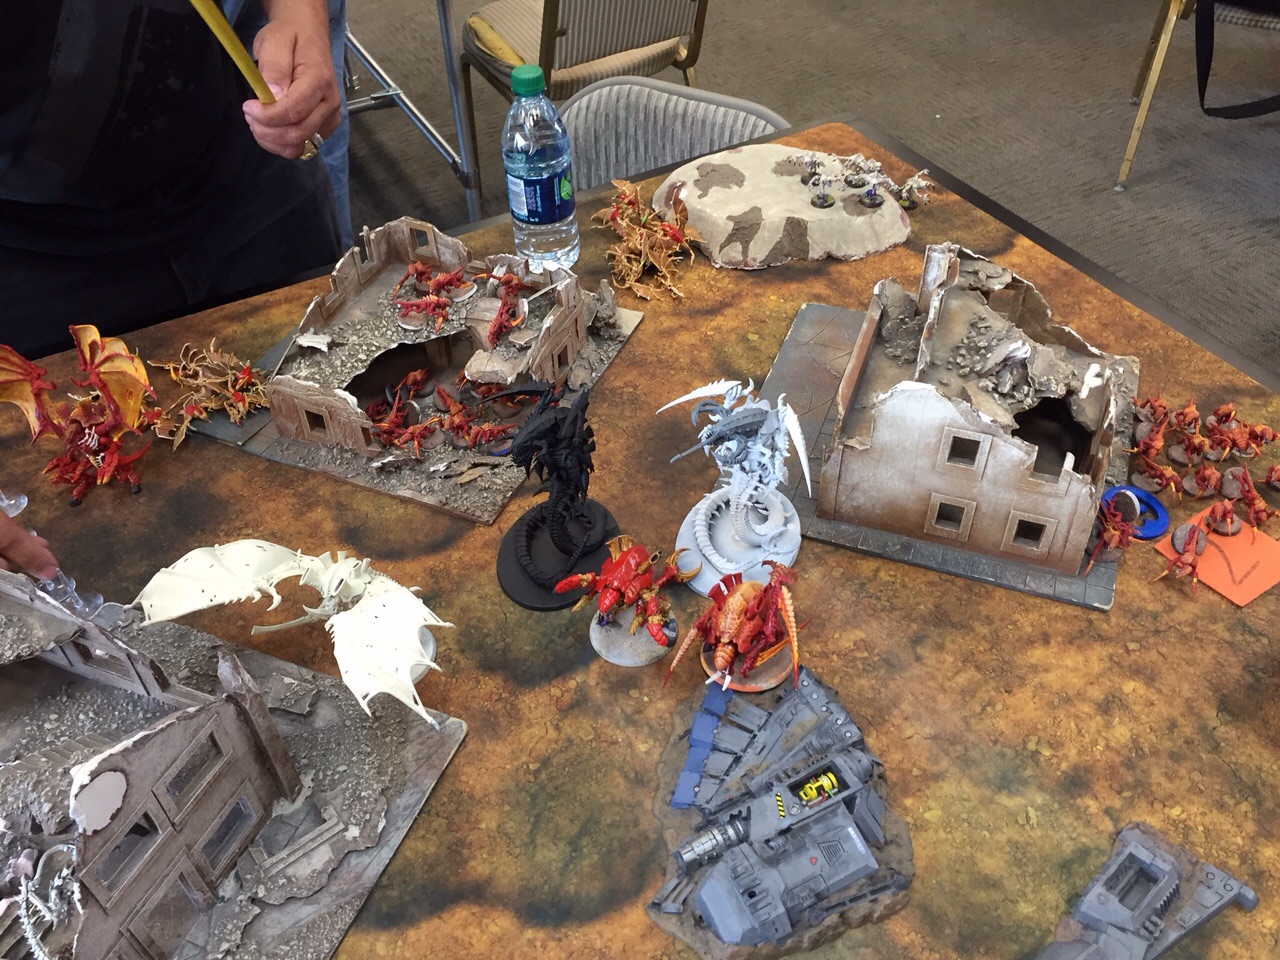
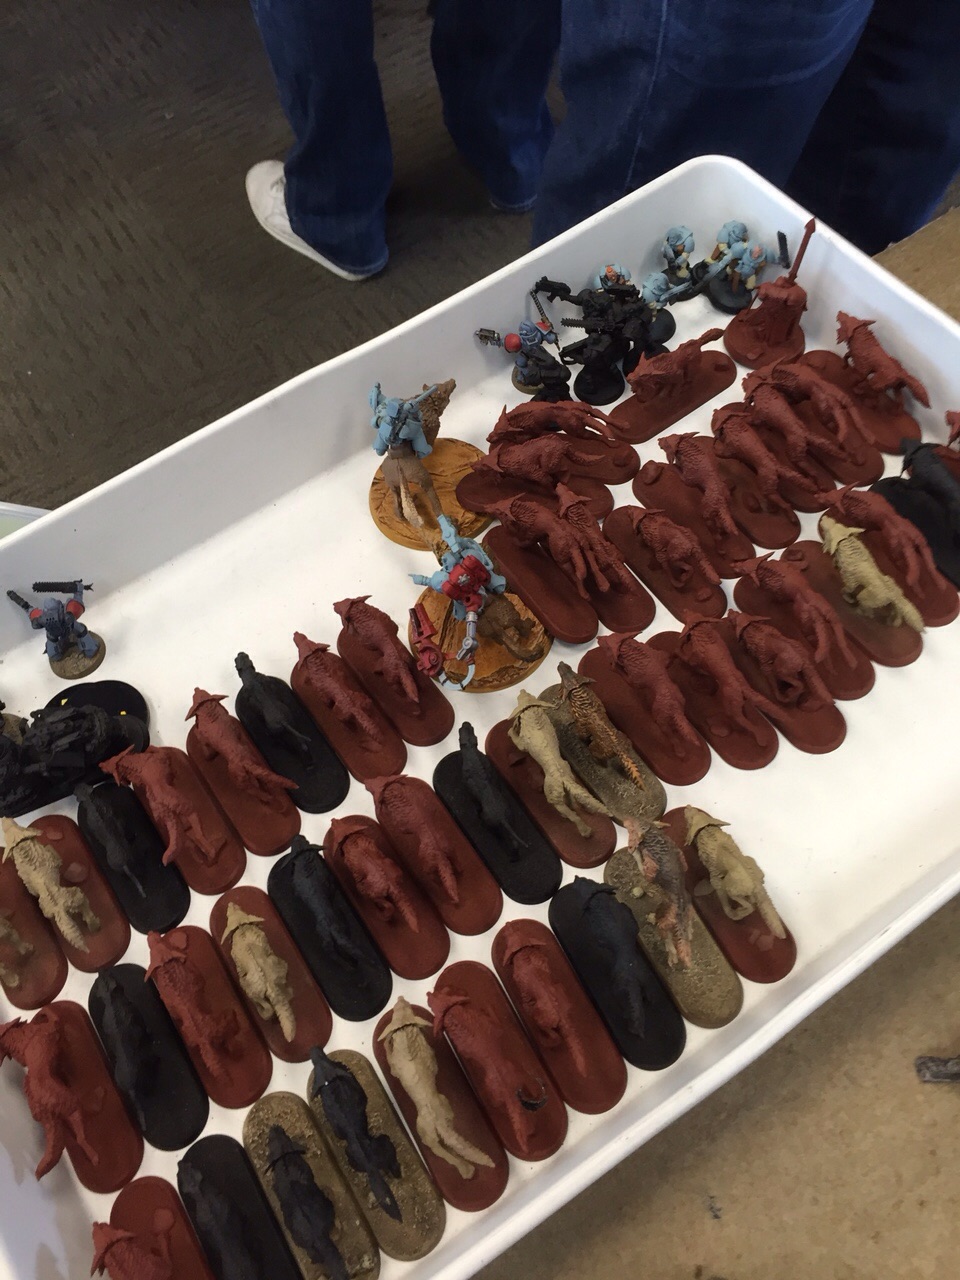
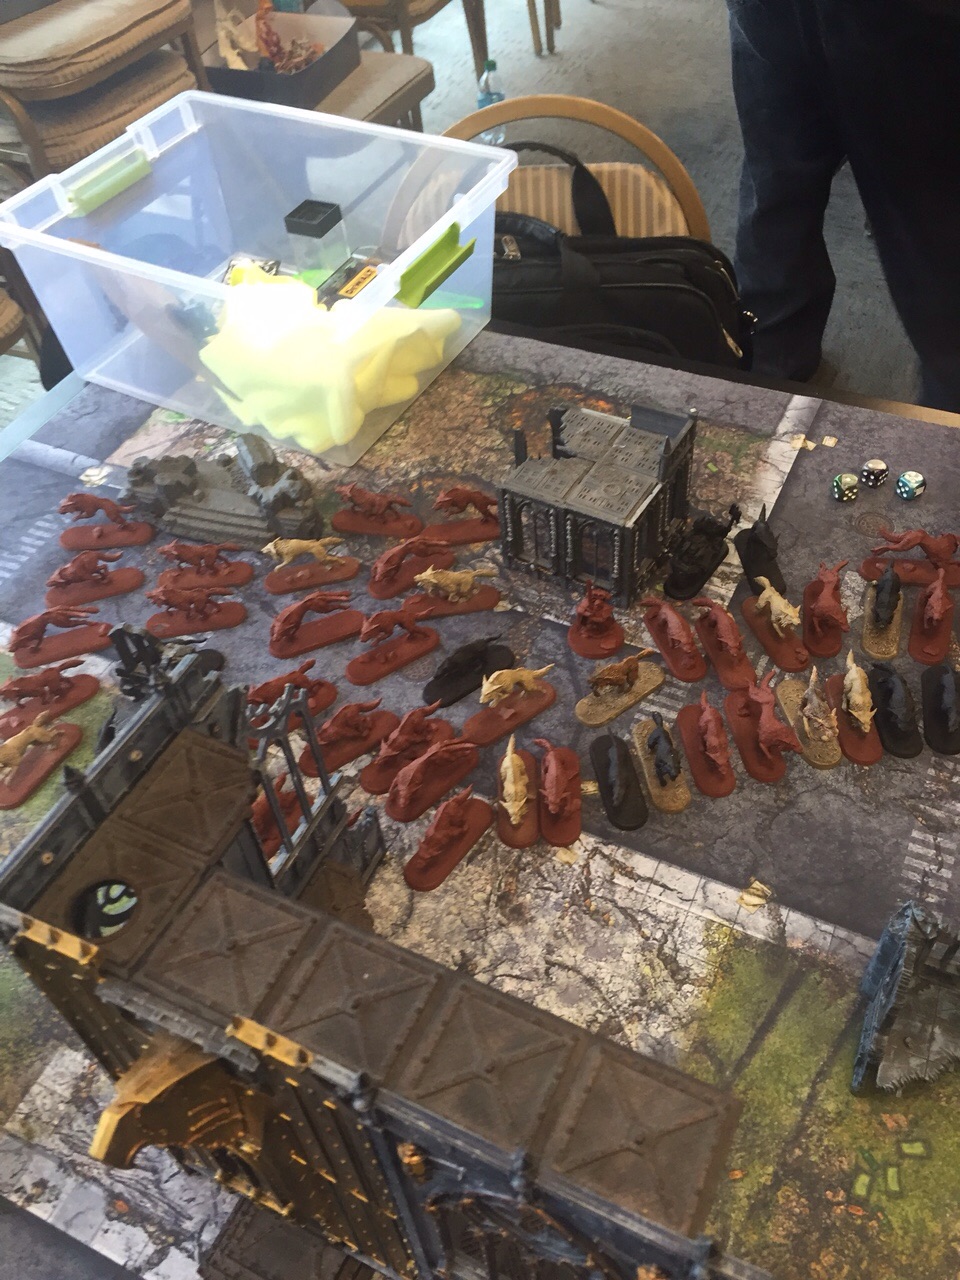
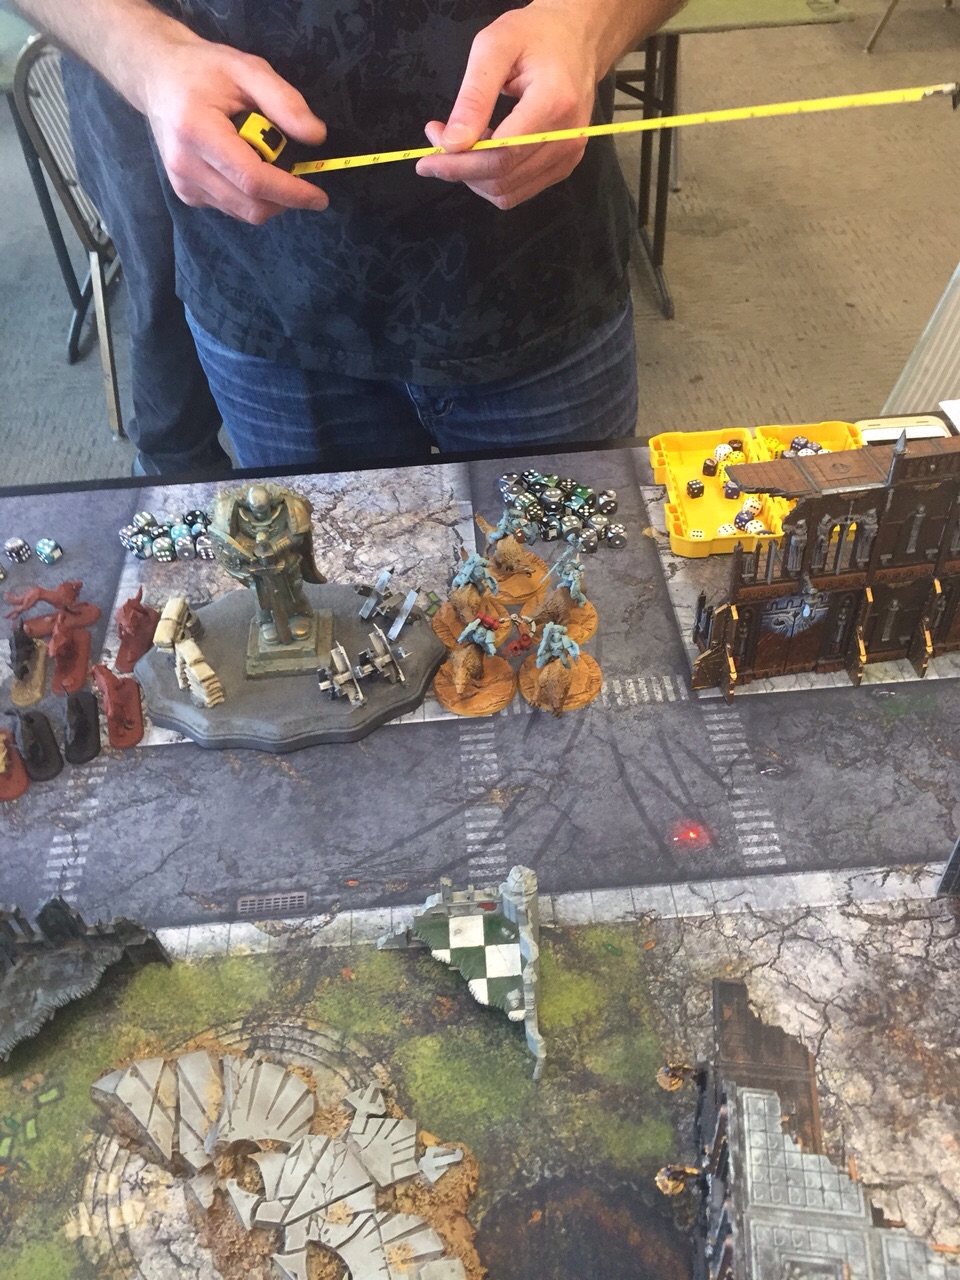
Also, here are some random pics of other armies: