Hello all, Salty John here from Capture and Control and today I’ll be talking about how I paint Salamanders!
Recently, I won a small painting competition at Game Empire Pasadena. The contest was for a single 25mm “infantry” sized model from any range. I knew I wanted to enter and actually make a run at doing well, but I was unsure of what to paint or the paint scheme to choose.
The rules of the contest stipulated that you had to buy the model at the store, so I looked around after a game, and I was all set to buy a Terminator Captain when Travis said there was a Terminator Captain from the Betrayal at Calth box in their cabinet. With my love of Horus Heresy era marines, I jumped at the chance to grab the Captain and Chaplain from the Calth set.
Then choosing a paint scheme became the problem.
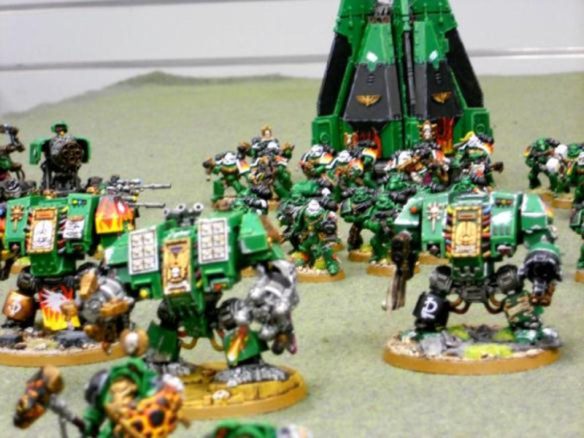
I could paint the models up in my standard paint scheme for my Silver Marines of Doom. I use that army for whatever Marine list I feel like running: Salamanders, Wolves, Ultramarines, or Blood Angels. Ok, so the last one is a joke, nobody runs Blood Angels, right? That paint scheme though is generic on purpose, and I am a bit tired of painting it. Travis and I discussed my best painted miniatures. My Necron army (famously painted in 5 days), my not so Grey Knights, and ultimately, my Salamanders (actually green Salamanders). It won me a few best painted prizes back in 5th edition and several people still talk about it today. I sold it years ago on eBay to cover my exorbitant bill from Uncle Sam one April 15, and it’s the only army I regret selling.
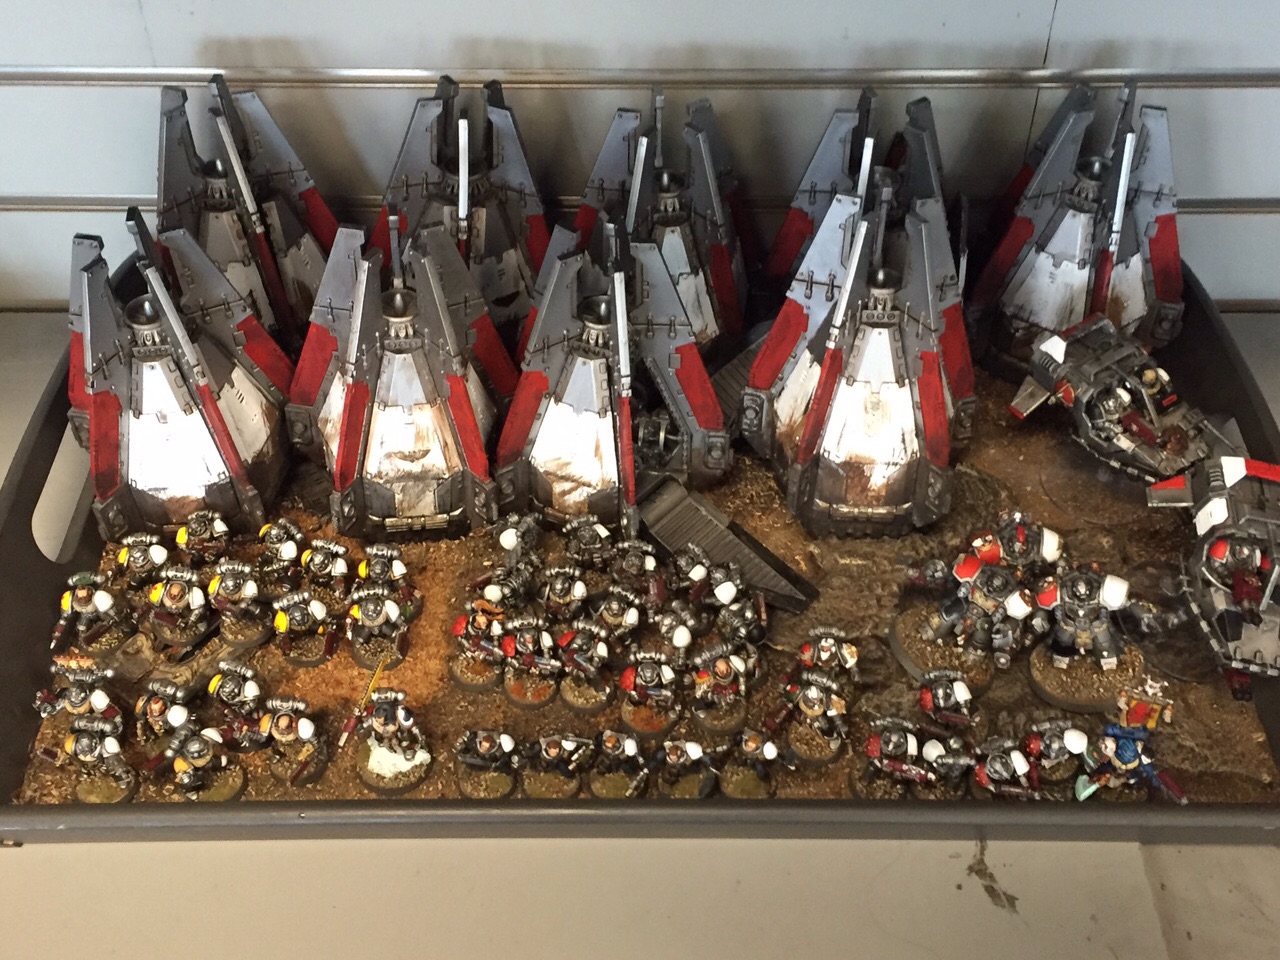
That pretty much made up my mind. Taking into account I have a Forgeworld Primarch Vulkan sitting built and primed black on my paint bench, I knew I needed to get to painting Salamanders again, and this competition was what I needed to get the old green/black/flame juices flowing. I even drudged up an old habit of mine from days of yore: Painting on the sprue. The key, I feel, to executing a good Salamanders army was to have a solid vibrant green base with gold and purple accents.
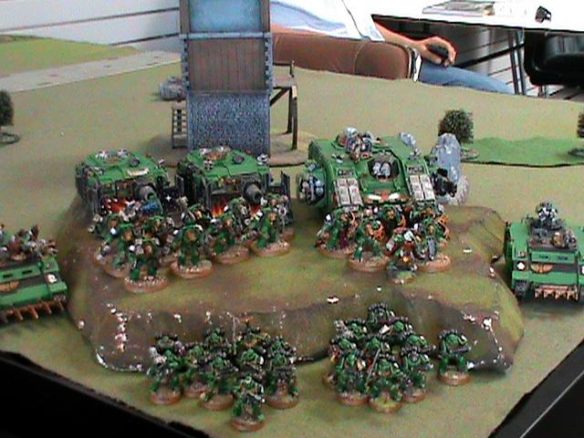
I know, the Hulk, I get it, but if you look at my pictures, you’ll see my models don’t look Hulk like. The purple is a minor accent at most, but it lends a lot to making the models pop. The greatest downfall I’ve seen online and in person for people who paint Salamanders are a dull green, red accents, and overuse of flames, lava, and other fire iconography. I truly hate always seeing Salamanders fighting on lava bases. As if the Chapter will only ever go to war on planets or battlefields with overly active volcanoes.

Gold is a great accent to the base Salamander colors of green and black as it sets off the black nicely and helps break up the large amounts of green. Painting Salamanders well is often an exercise in moderation. Even some of the models and units in my old Salamander army found in my Dakka gallery show what happens when you don’t work in moderation. As I said earlier, the easiest place to go overboard with this is the flame/lave iconography.
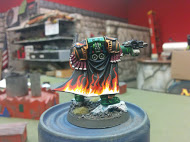
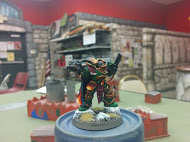
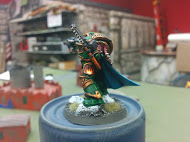
For the competition, I knew I wanted to show off my free hand flames on the Cataphracti Captain. The model lends itself to not going overboard. Unlike a regular terminator, the Cataphracti army doesn’t have a lot of large open areas to paint flames onto. The shoulders are a great example of this. I decided to do flames on the back of the cloak and then on the smaller flat areas, shields etc. This way it wouldn’t be too overwhelming.
How I paint is fast and simple. I use a fast and simple scheme on all my armies. I don’t mix colors. I use GW paints and washes, and if I want a highlight of a color, I highlight using the next color up in the GW paints: Simple, effective, fast.
The green base I’ve always used is simple and effective. The steps are simple enough: Black primer spray, medium dry brush of green, let it dry, then a light dry brush of the same green. Wash with green wash. Highlight with original green. Highlight with next color up. Black is just a single coat of black, highlight with a dark blue, dark grey, then wash black. Gold is a single coat of Gold followed by a brown wash and then very light highlight of the original gold. Purple is a single coat of purple over black although usually I use purple for cabling, then a purple wash. No highlights on the purple.
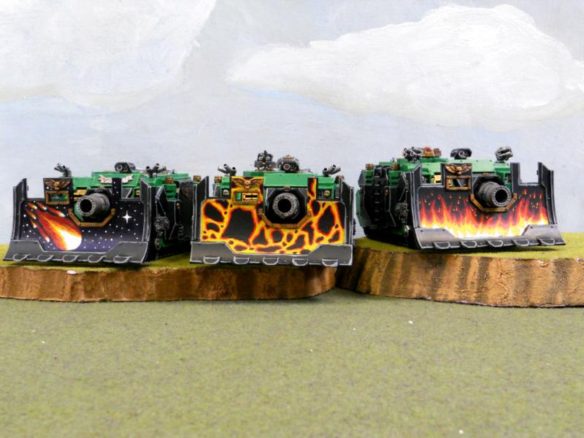
This process is actually really fast. Knowing where to highlight saves time as well as knowing what not to highlight. GW washes have been a godsend to painters like me who want to have nice looking models without spending hours per mini. All my flame iconography is made using just a few paints, no mixing. The hottest part of a flame, meteor, or lava, is the lightest in color (I often see this reversed). I put down the entire area of flame in dark red first, then go over it in a slightly lighter (brighter) red. Next I use a solid orange to do a layer of inner flames over the red. Then a dark yellow, highlighted by a lighter yellow, and finally, white. One layer of white allows some of the yellow to come through. Each stage is only one layer of paint to allow a bit of the layer below to show through. This takes some time to master (duh, free hand), but I still usually use a “detail” rather than “fine detail” sized brush. Meteors and lava all follow the same basic concept of layering the colors.
This is by no means a guide to winning painting challenges at GTs or even high levels. This is a set of quick steps to get you a Salamander army that looks great, with elements that really pop, without going overboard on the more cliché aspects of this Chapter’s paint scheme.
Hope you enjoyed!