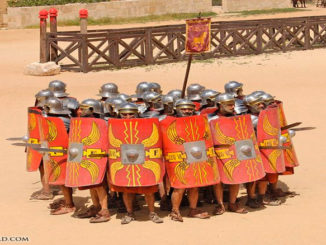
Hello everyone, and welcome to our first old-school battle report for Age of Sigmar (AoS)! In one corner, we have the old man himself, El Viejo, the Godfather of Gaming, Adam, with his Moonclan Grots (formally known as Night Goblins) versus The Escaped, The Hollow Man, The Changer of Diapers, Danny, with his Seraphon (also known as Lizardmen).
The two decided to play a quick 1,000 point Vanguard game fresh out of the General’s Handbook.
Mission: Gift from the Heavens on a 4×4 board (field is divided into 6 sectors, a meteor (an objective) lands in each player’s side on the start of turn 2. Controlling a meteor requires no enemy models within 6″ and a friendly model within 6″. Scoring happens at end of the turn, and each meteor is worth Victory Points equal to the turn number (so turn 2 equals 2 points, turn 4 equals 4, etc).
Points: 1,000 (2+ Battleline, 1-4 Heroes, 0-2 Behemoths, 0-2 Artillery)
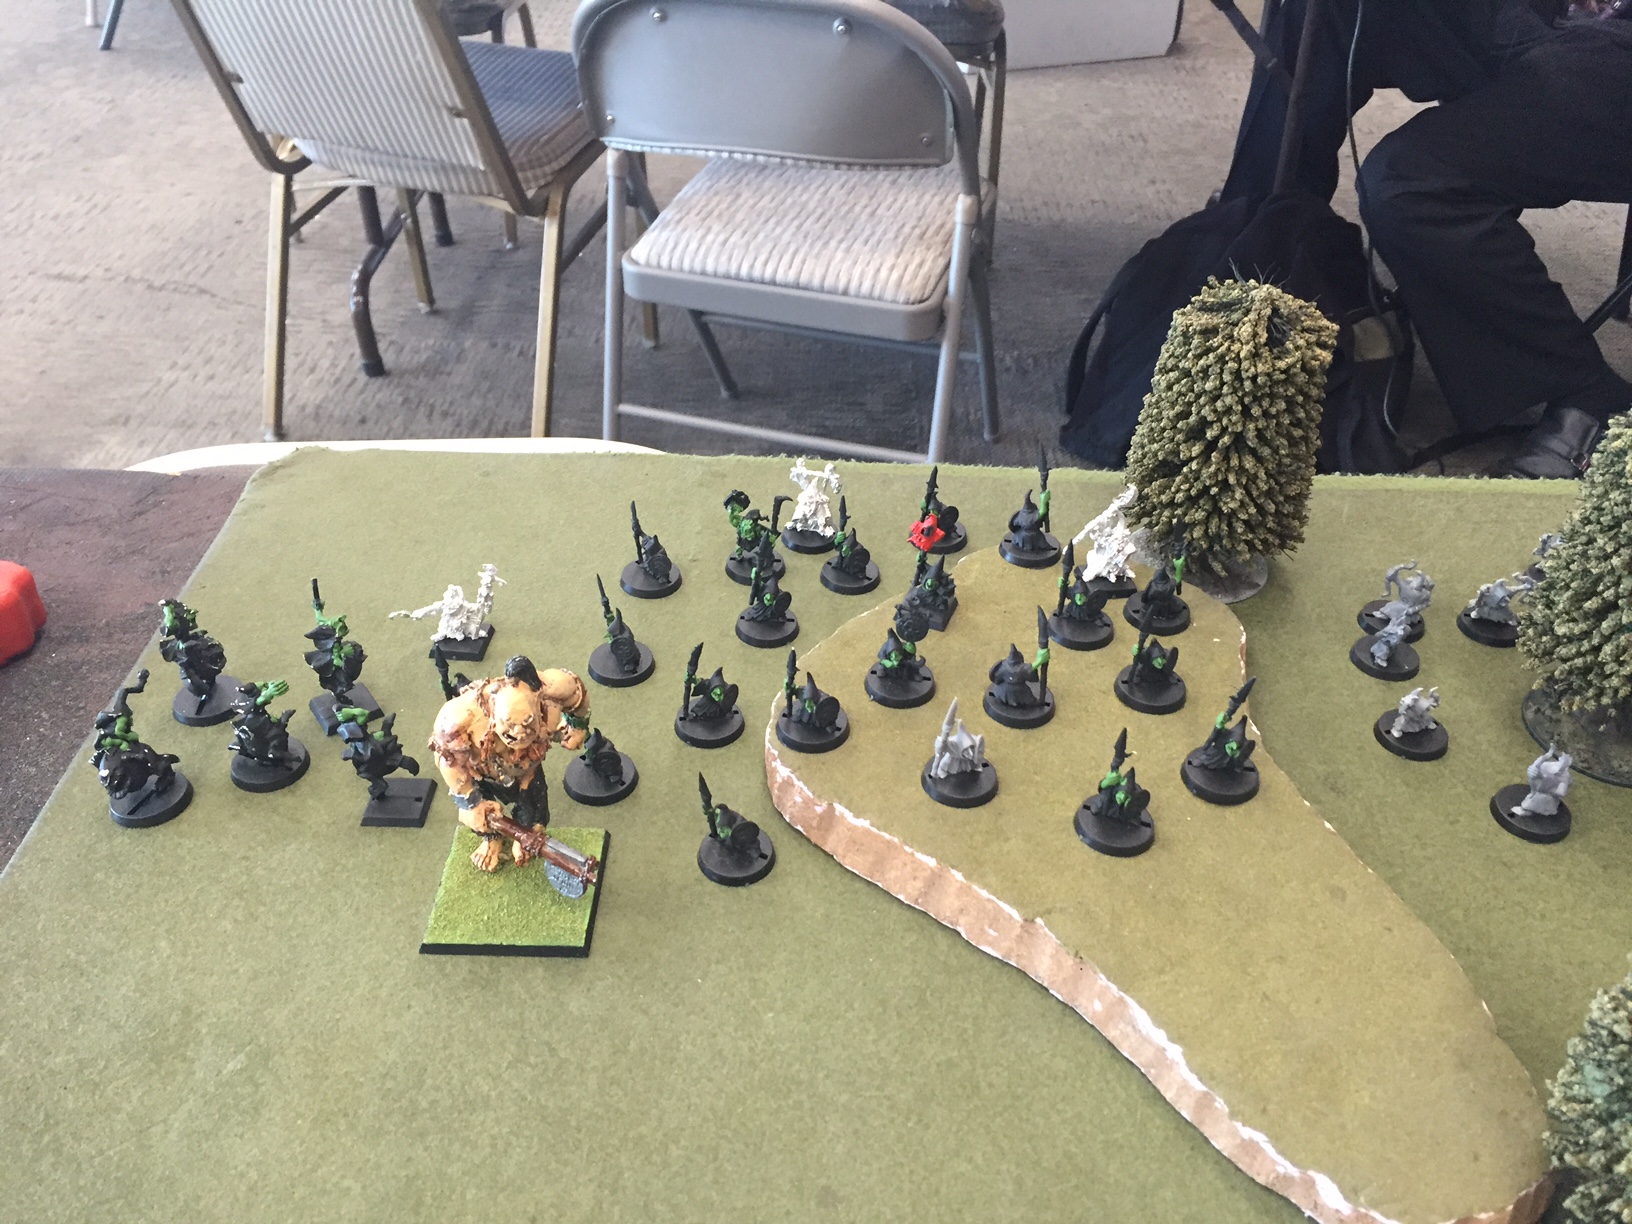
Adam’s List:
Grot Warboss
3x Grot Shamans
20x Grots with Spears/Shields
20x Grots with Spears/Shields
20x Grots with Bows
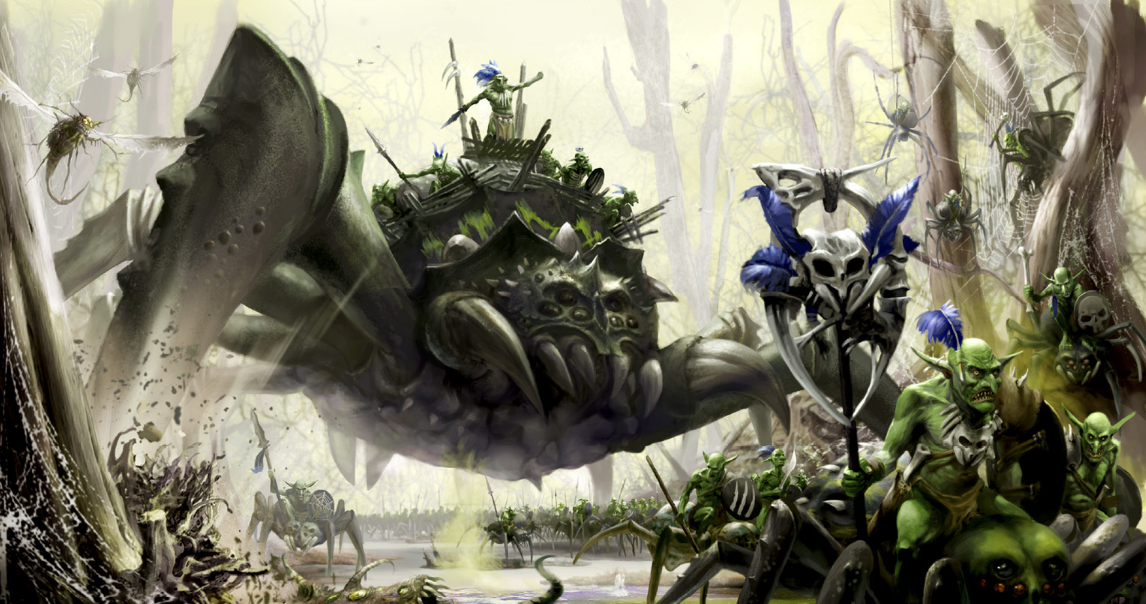
5x Squig Hoppers
3x Grot Fanatics
Aleguzzler Gargant
Danny’s List:
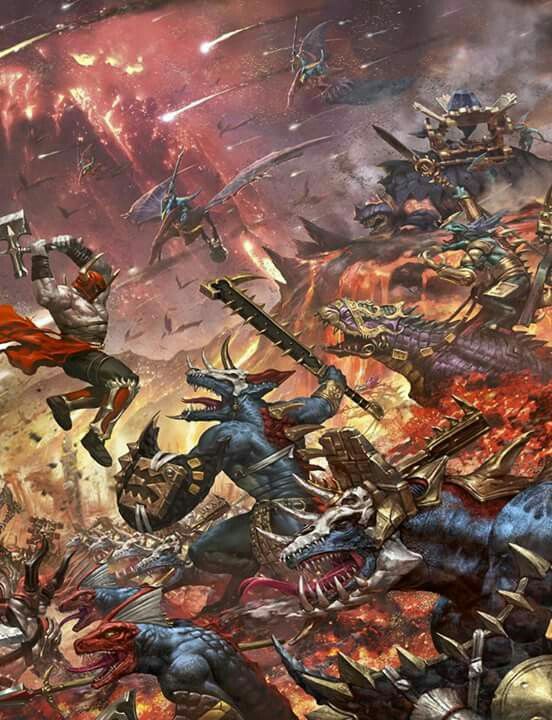
Saurus Scar-Veteran on Coldone
Saurus Sunblood
Skink Priest
10x Saurus Warriors
10x Skins with blowpipes
5x Saurus Guard
Dread Saurian
Deployment:
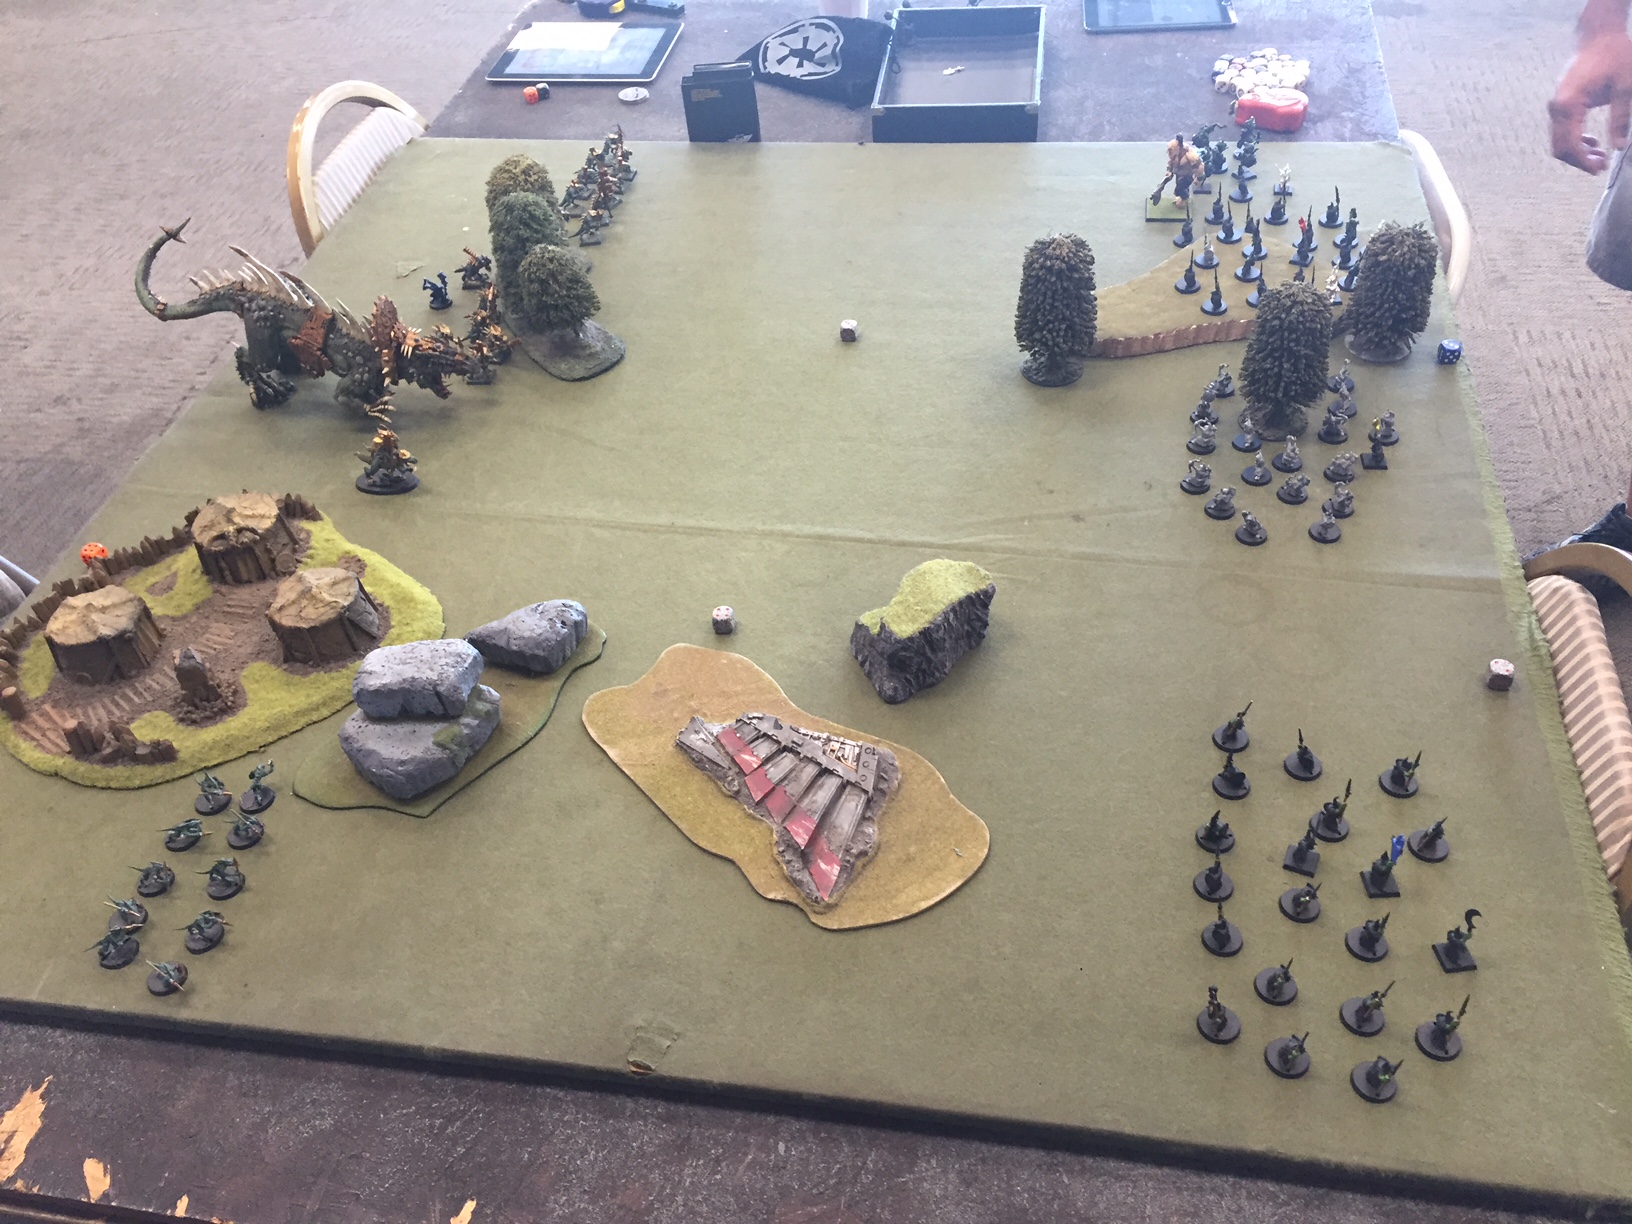
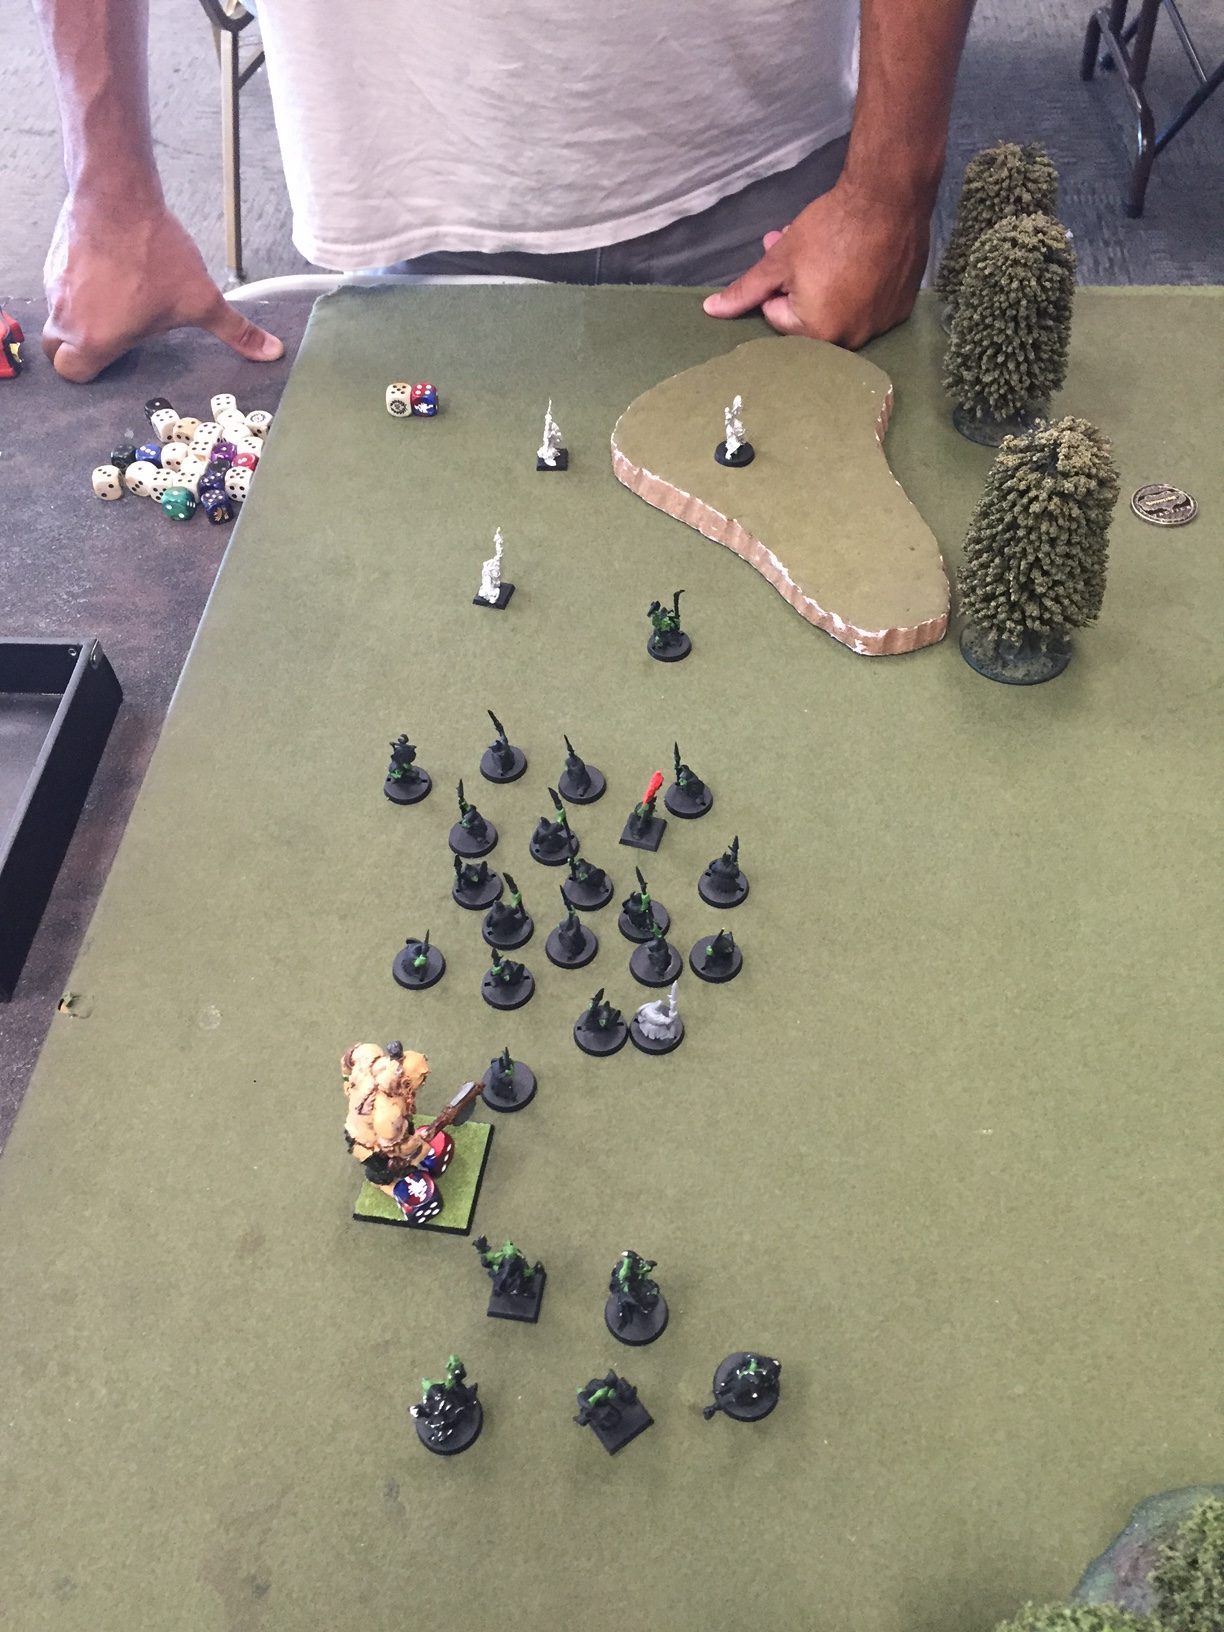
Adam wins the roll to deploy first, and after all is said and done, he has a unit of grots in each zone of his board where a meteor may fall, but he overloads the Right Flank (from his perspective) with all of his characters as well as the squig hoppers and his Gargant. Danny places his Saurus on the right flank (from Adam’s perspective), backed up by Sunblood close by, the Dread Saurian takes the center along with the Saurus Guard, Skink Priest and Scar-Veteran, and finally, the skinks take the left flank. Danny finishes deploying first, and he elects to take the first turn.
Turn 1:
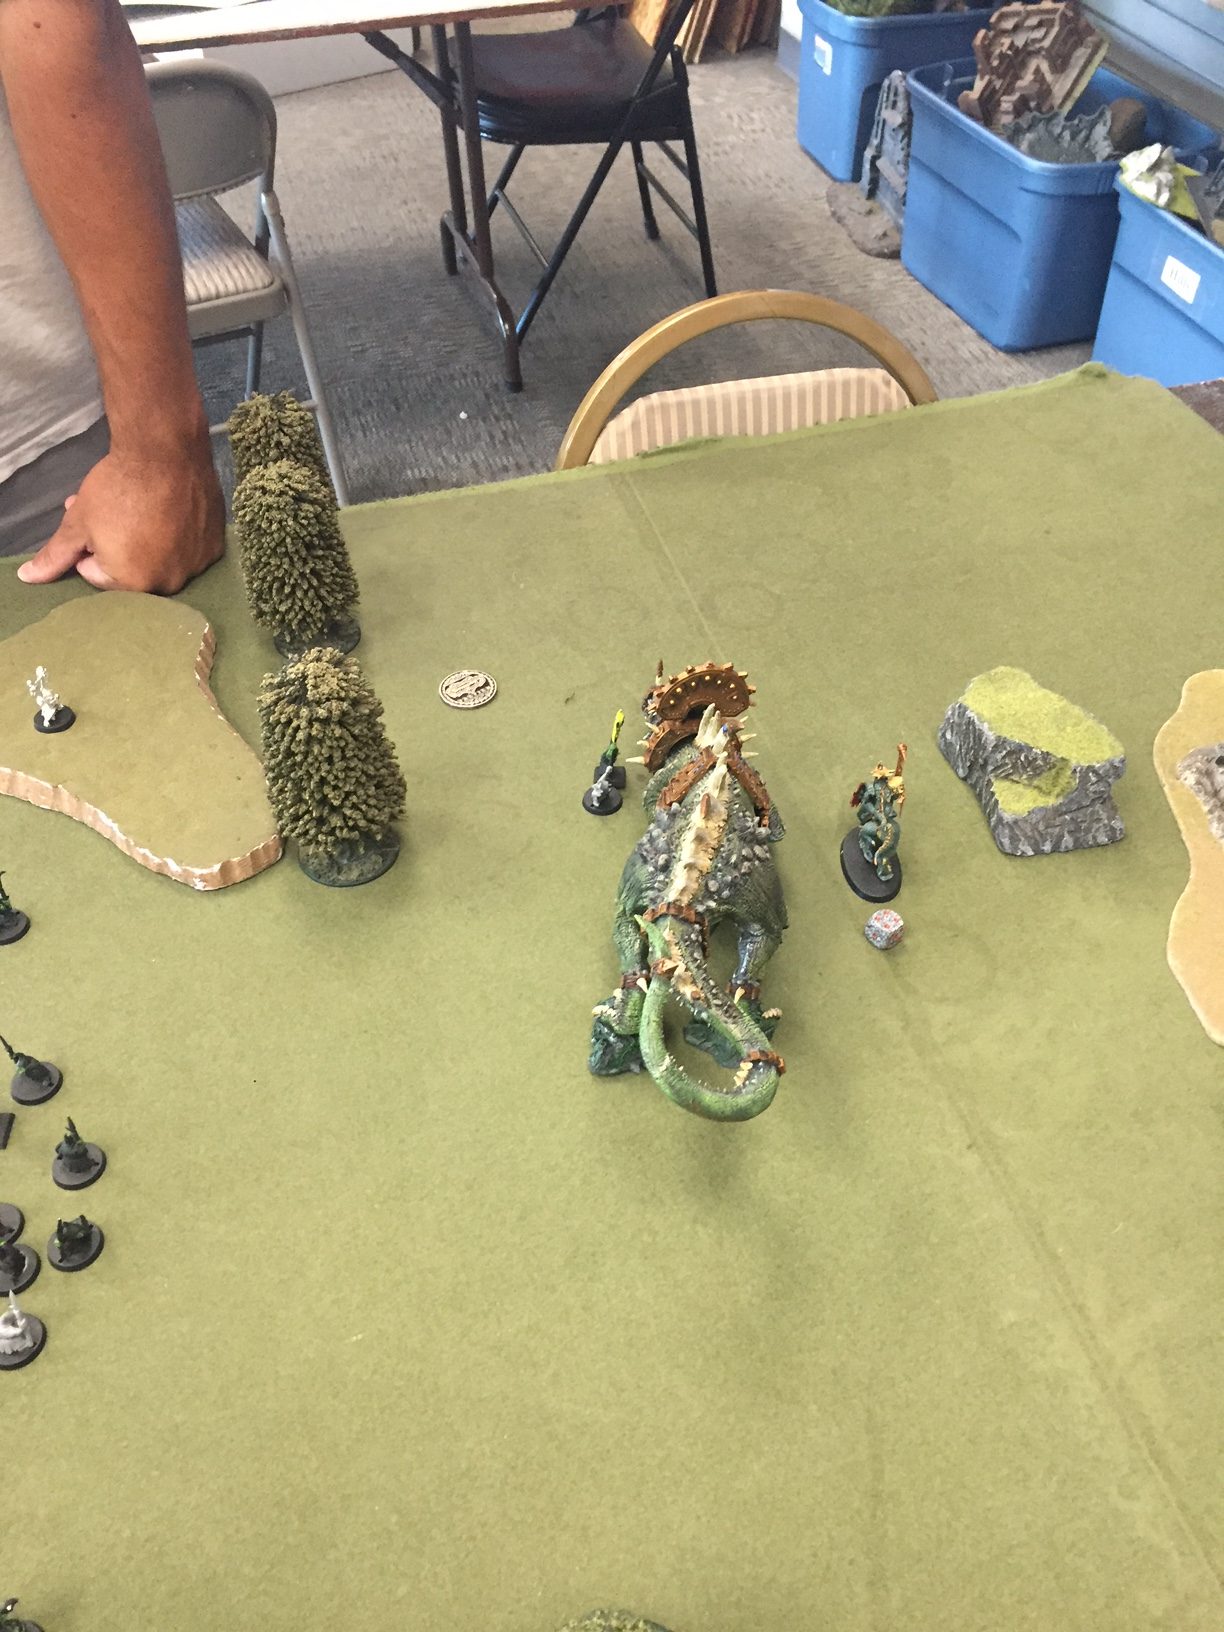
Danny’s Skink Priest tries to use his Priestly Rites but fails. Danny pushes up the board, trying to be in a good position for wherever the meteors land, and he pushes hard in the center with the big beastie and Scar-Vet, trying to capitalize on his speed advantage.
Adam’s spells are out of range at the start, and he moves closer to prepare for the carnage of turn 2. Unfortunately, his squig hoppers only move 2 inches this turn but he pushes aggressively with the gargant. He fires a volley of arrows at the Dread Saurian but does no damage thanks to Danny rolling well.
Turn 2:
The real fight begins as the meteors come crashing down. Adam’s meteor lands dead center in his deployment area, right in the middle of the archer grots while Danny’s comes crashing down on the left flank with his skinks. Adam wins the roll for initiative and charges forward.

Adam unleashes some Grot magic, killing 2 Saurus and 1 Saurus Guard as well as putting a wound on the Sunblood. He pops another 2 Saurus with arcane bolt, and already the squad is almost at half strength with an Gargant within charge distance. His Grot squad on the left flank shifts to help protect the center. The archers put 3 wounds on the Dread Saurian, but it is not enough to lower his effectiveness. The big Grot squad unleashes its fanatic, and now the Saurus on the right flank are charged by a Fantatic and a Gargant. It isn’t pretty and they are wiped away without much effort.
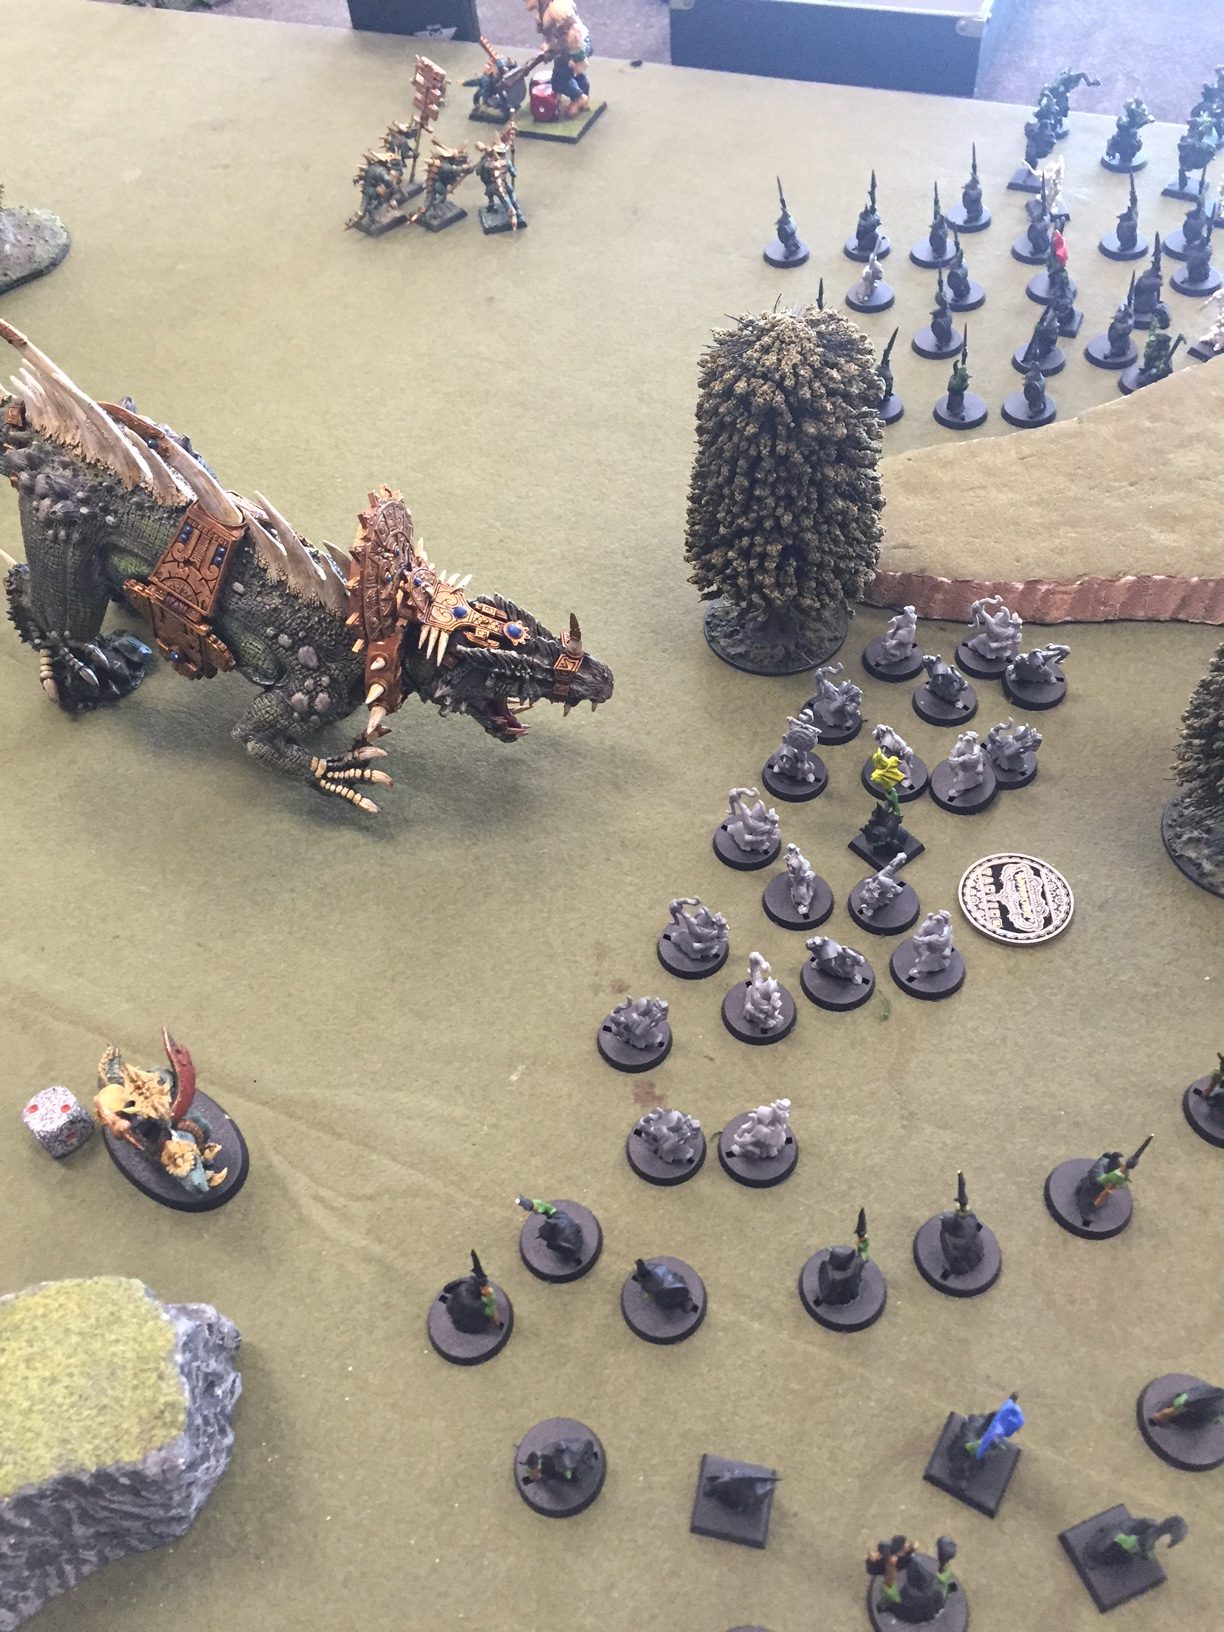
Danny uses the Sunblood’s command ability to target the Gargant, and the Skink Priest again fails to make those priestly rites happen. Danny pushes forward, getting both his Scar-Veteran and Saurian within 3 inches of the center Grots while the Sunblood and the Saurus Guard head for the Gargant and the Fanatic. The Skinks fall back to protect the meteor and the Skink Priest moves over to assist them (and just get out of the way) Adam lets out the last two Fanatics in the charge phase, keeping the Saurian and Scar-Veteran from charging into the Grots, but the Saurus Guard and the Sunblood make combat on the right flank.
Danny has the Dread Saurian activate first in the combat phase, killing the Fanatic and healing those pesky 3 wounds from earlier. Adam activates the Fanatic on the Scar-Vet, but thanks to lucky rolls for Danny and bad rolls for Adam, the Scar-Vet lives within only 2 wounds on him. The Saurus Guard eat the Fanatic before it can swing on them or the Sunblood, and the Giant puts 3 more wounds on the Sunblood. The Sunblood does a whopping 8 wounds to the Gargant in return, bringing it down in effectiveness. The Scar-Vet eats the last Fanatic, and turn 2 ends. Luckily for Danny, his Dread Saurian moved far enough to be within 6 of Adam’s meteor, denying him 2 points while he racked up 2 of his own.
Turn 3:
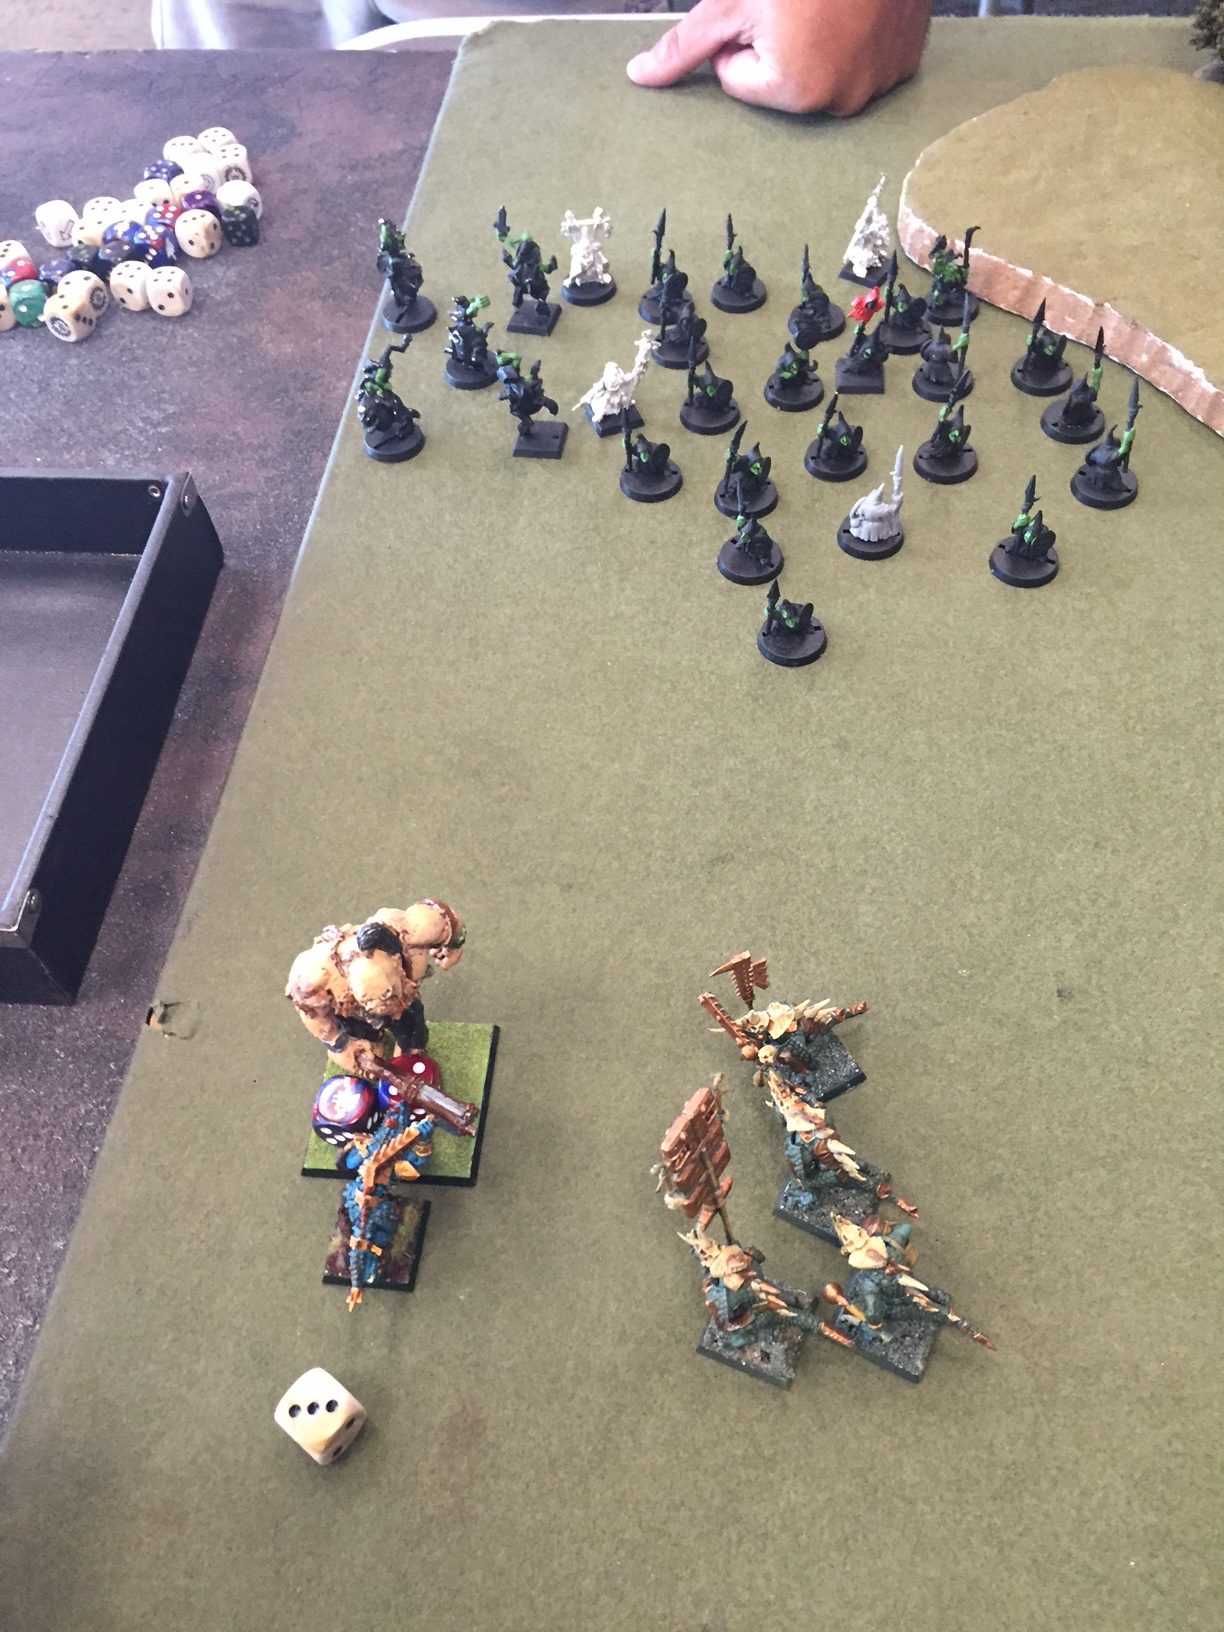
Adam wins the initiative roll again, and he attempts to counter-attack to crush the Right Flank and try to whittle down the Center. His spells go off, and the Saurus Guard are wiped from magic, but the grots do no damage to the Saurian with shooting. The other squad of Spear/shield Grots charge into the Scar-Veteran, but they only manage a wound while the Scar-Vet kills 2. Adam is canny to not get within 3 of the Saurian to keep it from being able to pile in and get a fresh round of attacks. The Sunblood dies to the last kick of the Gargant, but with a squad of grots and Squig Hoppers on him, he was not likely to survive anyway, but Danny was hoping for a chance to cause some carnage amongst the Grots before he died.
In Danny’s turn 3, the Saurian finally gets the archers, and the chaos begins. The Skinks move up to try and take out a few of the Grots on the Scar-Veteran, but they fail. The Skink Priest begins camping the Left Flank meteor, allowing the Skinks more freedom to move up and screen away any enemies. In combat, the Saurian engages both Grot units, killing 3 of the spears and 4 of the archers. The Grot counter-attack doesn’t do much, and the Scar-Vet kills another 2 spear-Grots, and the resulting battleshock phase has even more Grots running from both units. The Saurian is well within 6 of the meteor now, and so Adam is denied 3 points while Danny scores another 3.

Turn 4:
Danny wins the roll for initiative, and it is the death knell of the Grots. The Saurian and Scar-Veteran wipe out the spears and after all is said and done, the archers are left with just 3. Adam’s Gargant is now only move 4, so there is no way he can get back into the fight, and with his forces on the Right Flank, there is not enough time to cross the field and take away the meteors from Danny. The Squig Hoppers would have needed to roll box cars for movement to threaten the Skinks, and even then, with only turn 5 left, there would be no time for the Squig Hoppers to kill the Skinks and Priest to gain control of the Left Flank meteor. The game is called with a Major Victory for the Seraphon.
End of Game Thoughts:
Adam: This game sucks. Also, I need way more Fanatics. Really though, I messed up by over-committing to the Right Flank rather than shift to the Center and then pressure the Skinks on the Left Flank. I needed my heroes to work on the Saurian, and since Danny had no real shooting, I should have been more forward with my characters. The mortal wounds from the Grot spell and Arcane Bolt would have put a big dent in the Saurian, especially since you can target regardless of close combat, and that model is so big, I would always have line of sight. Once the meteor landed, I did not realize how huge 6 inches area of influence really is, and I should have moved my archers up to keep the Saurian from getting so close. Seeing as how I hadn’t played in a year, it was pretty easy to get into and play, and having to choose which units fight adds a whole new layer of tactics that can really swing a turn.
Danny: I love this game. I’ve always liked it, but the inclusion of points, competitive minded missions, and balancing restrictions make it even better. I definitely stumbled into the win with getting my Saurian within 6 inches as I didn’t realize how big that is on the tabletop. My Dread Saurian was my MVP (thanks, Brexit!), but my Skink Priest didn’t do much at all. I also definitely learned that taking battleline units at minimum means they will die needlessly as 10 Saurus or 5 Saurus Guard are just not enough bodies to absorb magic or shooting. I definitely see the role of Skinks as cheap minimum battleline units to help take objectives, but next time, I’ll probably drop the priest and just up my Saurus unit to 20 to give it some resiliency as well as trade out the Saurus Guard for either another Scar-Veteran on Cold One or another unit of Skinks to help screen or control objectives. Now off to re-basing even more models.