
Hey everyone! Travis here with my return to the small and varied screens of the blogodome! I’ll be kicking off with something near and dear to my hobby heart, conversions!
My first full and real 40k army was a Chaos Marine Army, and in particular one of the first units I got my hands on was a classic unit of metal Chaos Terminators, complete with a horrifying hot pink coat of paint… the previous owner had been planning a custom chapter (based on one of the ‘all records expunged’ listings from the first founding, natch) of Marines who ended up lost in the webway and fighting alongside Harlequins against Chaos. Points for concept, but the Harlequin paintjob on the Terminators was not my speed. I was an Iron Warriors man back in those days; something about the cold steel, hot gold, and caution-striping grabbed me. So into the brake fluid bucket they went!

The mists of history notwithstanding, I’ve ever since had an affinity for the spiky angry turtles of the Legions, and as soon as Traitor’s Hate dropped featuring both a cool way to take lots of Terminators and a formation of my other Chaotic love, Cultists, the die was cast. Add in another little Forgeworld indulgence in the form of Calas Typhon and Mortarion and I’m back in the fold of Grandpa to boot! It doesn’t hurt that I’ve been playing Eldar for the whole year and didn’t realize how much I needed a new project.

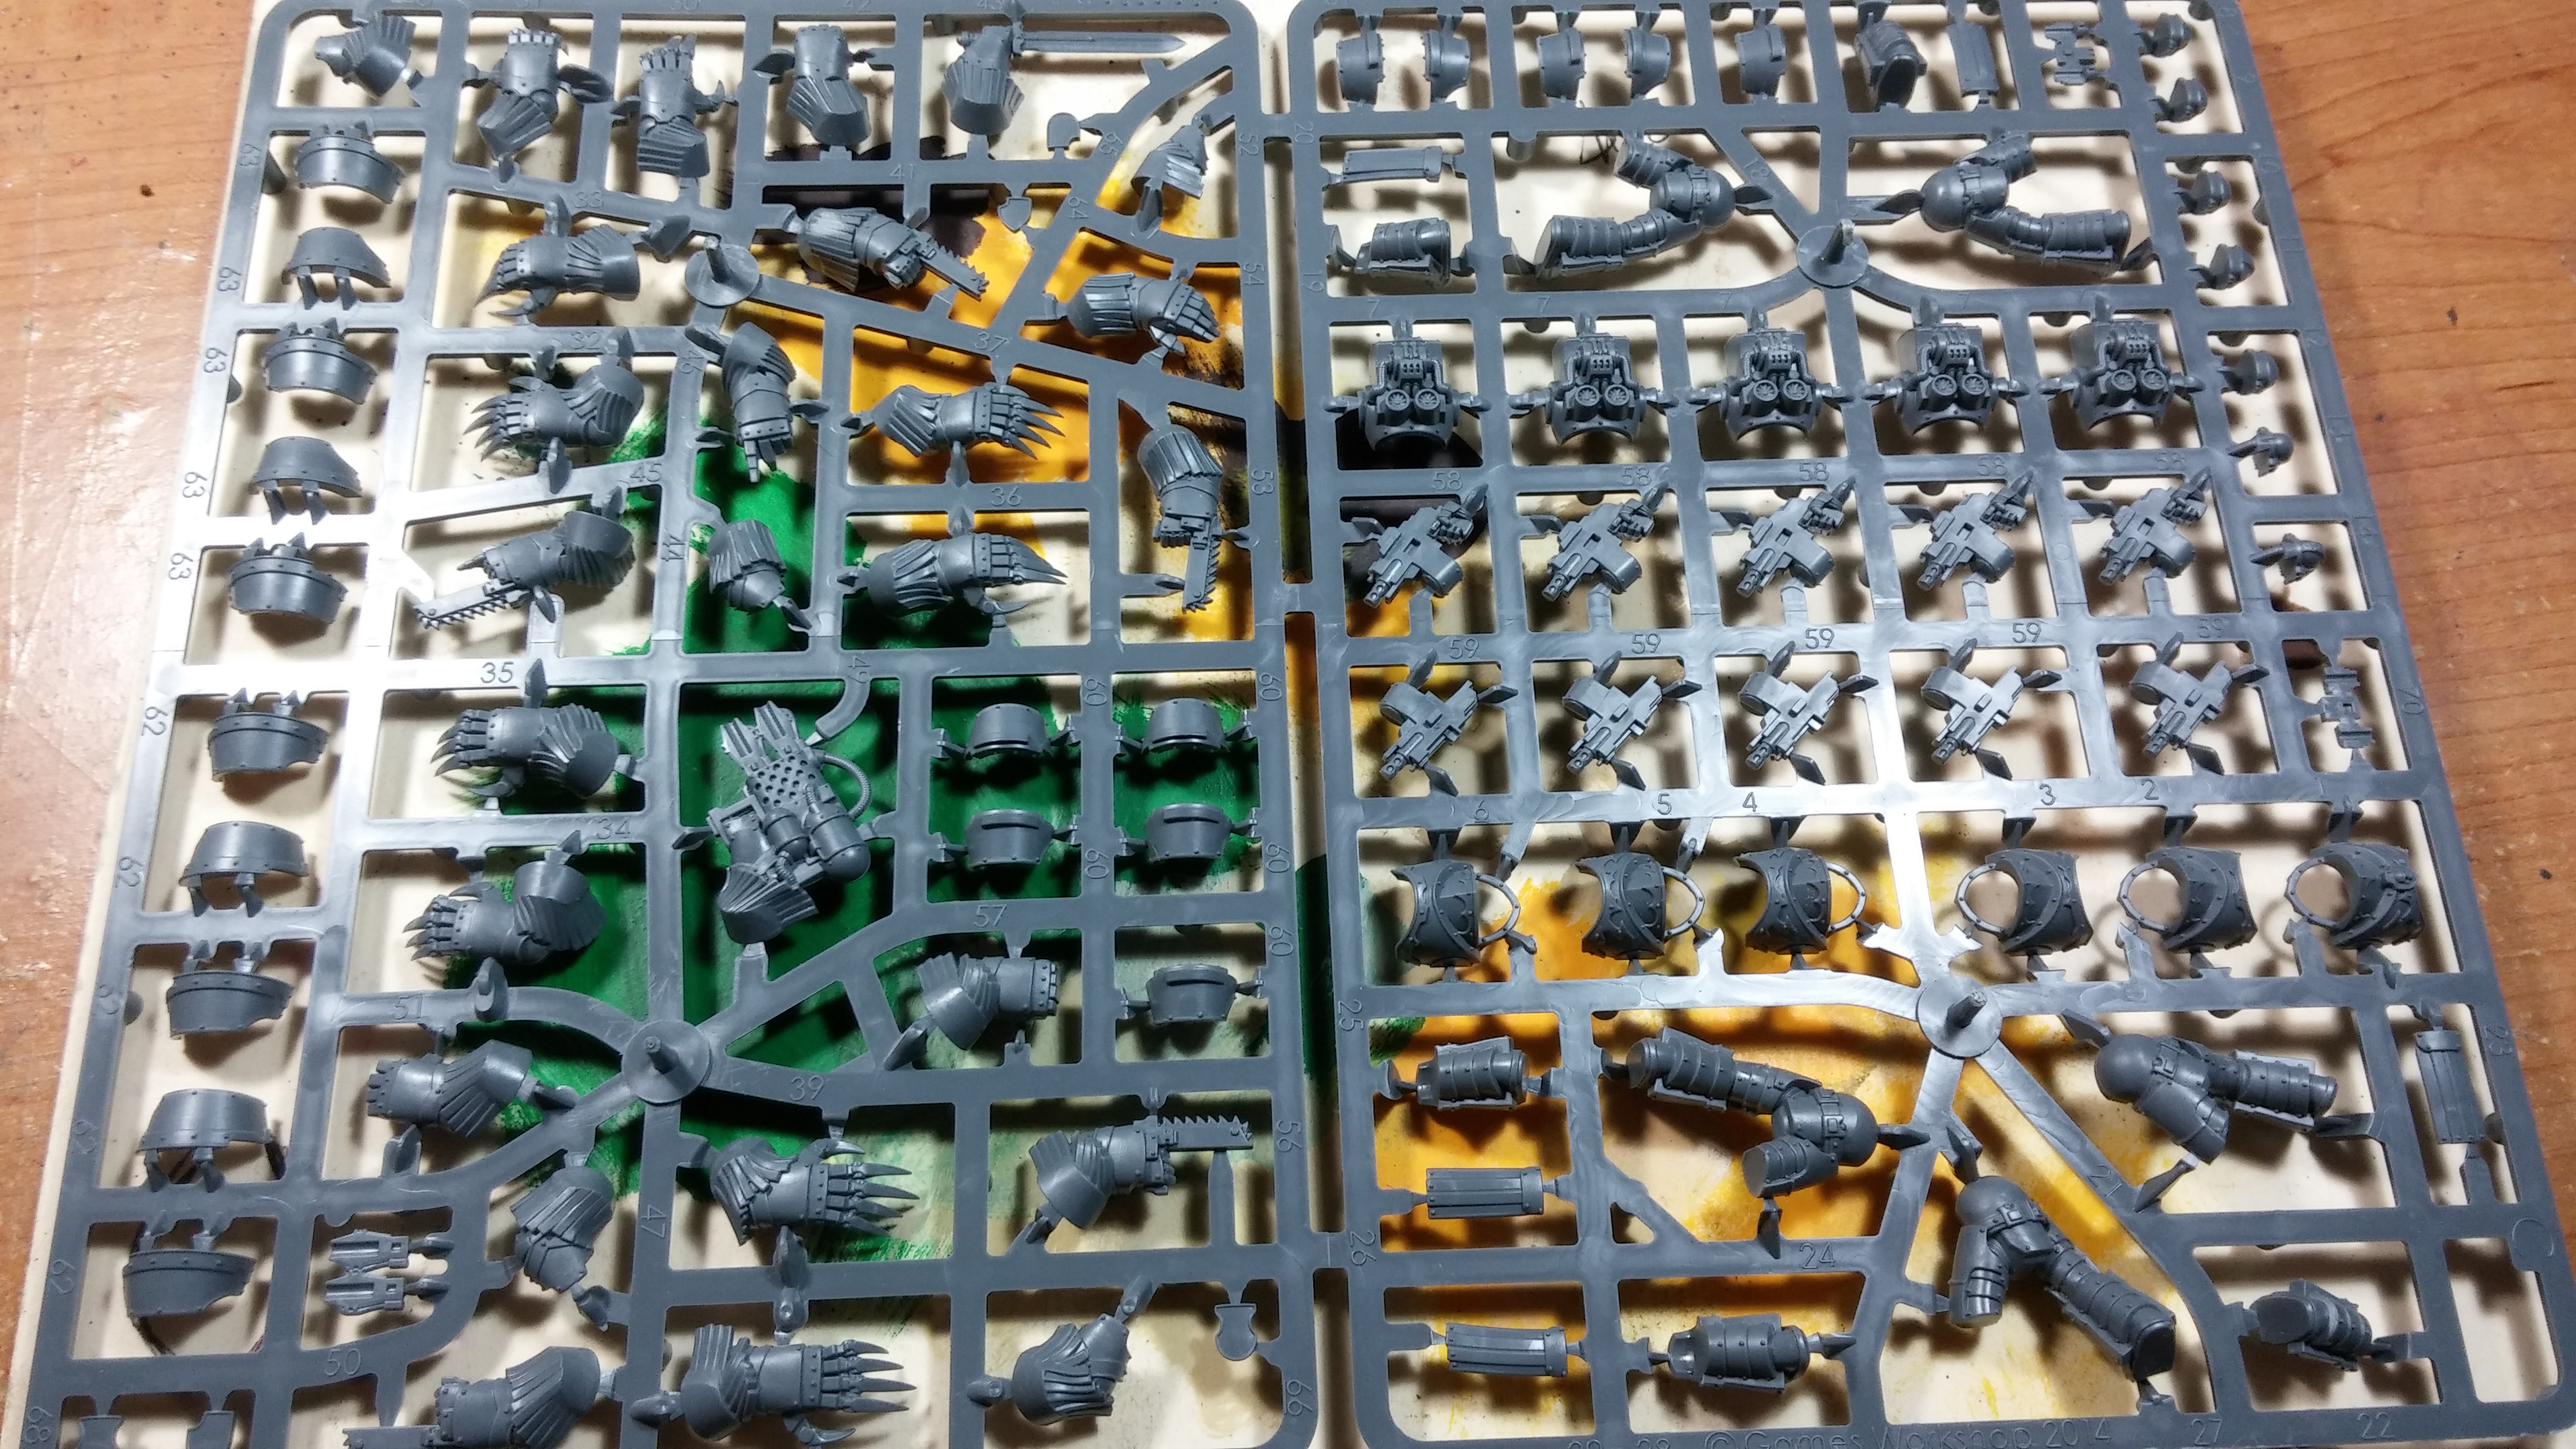
So, there’s three units of Terminators in the formation, the perfect opportunity to put the tools to work customizing some cool models. I settled on a unit of ‘traditional’ Chaos Terminators for one unit, a unit of Grave Warden Terminators for another, and a third that I would be able to go to town on for the third. I dug a frame of Cataphractii from the Betrayal at Calth at set to figuring out what to do.
I want these models to be a bridge, visually, between the heresy-era Grave Wardens and the full-tilt spike factory 40k models. With that in mind, I’m looking at things like hanging chains, some wear-and-tear on the armor, some of the ‘sink-drain’ details / exhaust vents, spikes, and hopefully some different heads than the pancake helmets the Cataphractii usually wear.
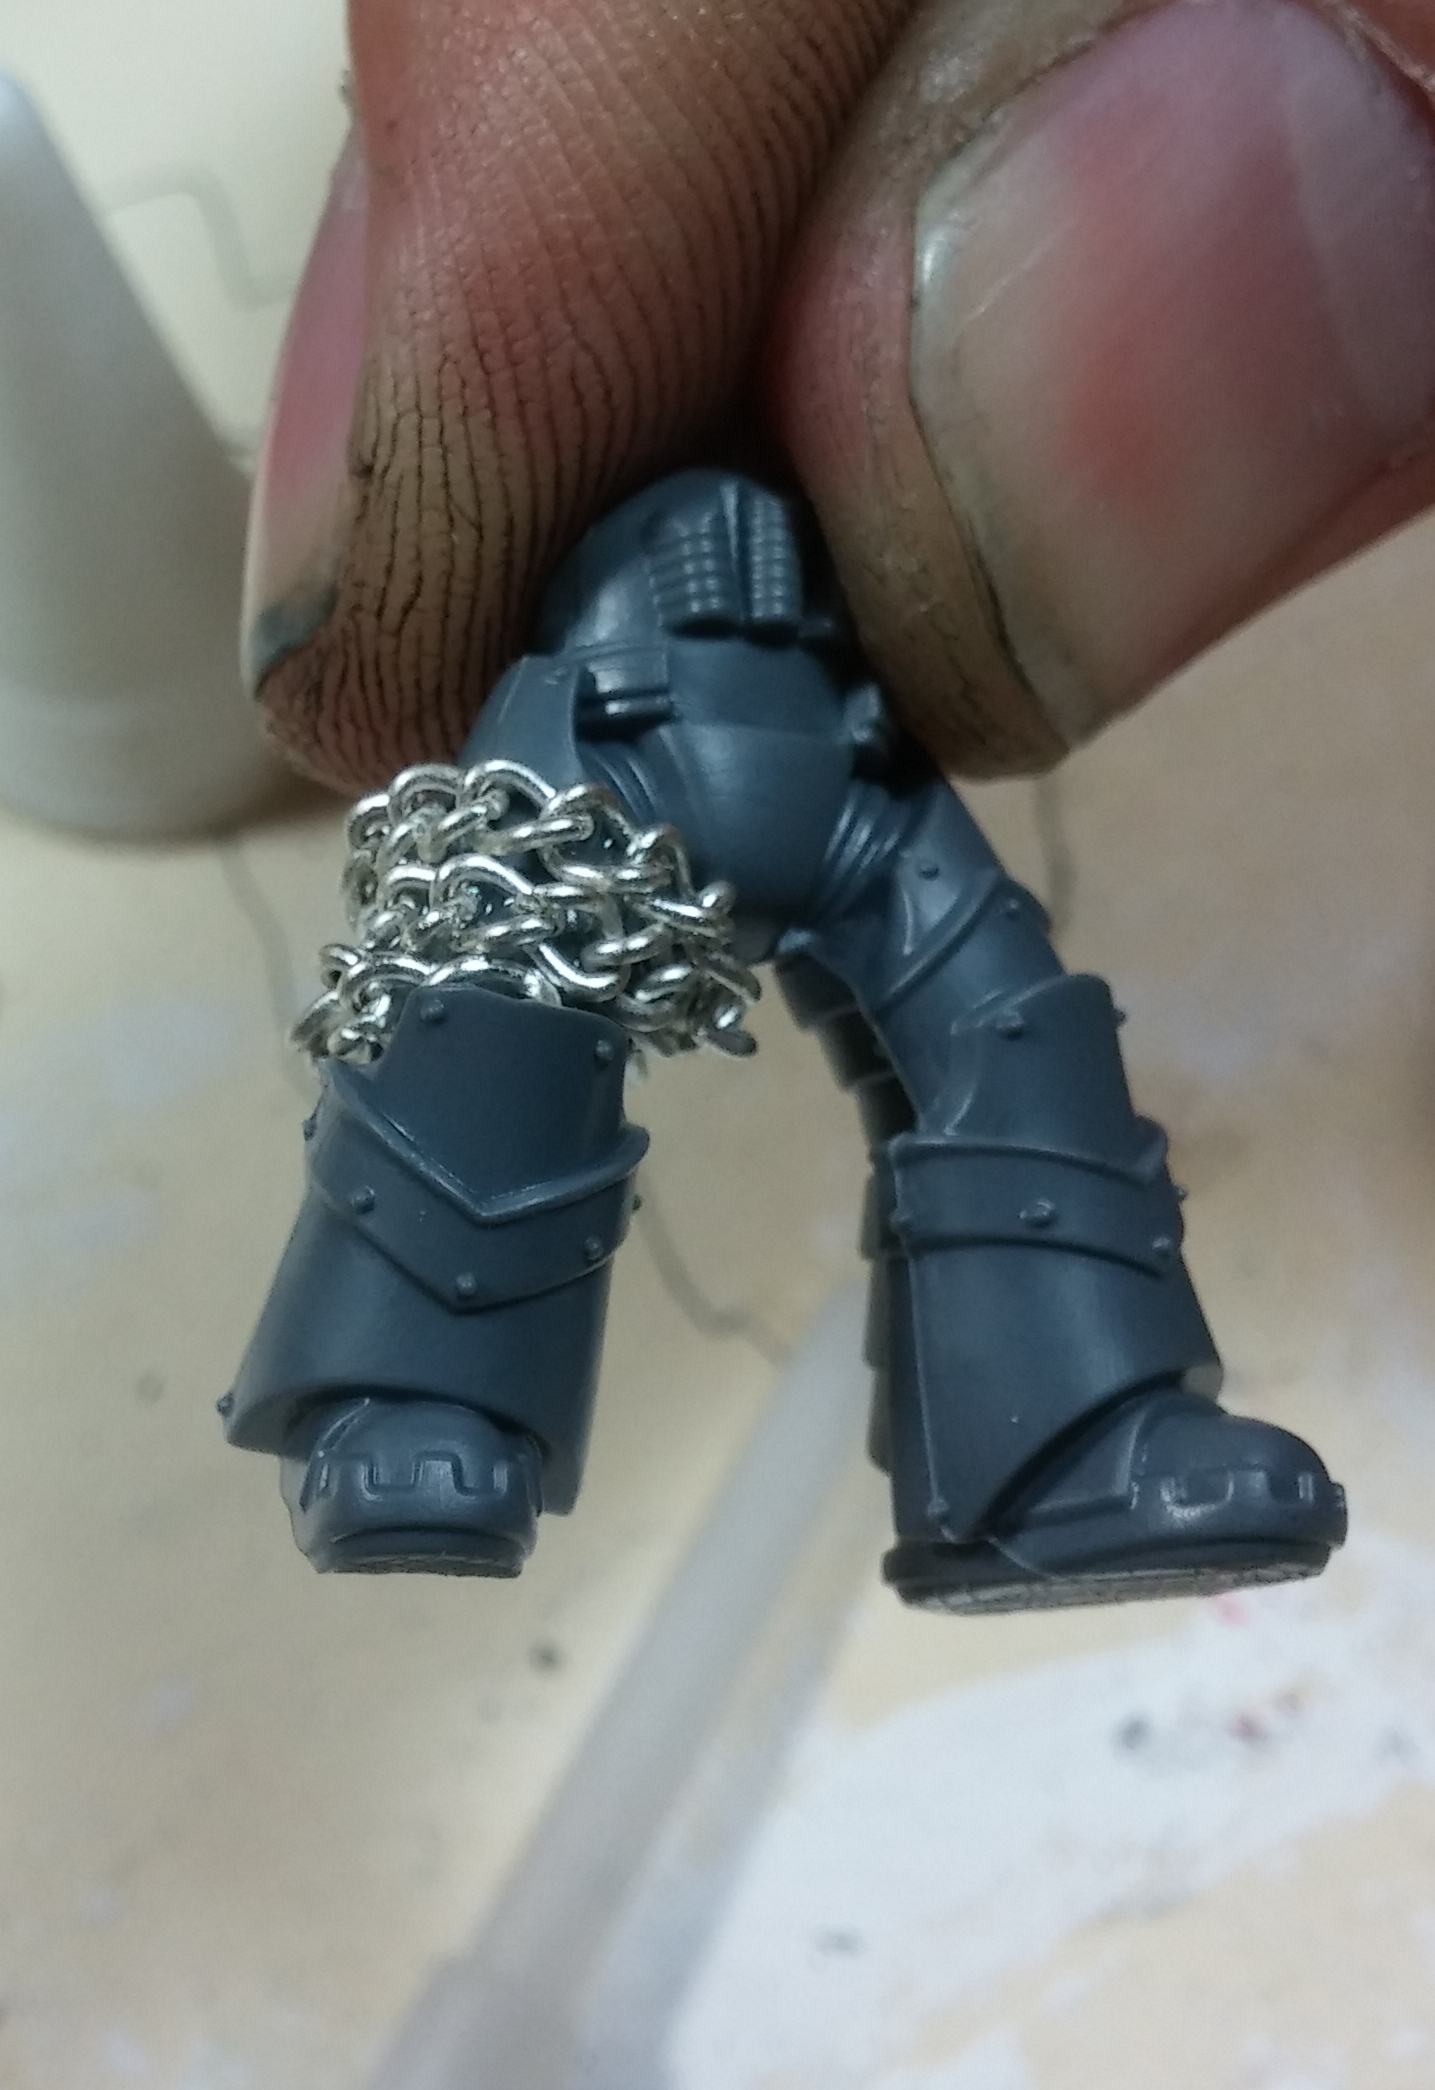
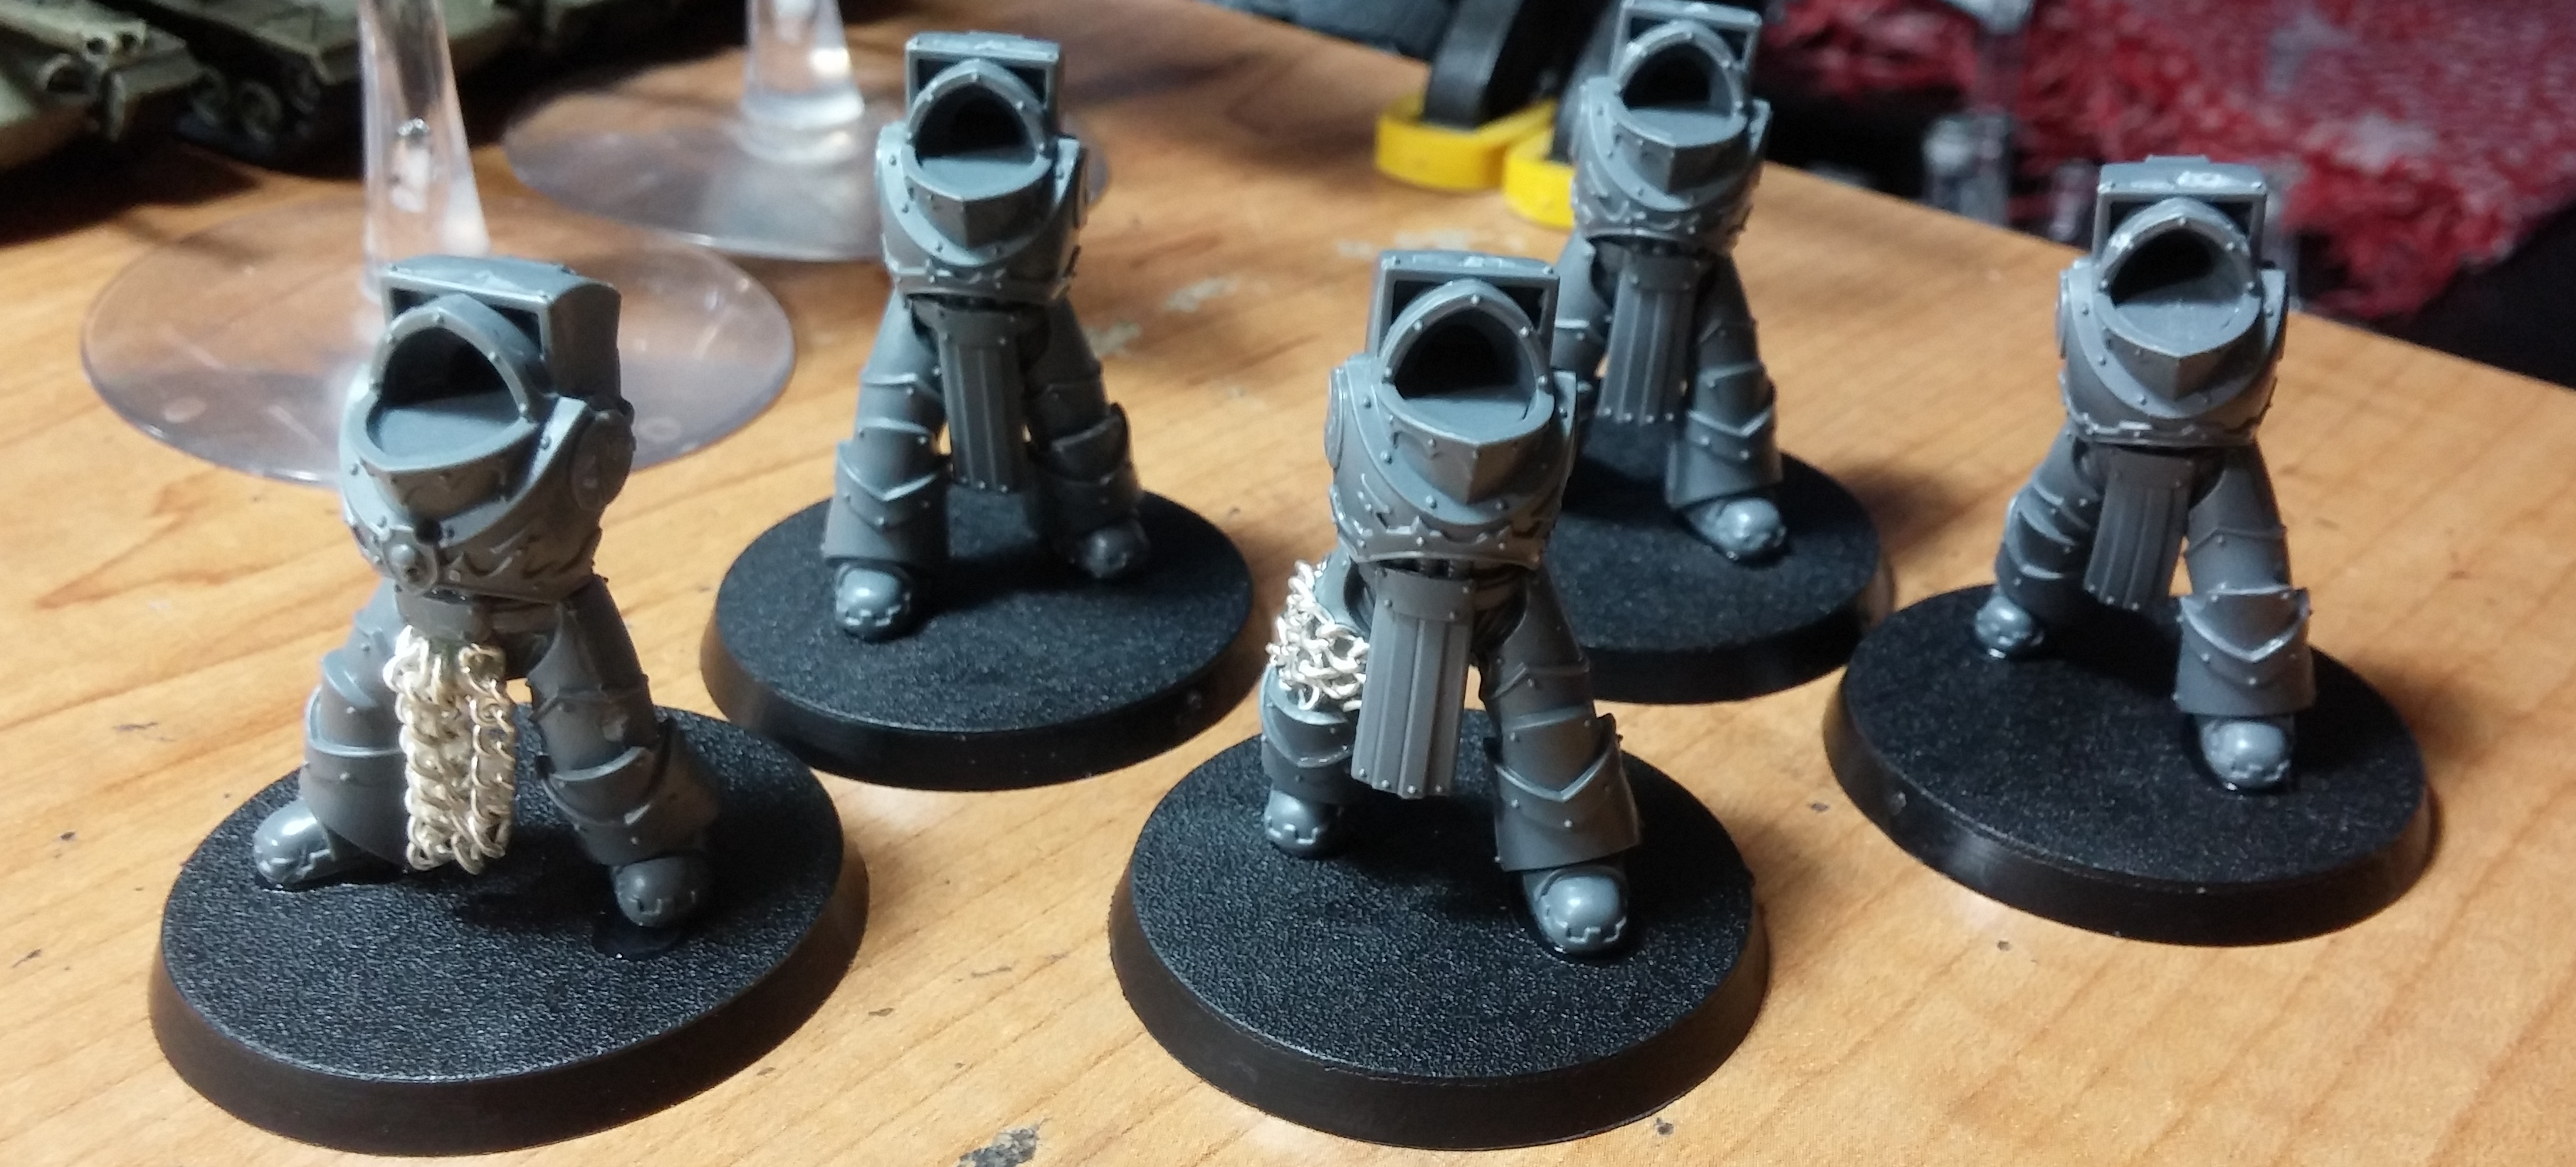
First thing to the build is the legs. Three parts: crotch/leg, tabard, other leg. Not a lot to do at this stage really, but I want to start establishing the motif so we’re doing a chain tabard replacement and a chain wrapping around a leg.
Philosophical Aside – I’m a big fan of conversions. I think as we move forward into an era where there’s a model for everything and clear, detailed instructions, we risk losing the impetus to convert and personalize, but I’ll stow my bathrobe and slippers and ornery protestations for now. Everyone has their style when the start cutting and grafting; personally I go for an established set of elements spread across a whole unit. I go for subtle before garish, and I like variety in the models rather than unformity. In this case, it means I’m not changing every tabard to chains or putting chain wrappings on every leg, just a little here and there to start. /Aside.
The chain tabard was nice and easy, after building a stock set of legs to see how all the parts come together, it was a simple matter of cutting the existing Romanesque tabard straps off the buckle, cutting some chains to length, increasing the bevel under the bottom of the buckle, and gluing.
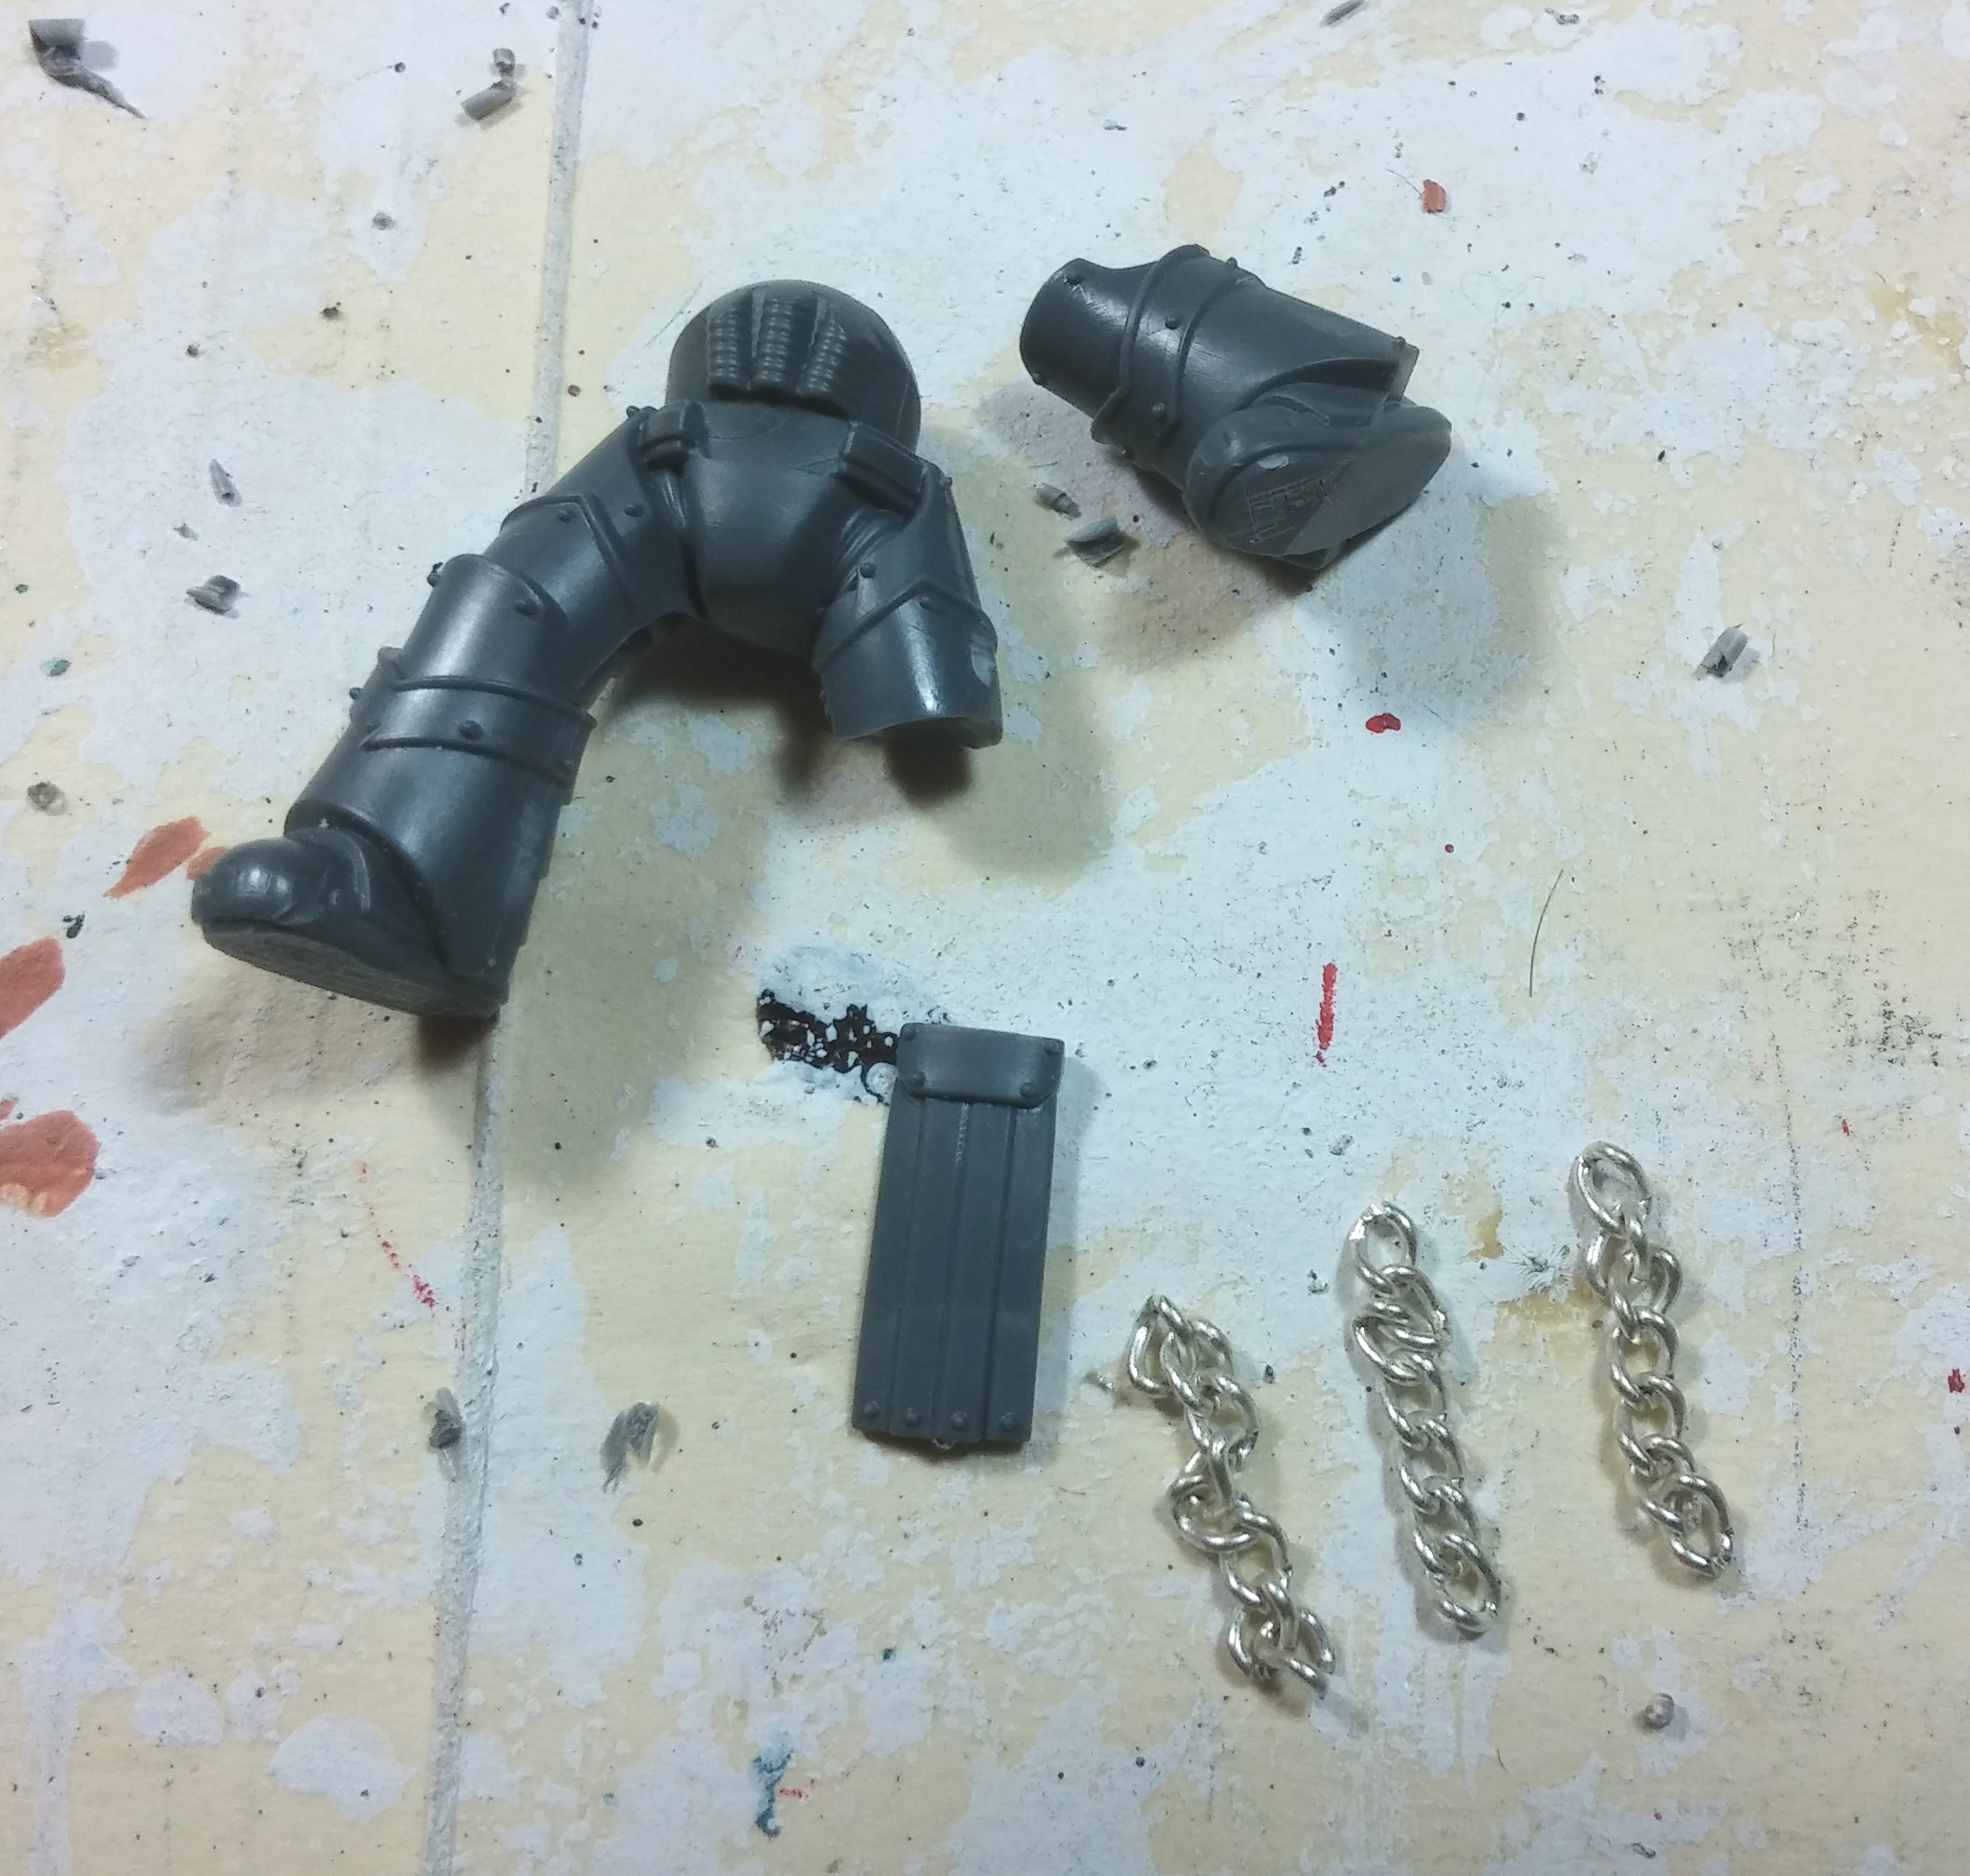
I’m working with some thin chain I had in the terrain toolbox that I probably grabbed for making fencing or something and looks about right for the scale. It’s a little big, and I could go fishing at the train store for a finer gauge, but we’re at heroic 32mm here so a little exaggeration isn’t the worst thing in the world. Obviously you’re using superglue here, though I did use plastic glue whenever possible. Personal preference, you do you.
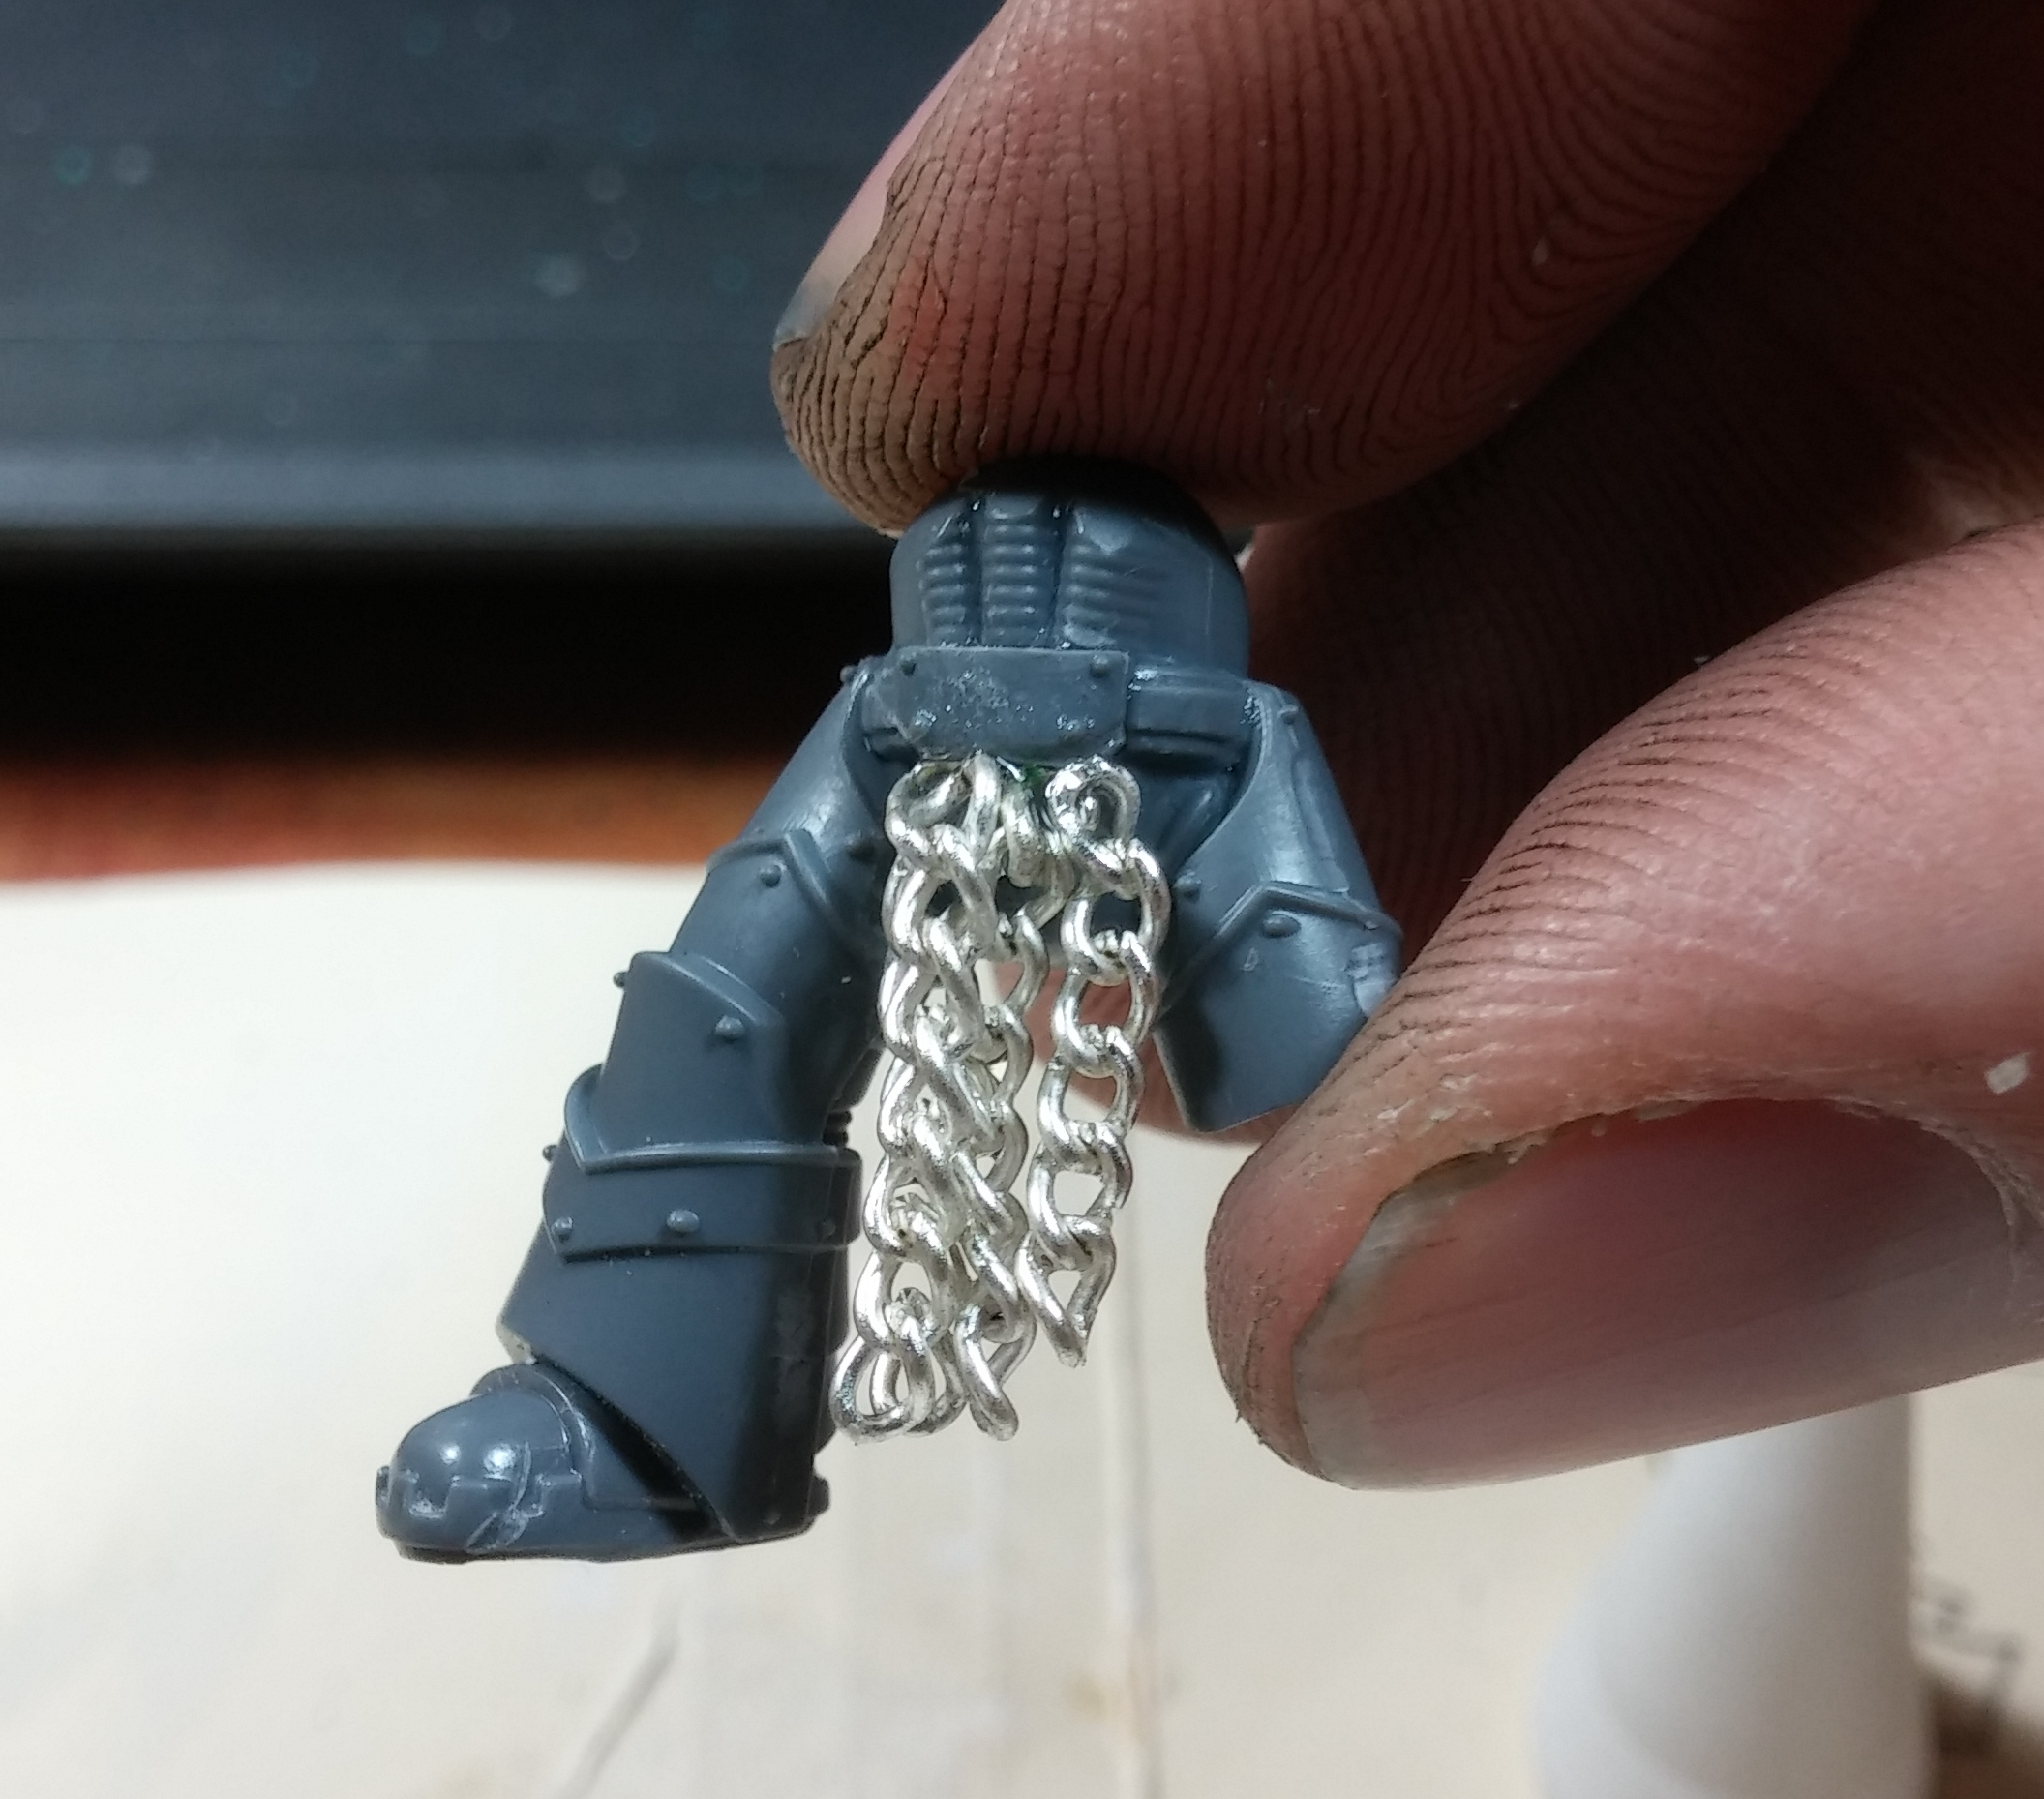
I use the superglue to immobilize the chains after attaching them; I’m not a fan of articulation on minis since it just seems to break. Just a little drop will run down the links and freeze them in place. I started with three chains on this dude, but after getting them set there was kind of a bald spot so I cut another length and bulked up the detail. Job’s a good’un!
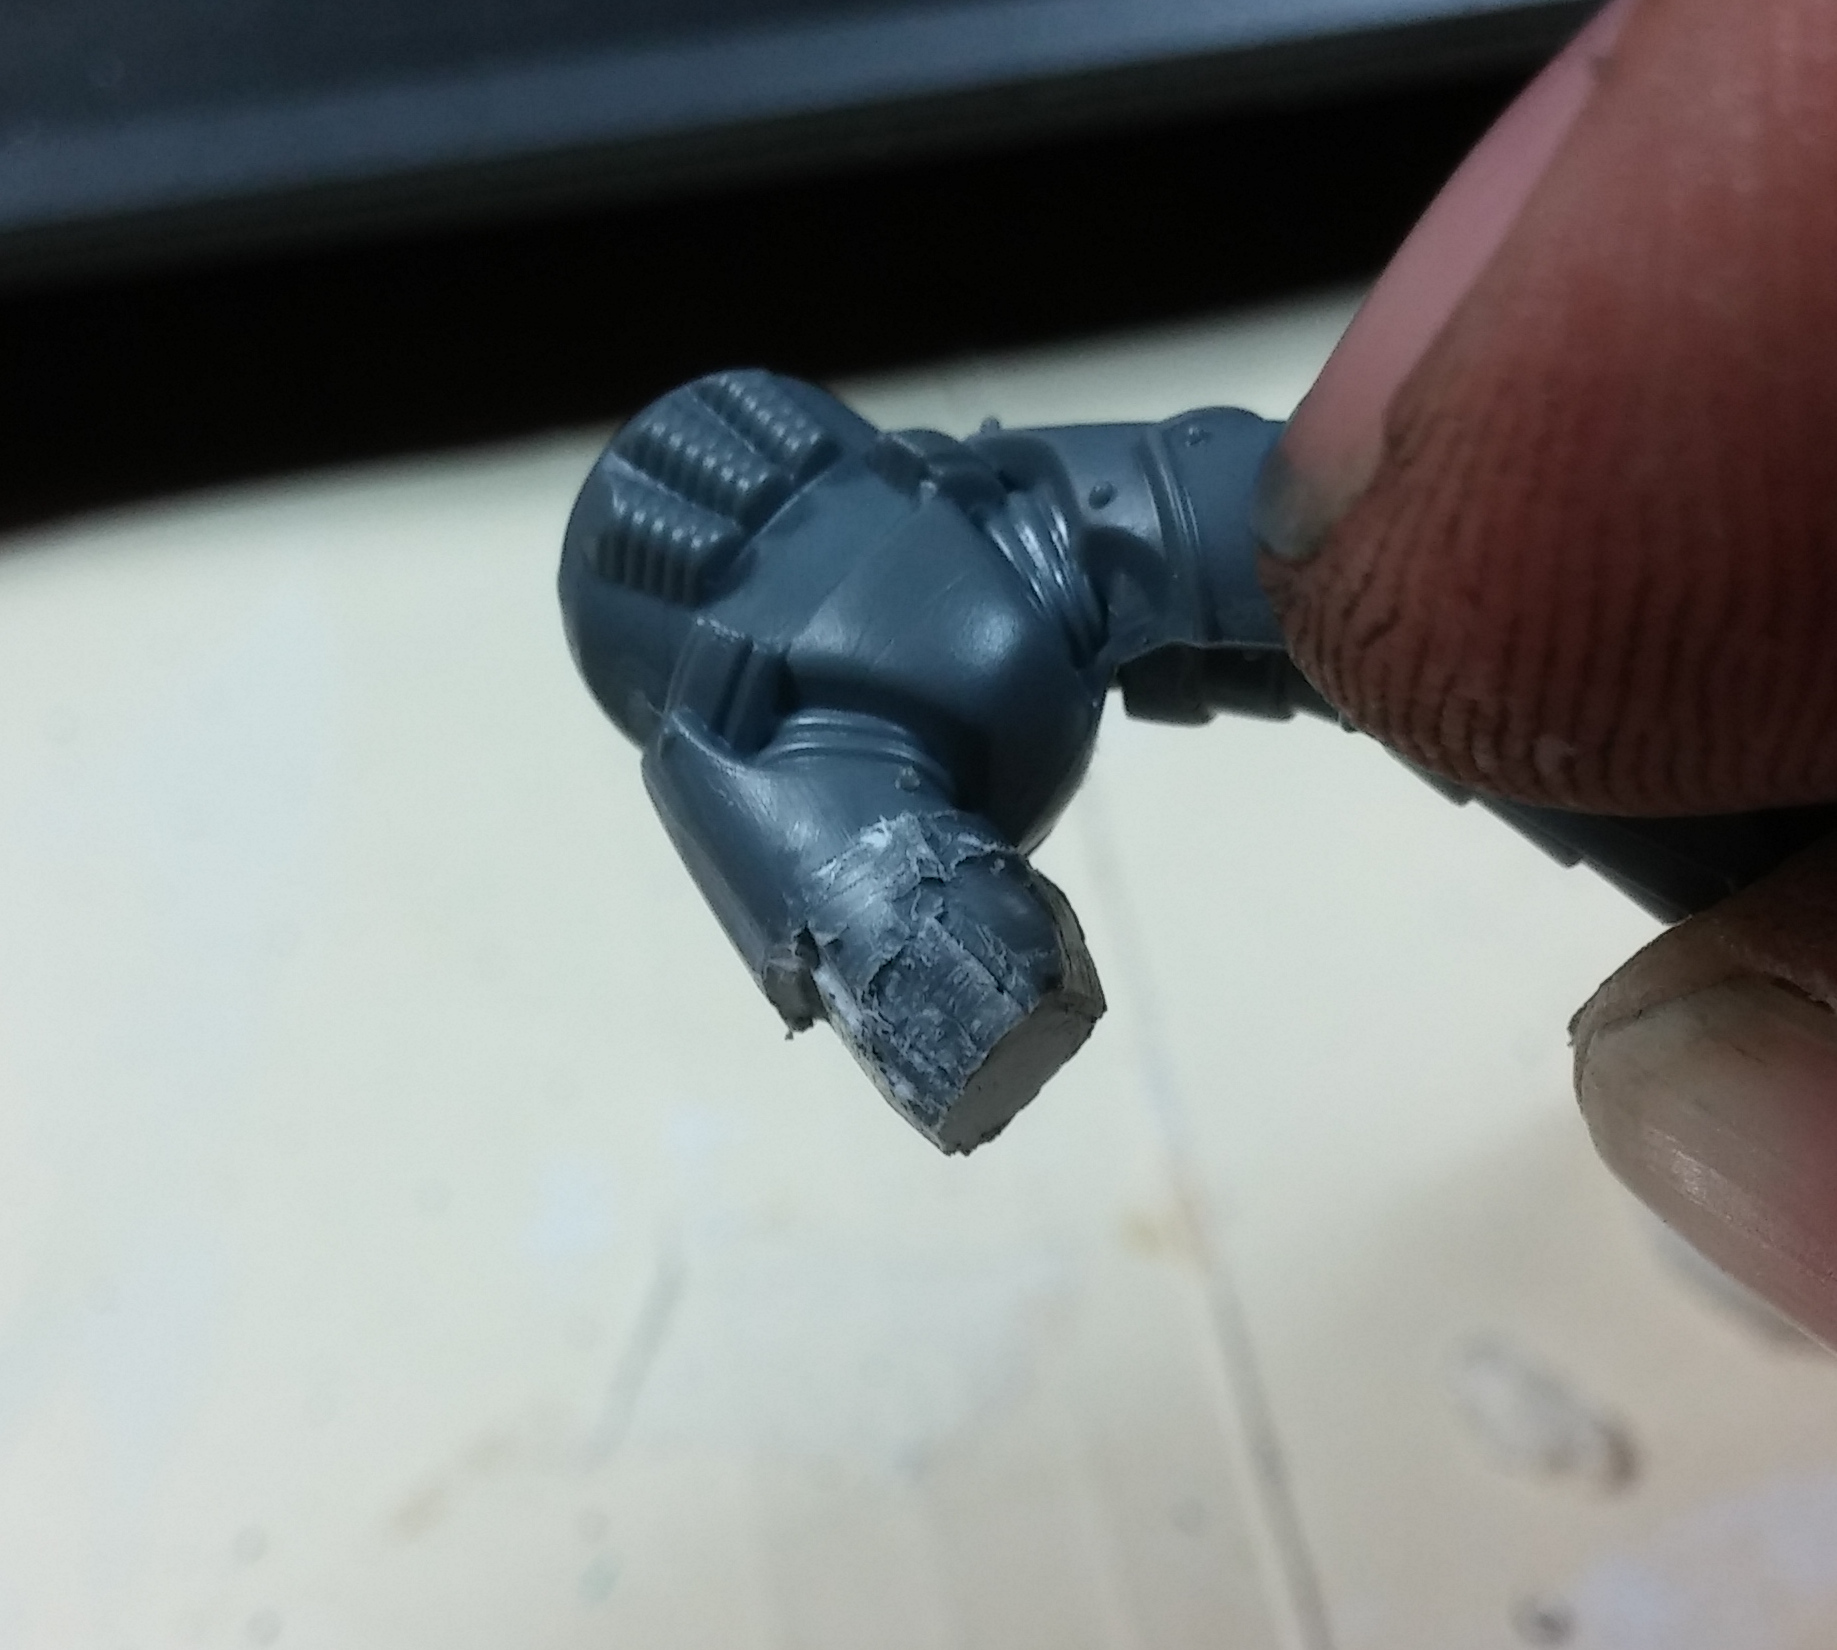
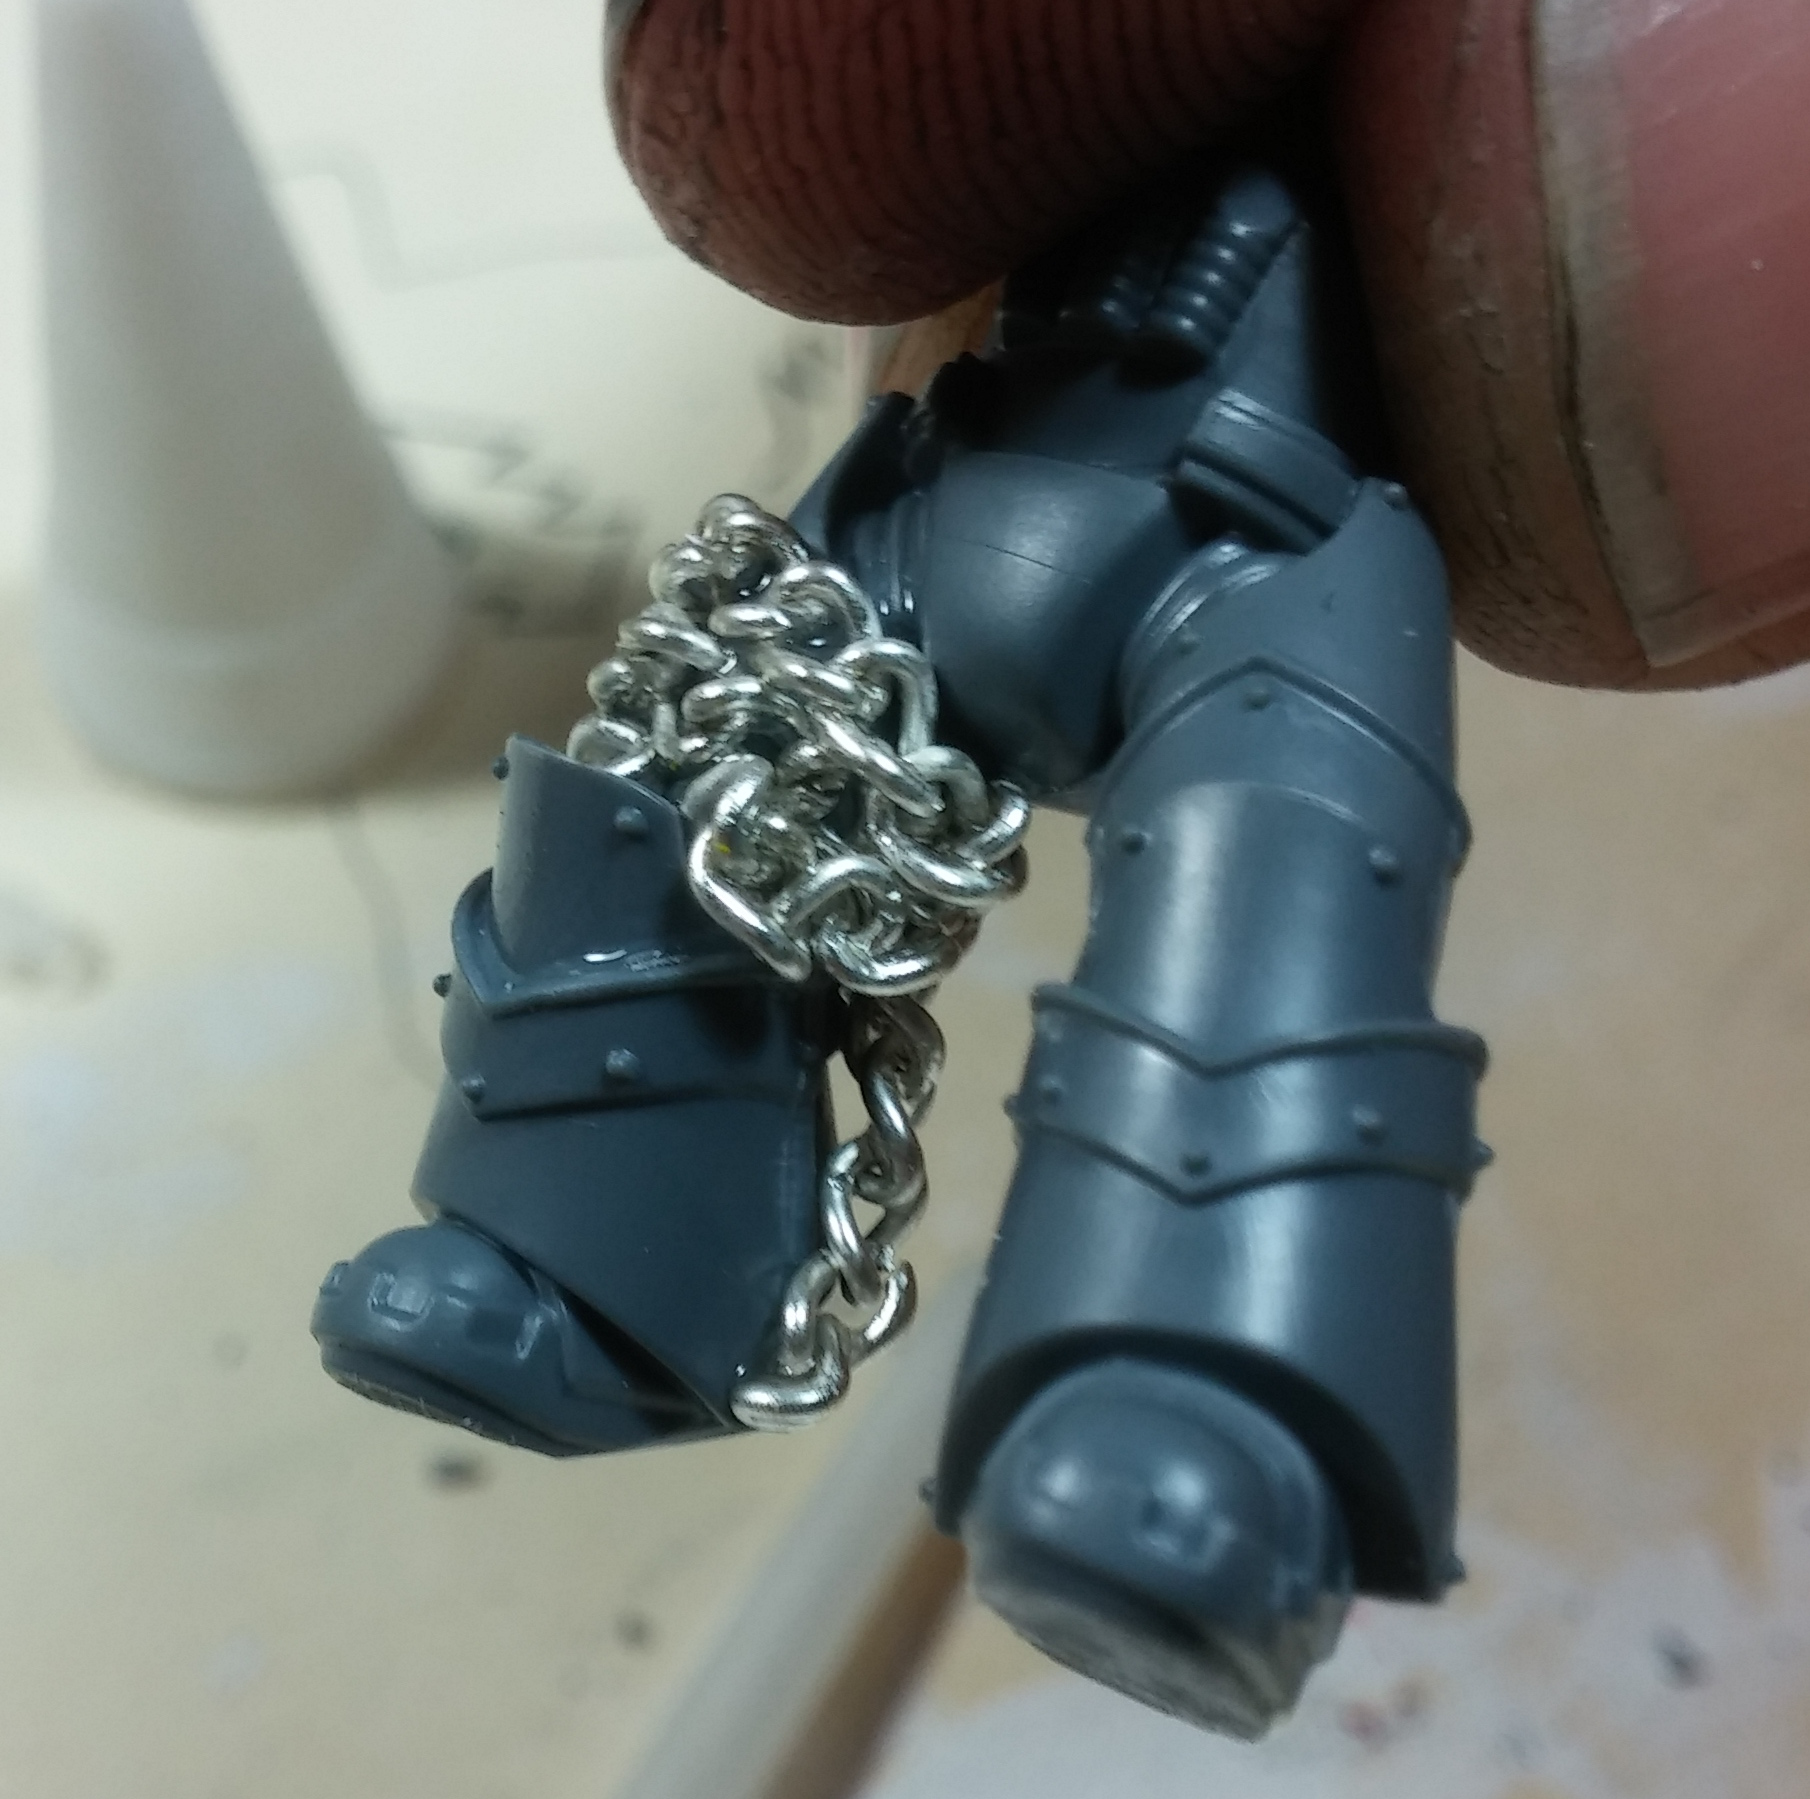
The next mod is an upper leg wrapped in chain (#becausereasons #chaos #styleovermeta). Something I have learned is that you have to shave down the detail under where you’re going to be adding a wrapping or the like, because it will end up looking too bulky or puffy. Obviously IRL you’d just wrap chain right over the dude’s armor but that won’t cut it at this scale. So, I chose the upper leg that is a stump to convert and shaved down the detail around its cirumference to create a place to seat the chain detail. Careful, of course, to leave as much of the original contact point to the lower leg as possible.
Once wrapped, there were again some bald spots where the wrapping starts and ends, so I added a dangling piece on the back of the leg and used a couple of the clipped links to fill in holes so the chain looks nice and solid wrapped around there. Again, a couple tiny dabs of glue to immobilize the chain and a little drying time, then back to plastic glue for the actual leg assembly.

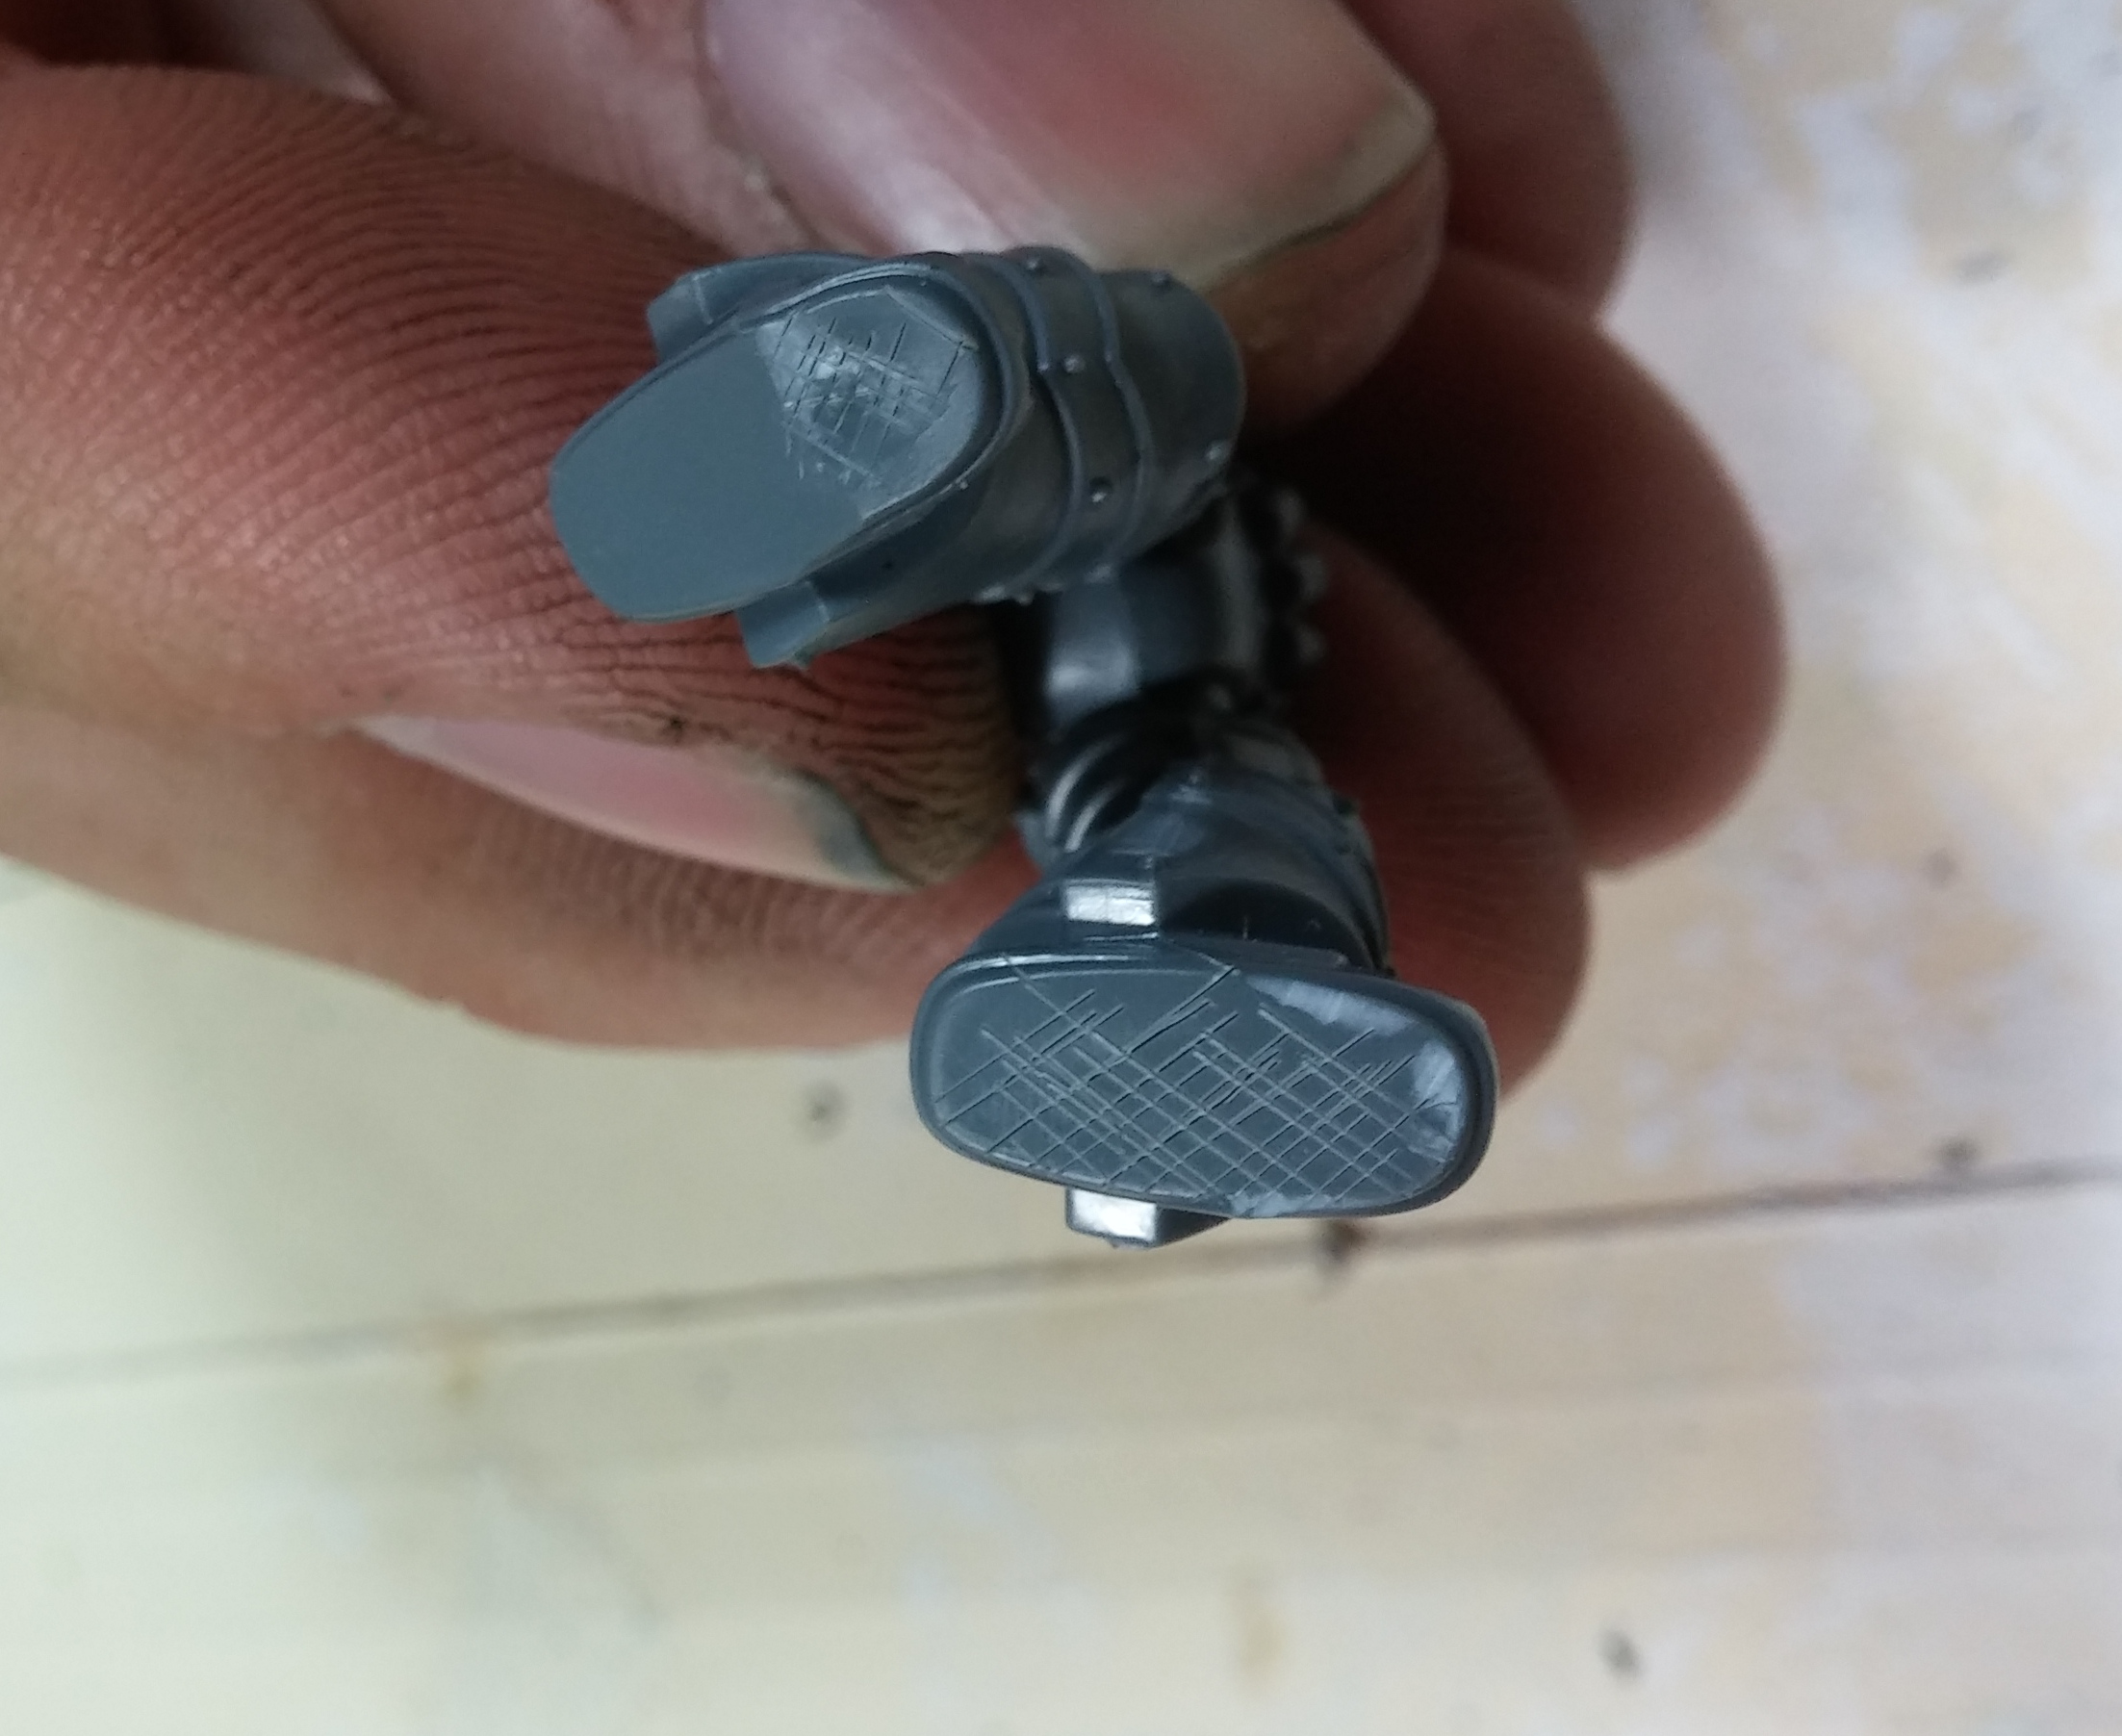
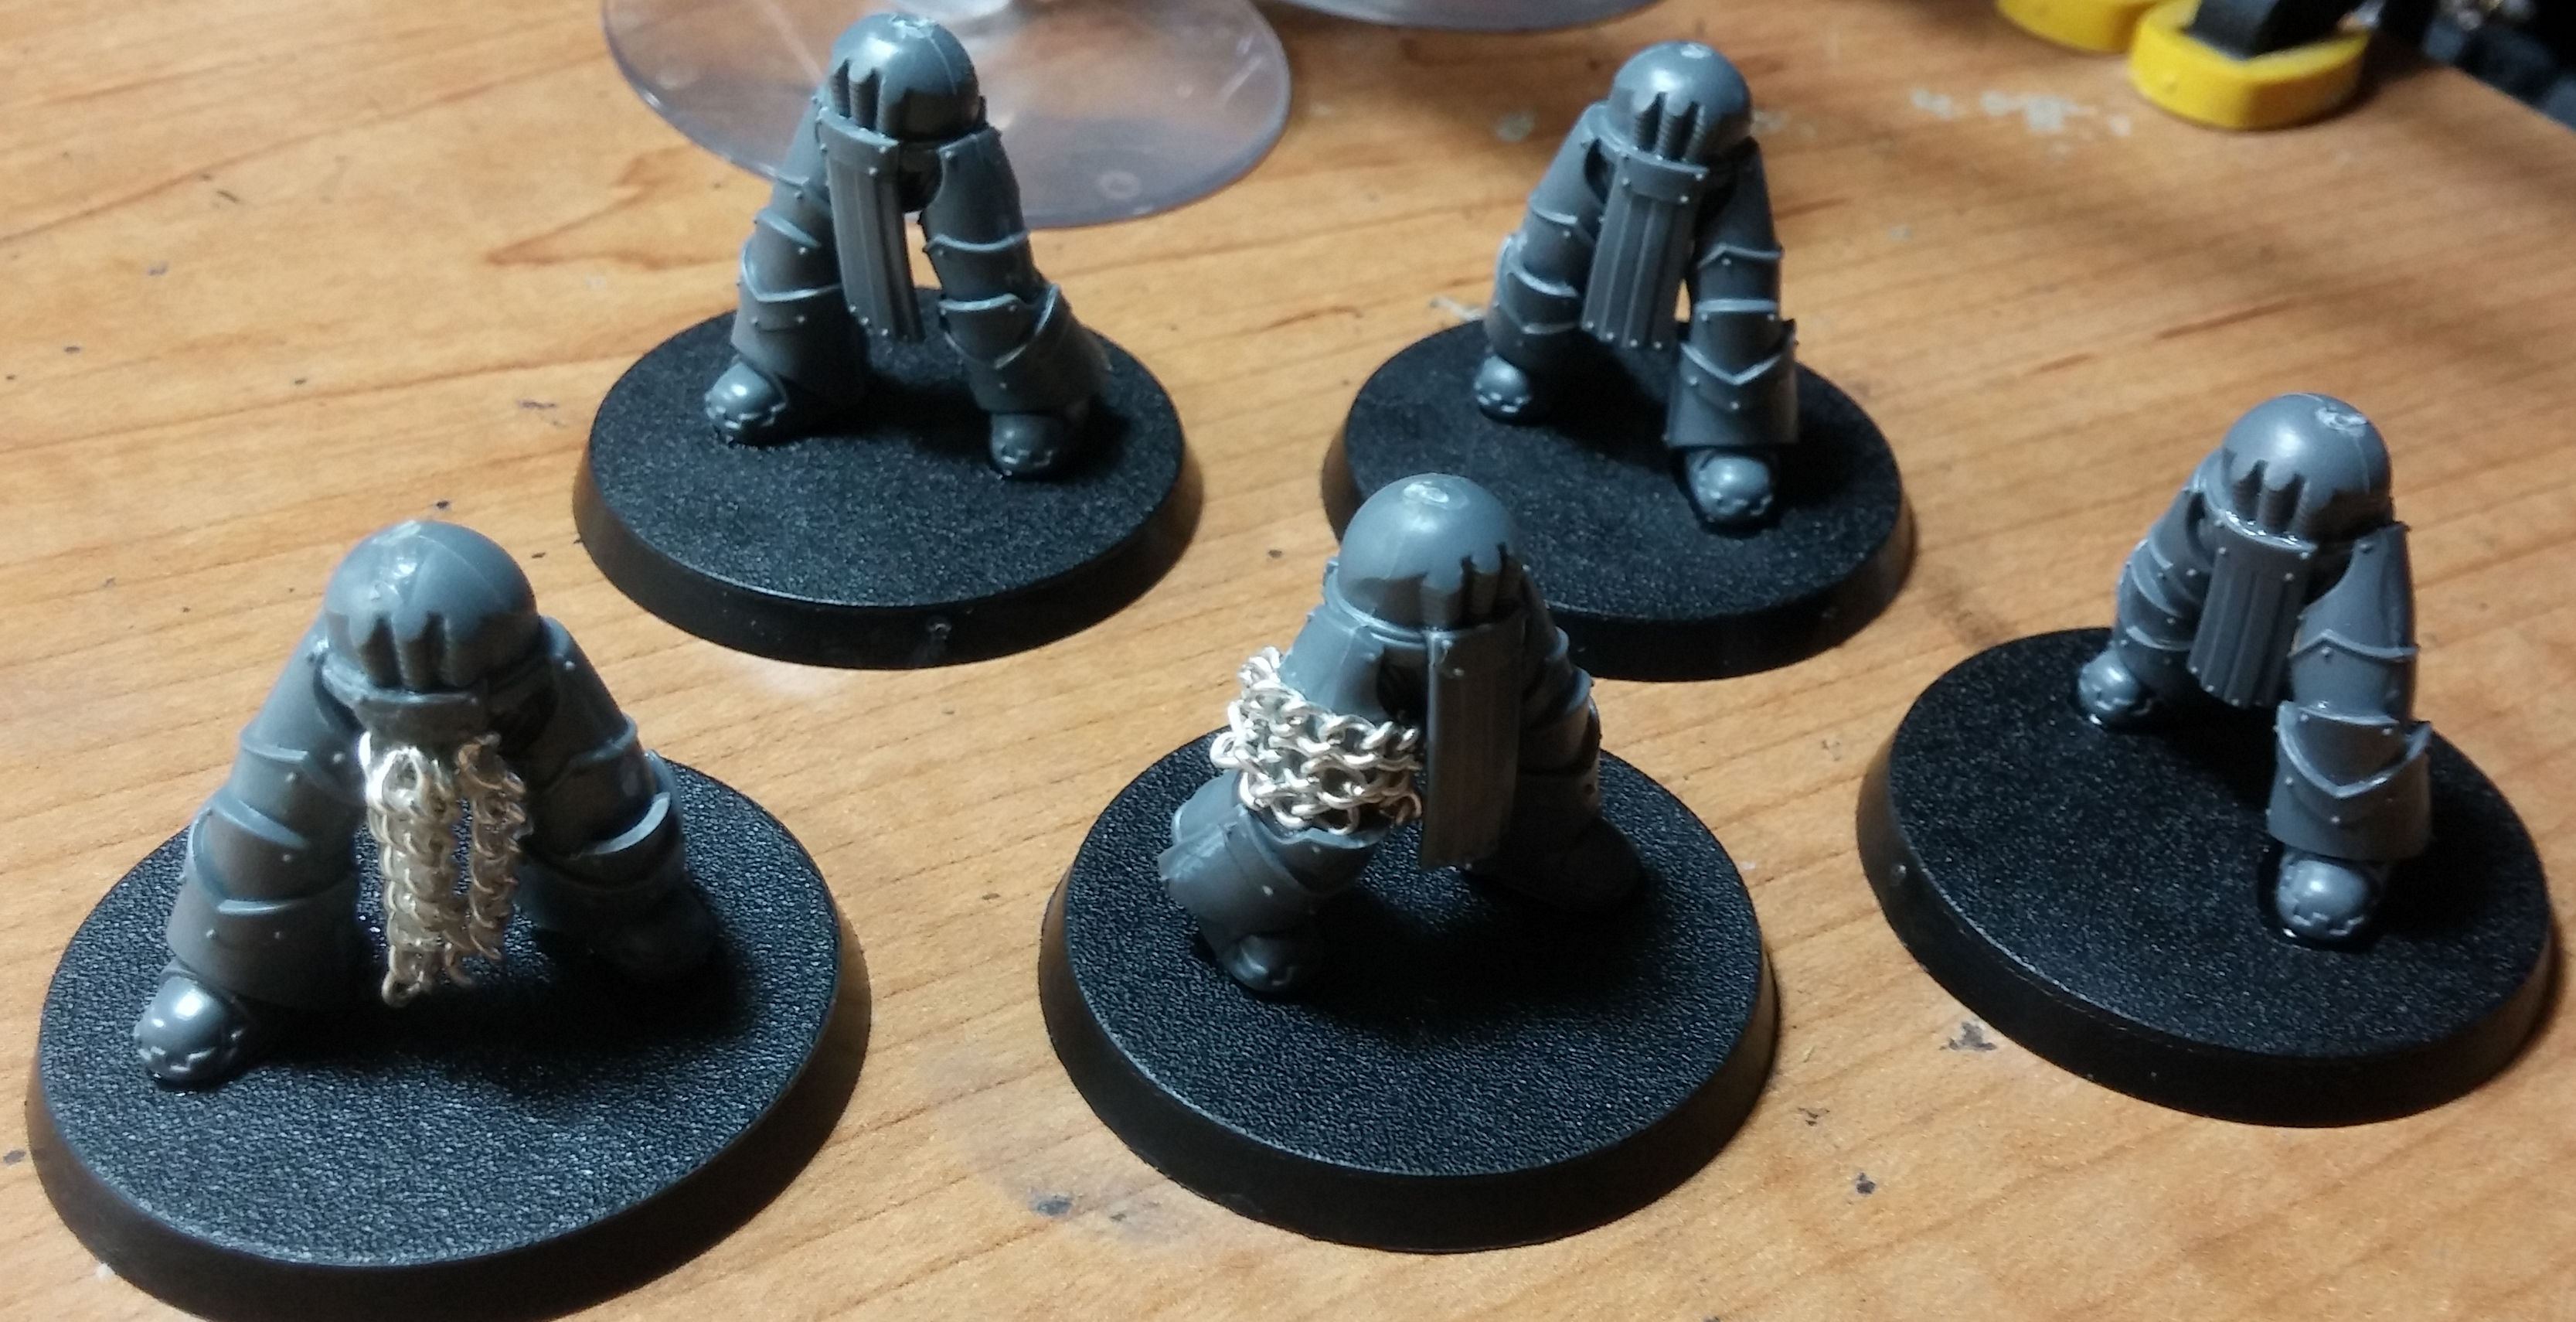
And with that, I was happy with the converting of the first stage. Couple guys had some cool-ass chains detailing their shizz, and I was ready for a break. I finished the next sub-assembly of upper body fronts and backs and glued them to the legs, and glued the boys to their bases. I also scored the contact points on the feet for a more secure glue-down. It’s a habit I’ve built over time and probably less important with plastic models but again, personal preference.
Next time I’ll be detailing my ‘bin-dive’ method of finding pieces and parts to use, including finding sources for all the spikes I’ll be using, hopefully finding some alternate heads, and figuring out the problem of weapon armaments, since these bros love their lightning claws and combi-bolters but I have a need of some more potent ranged options as well as a power maul or two!
Thanks for reading and goodnight!
-Travis